
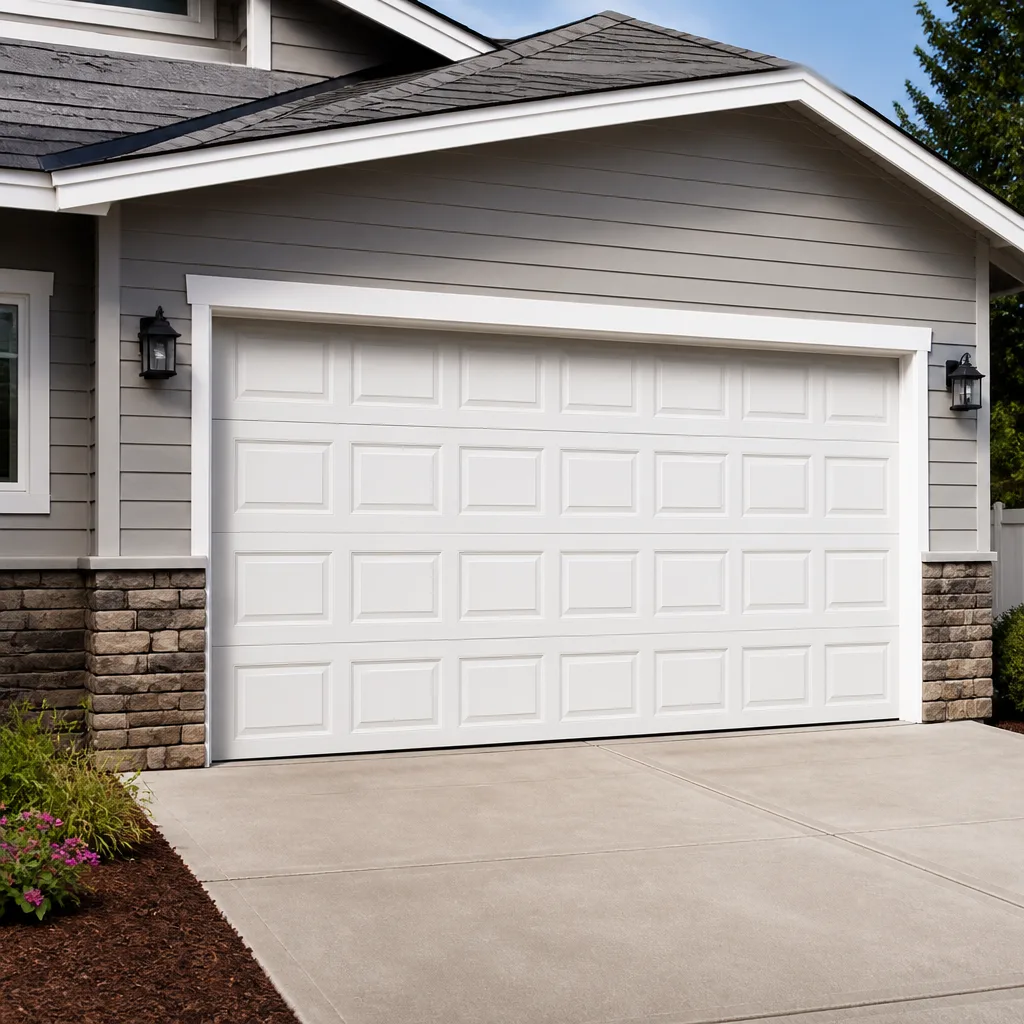
 Raised-panel steel
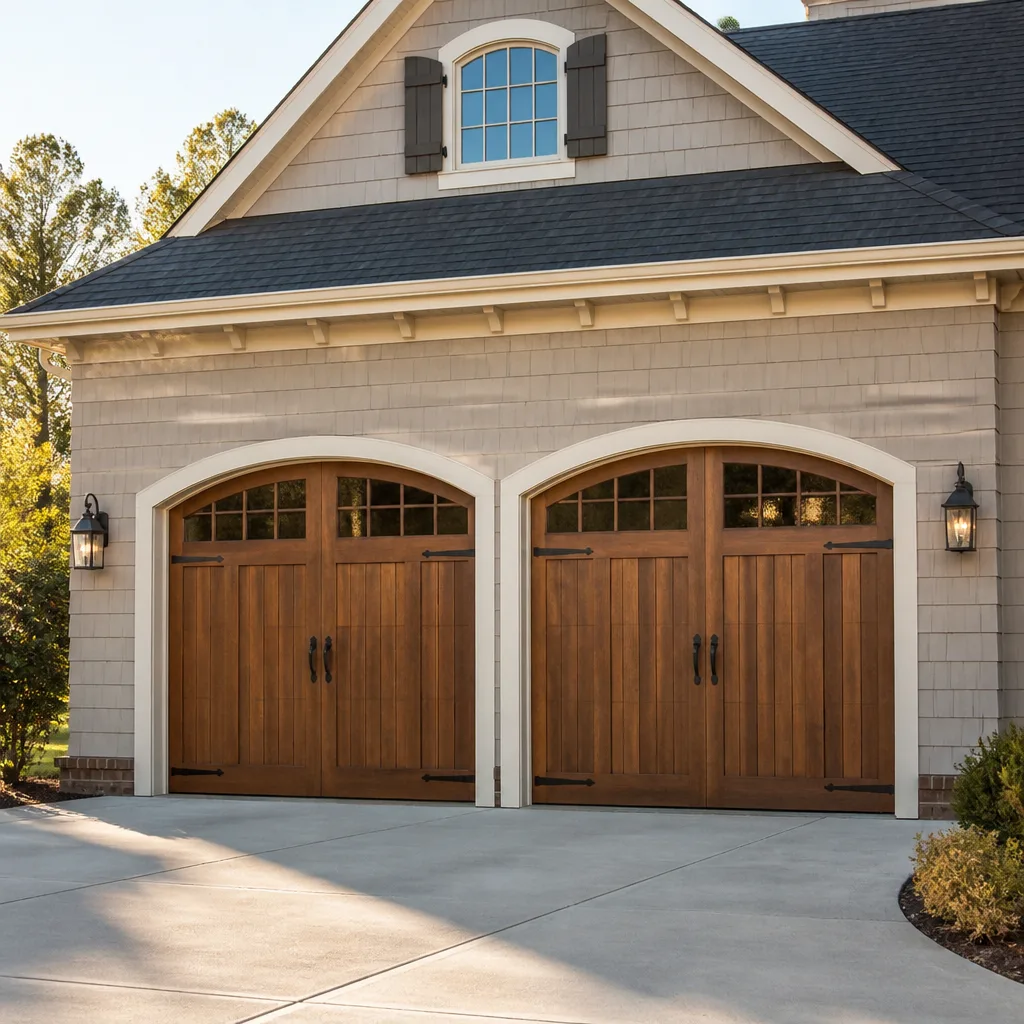 Carriage house
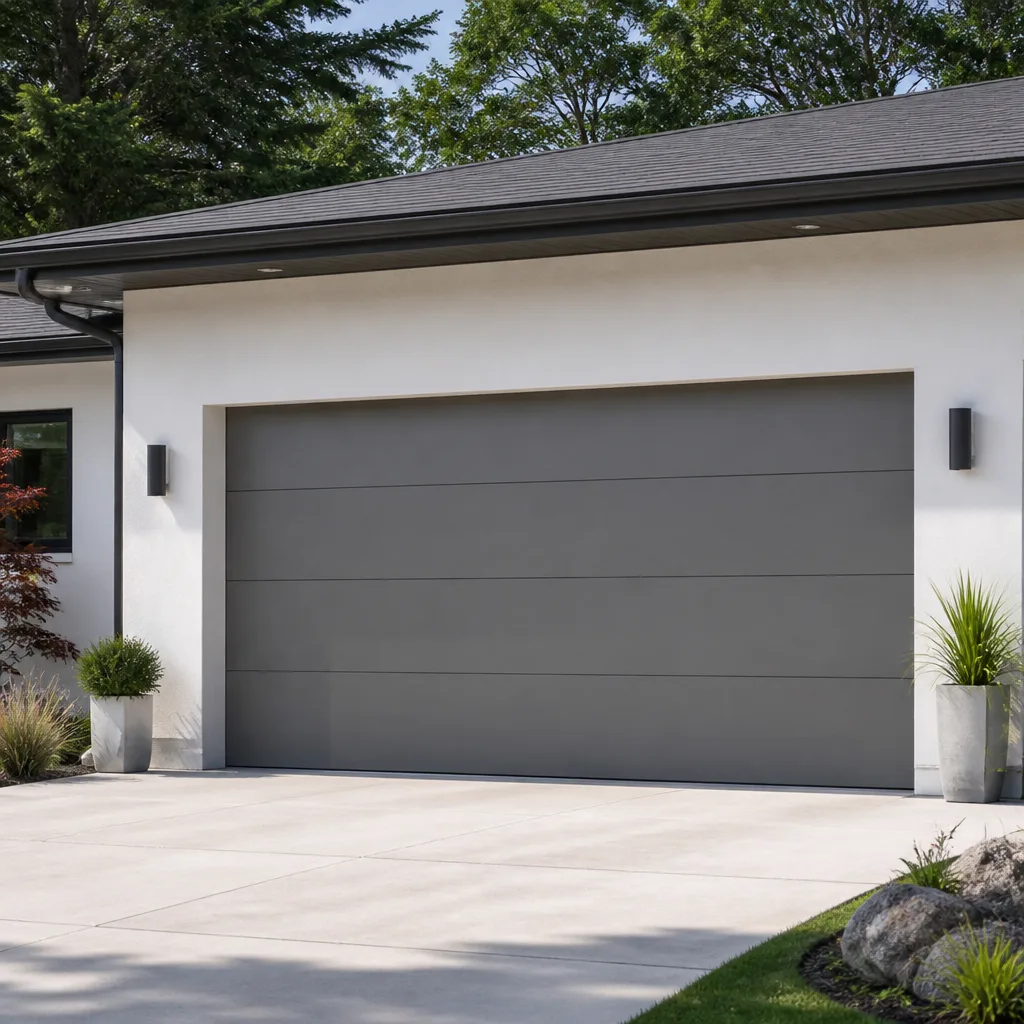 Modern flush
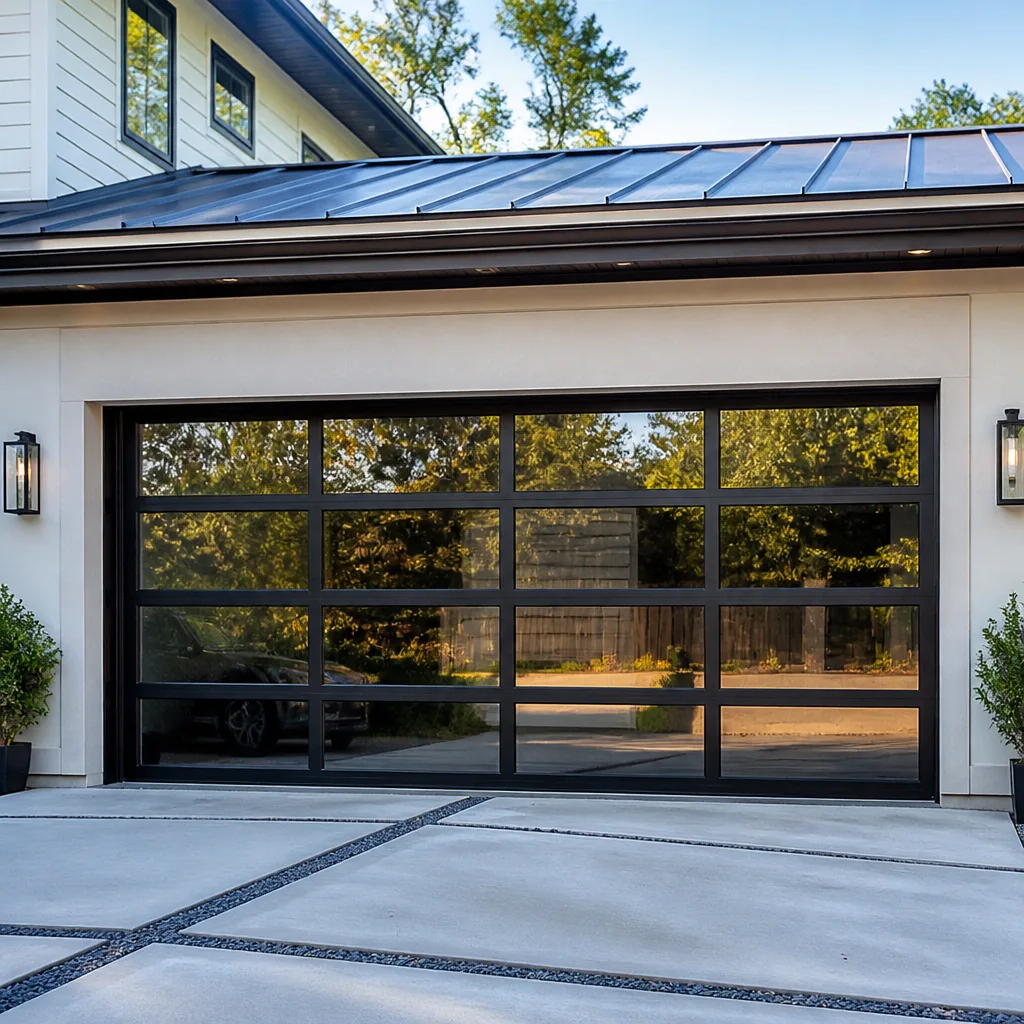 Full-view glass
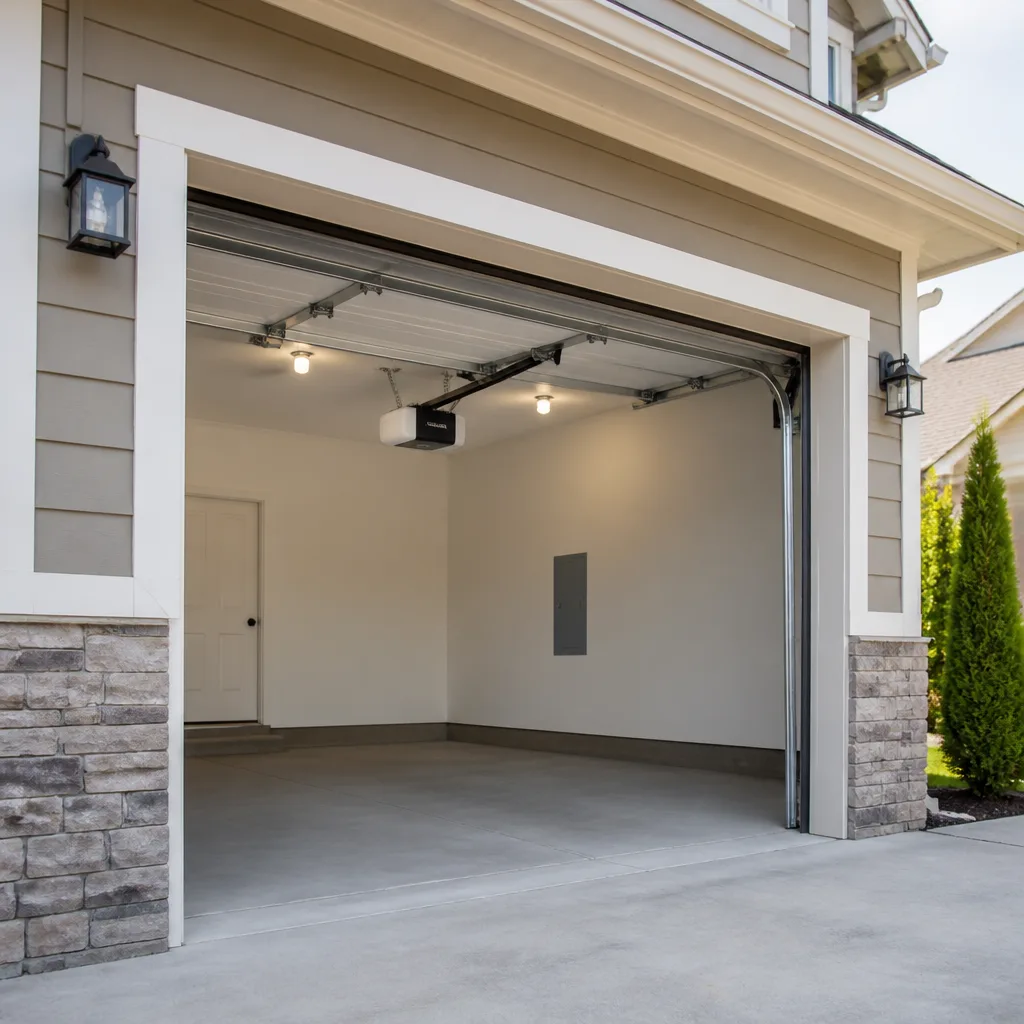 LiftMaster openers
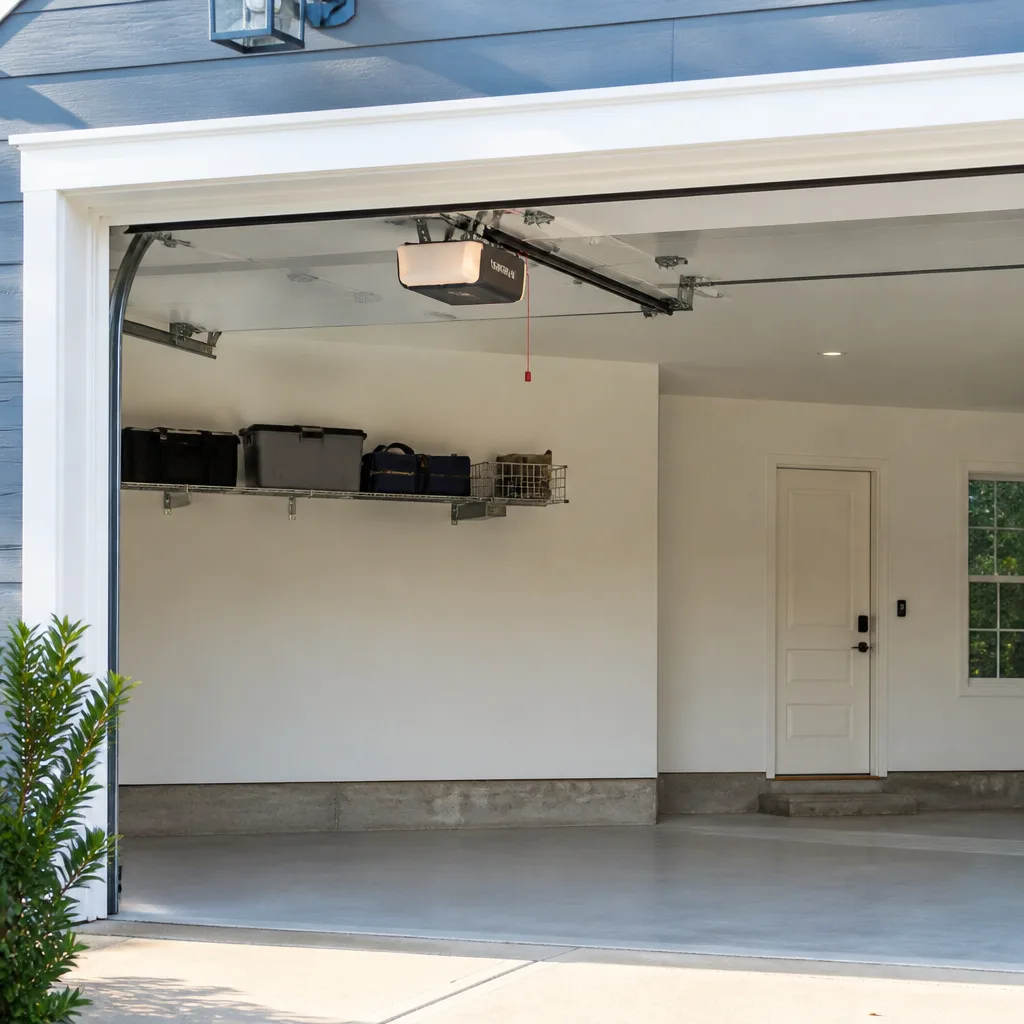 Chamberlain openers
Full 25-point door and opener safety check with every visit - springs, cables, rollers, tracks, and your LiftMaster or Chamberlain opener included
You get a price before we start. It does not change when the pro arrives.
Get your free estimateStyles & brands we work with
- Raised-panel steel
- Carriage house
- Modern flush
- Full-view glass
- LiftMaster openers
- Chamberlain openers
See the difference
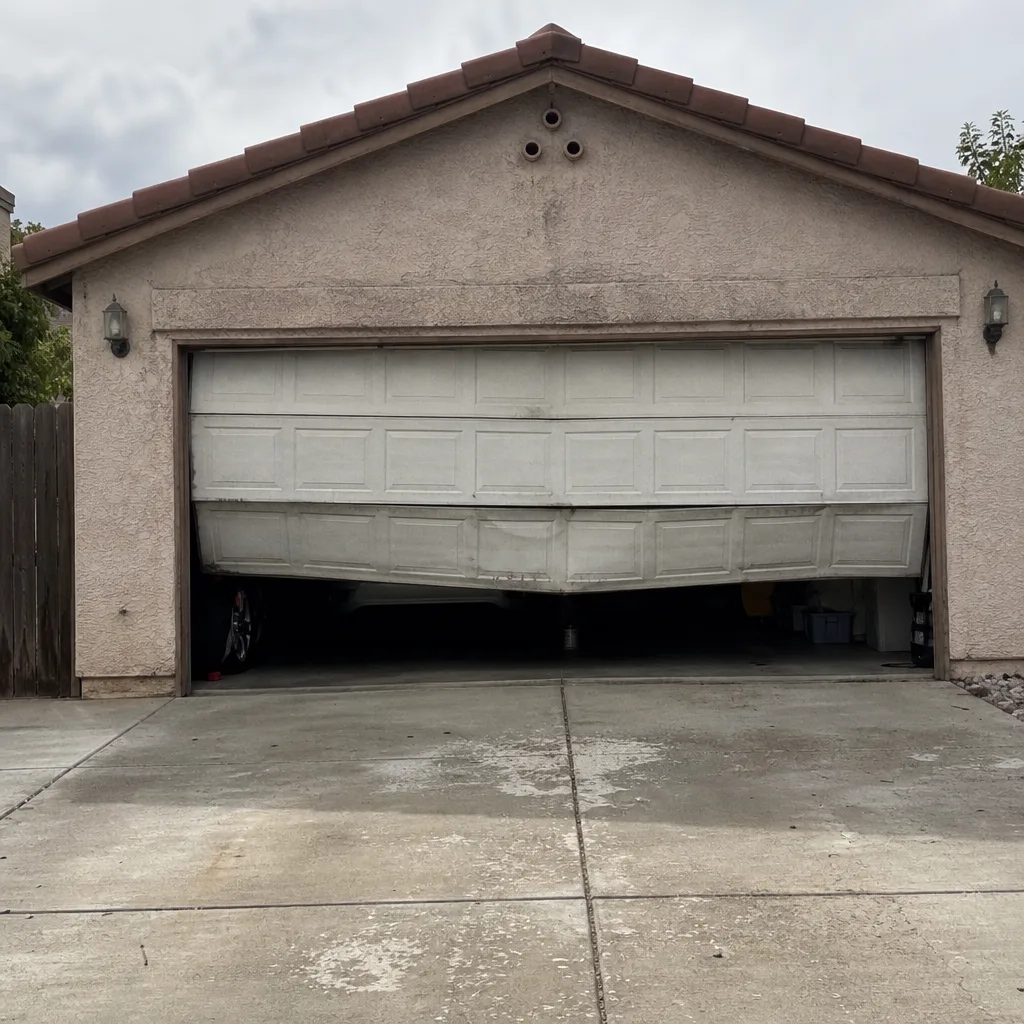 Before
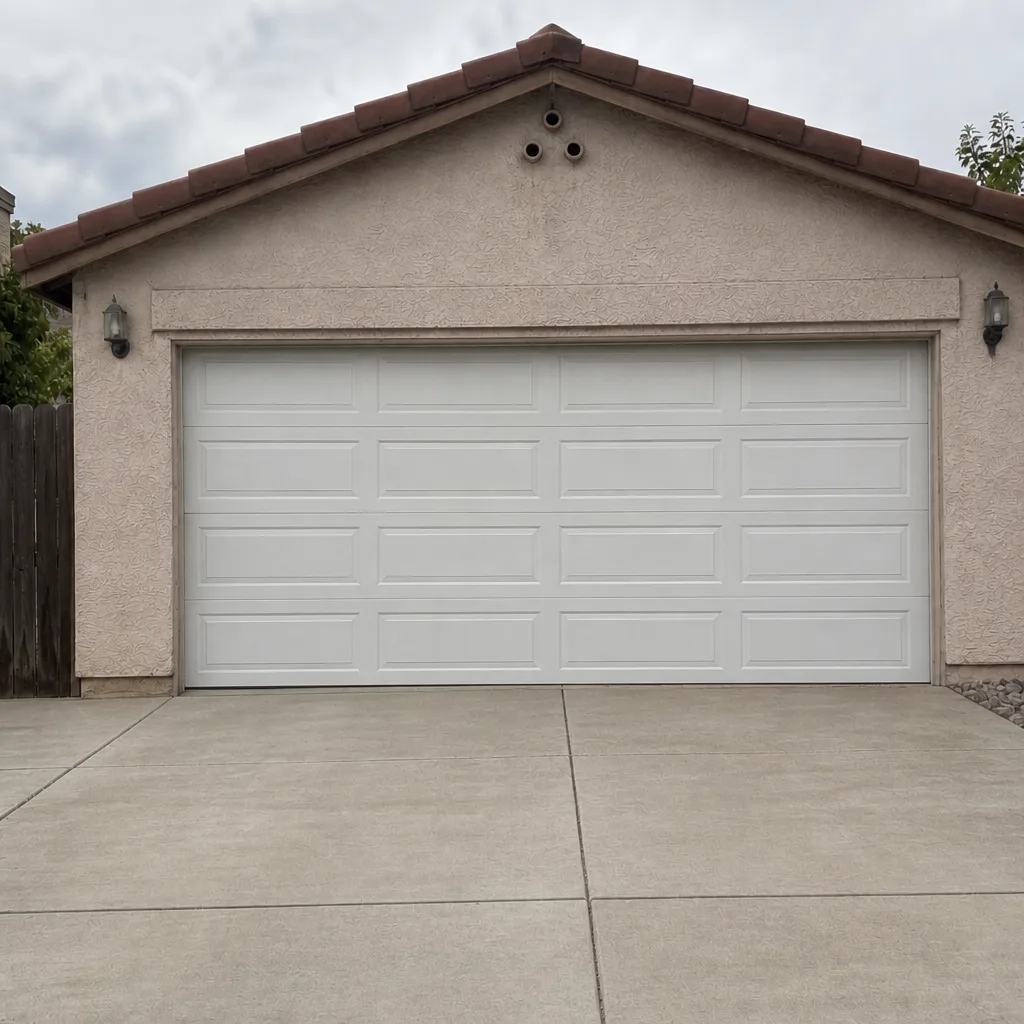 After
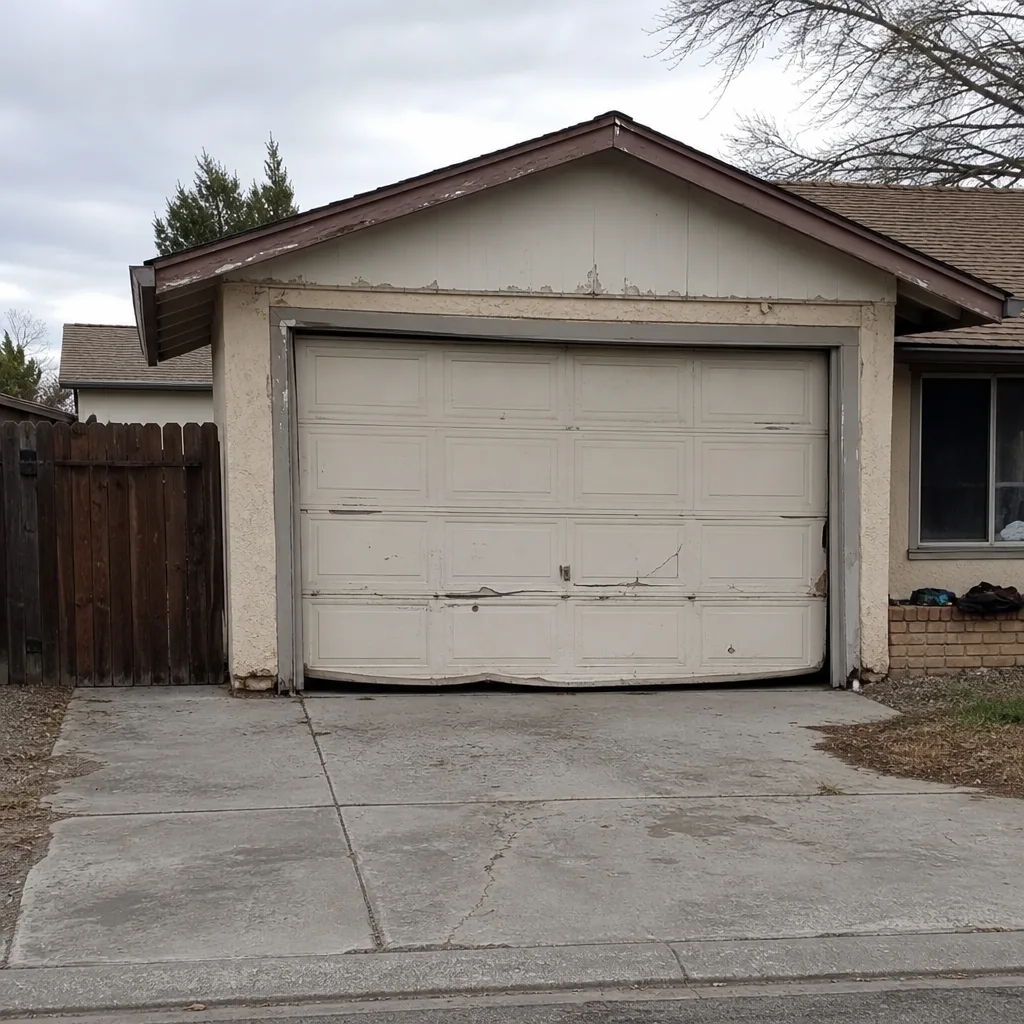 Before
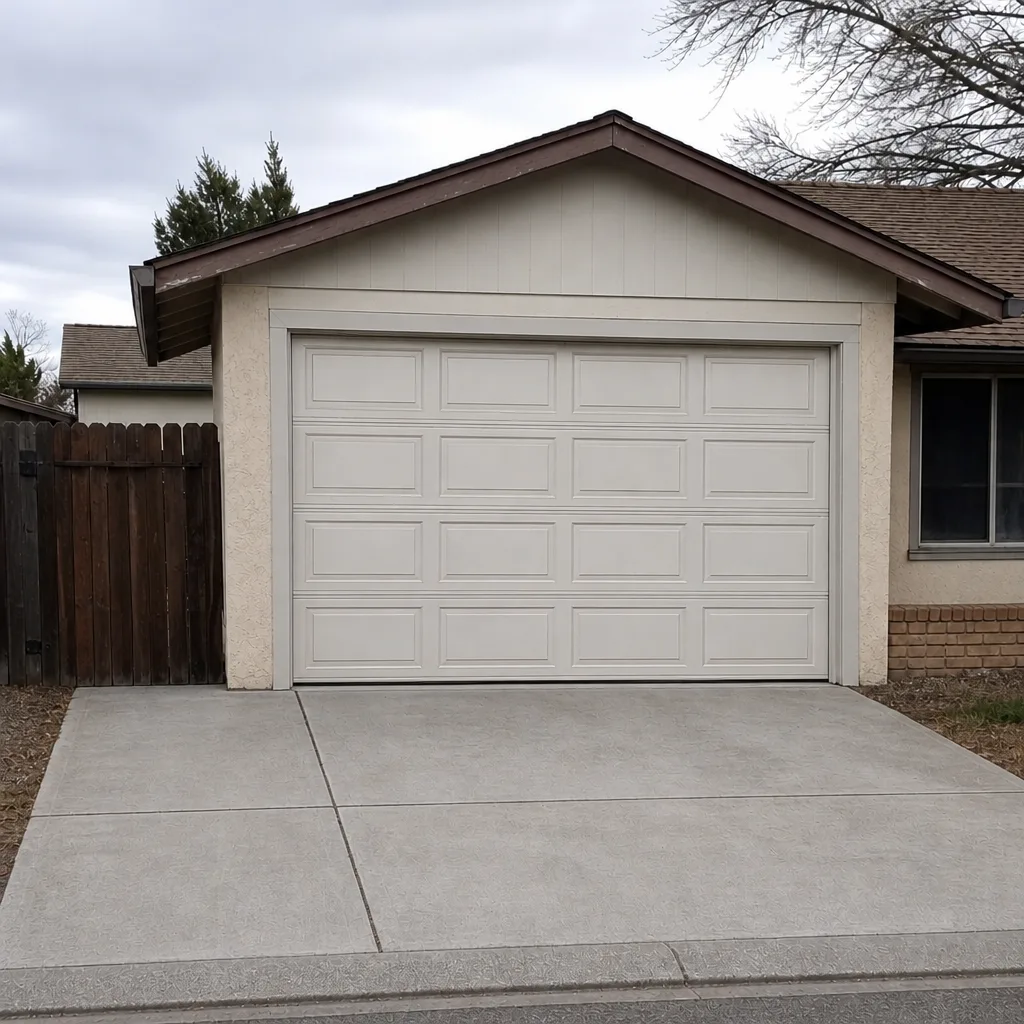 After
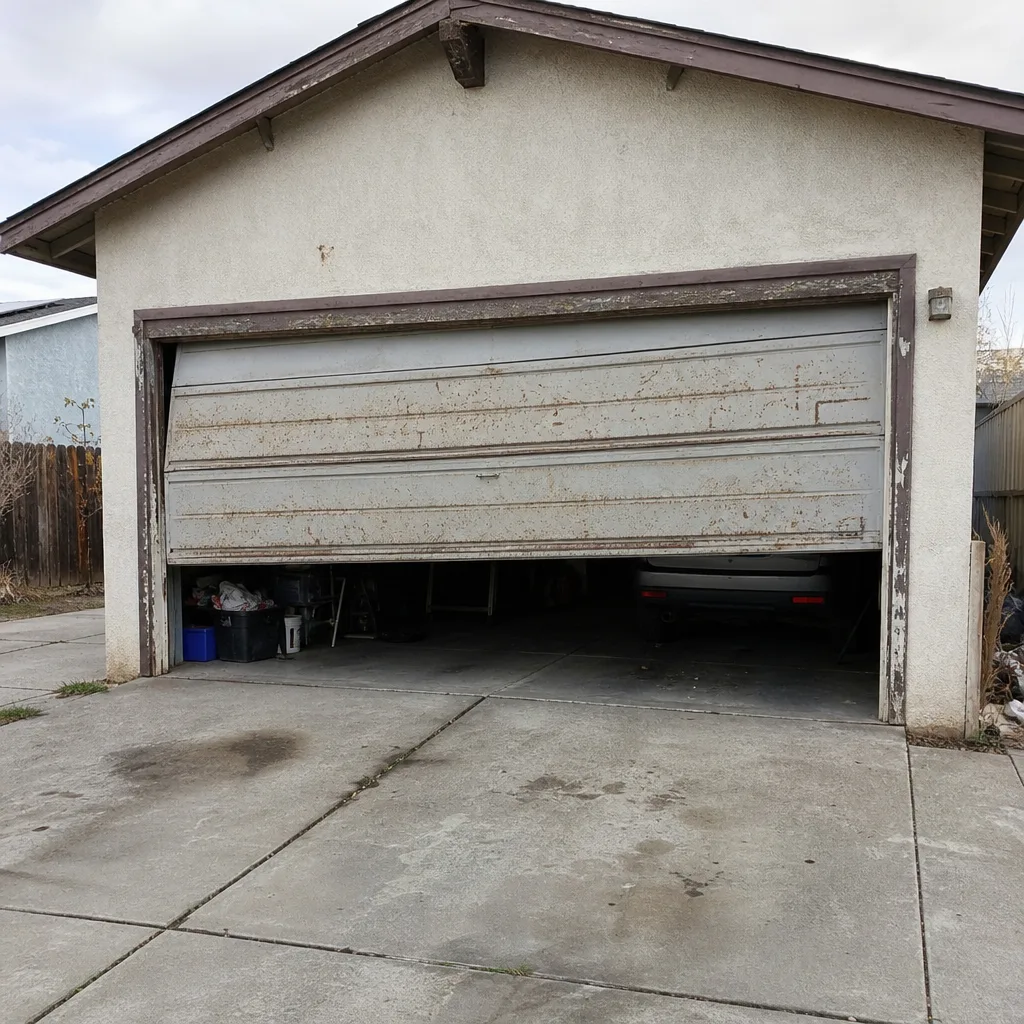 Before
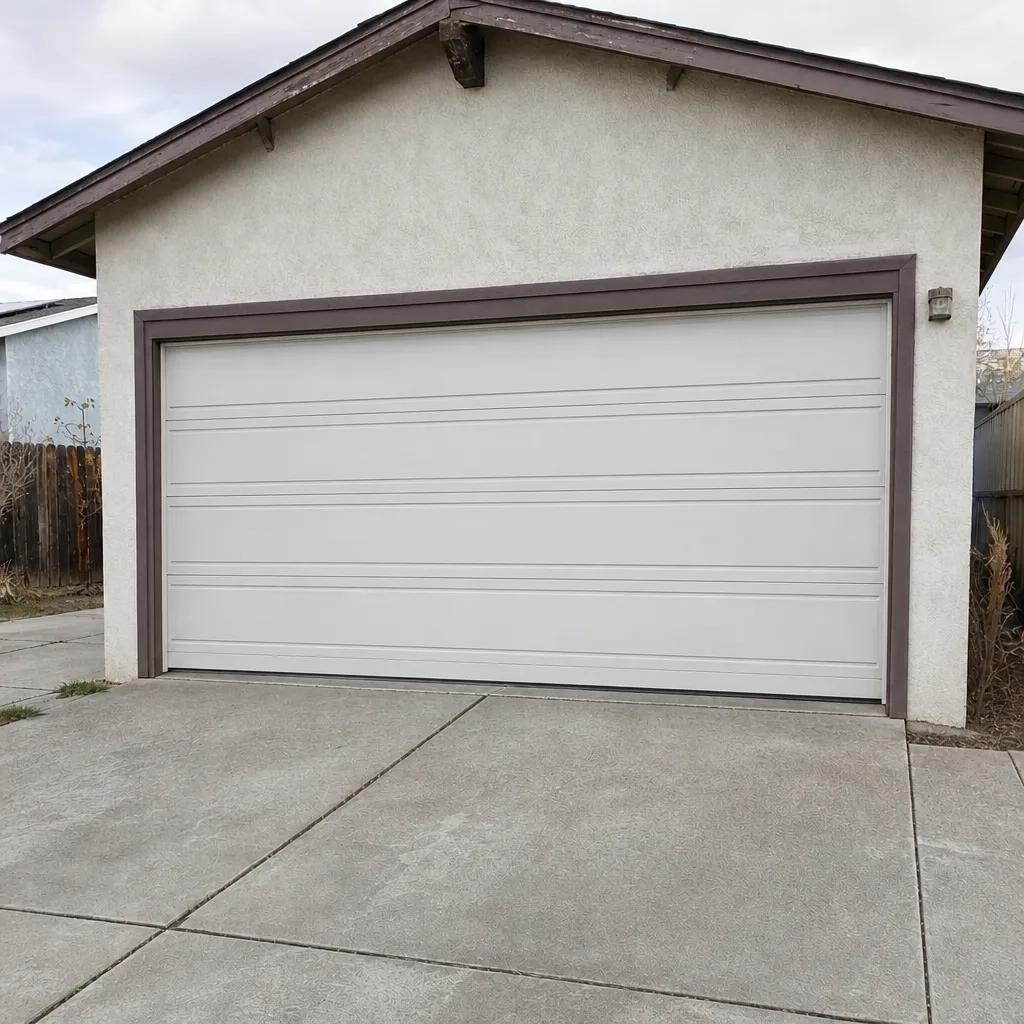 After
How to Program a Garage Door Opener in Winchester, NV: The Learn Button Method, Timed Right
Press the Learn button on your opener, then press and hold your remote button within 30 seconds - that’s the whole job for most post-2011 openers. Program one remote at a time: the Learn button doesn’t stay active while you walk back to the car for the second remote, and pressing Learn again for remote #2 erases remote #1 from memory. That single timing mistake is behind most “it worked once, then quit” calls we take in Winchester. If two attempts fail, call (855) 517-0284 and we’ll confirm your opener model and walk you through the exact sequence, no callback window.
Winchester’s housing runs from 1950s-1970s ranch homes near the east side to 1980s-2000s stucco subdivisions and 2010s townhome infill, which means openers of four different vintages sit within a few blocks of each other. The programming steps change with the generation, not the brand on the door.
Step-by-Step: Programming a Remote on a Post-2011 Opener
- Find the Learn button. It’s on the back or side of the motor housing, usually a small colored button next to the antenna wire. On Chamberlain and LiftMaster units it sits under a plastic lens cap you press to open.
- Note the LED and button color. Write it down. That color tells you the radio frequency the opener listens on (more on this below).
- Press and release Learn once. The LED goes solid or blinks. You now have about 30 seconds.
- Within that window, press and hold the remote button for 2-3 seconds until the opener clicks or the LED flashes. Release.
- Test the remote immediately. If it opens, stop. Move to the second remote only after confirming the first one works - pressing Learn again to add remote #2 wipes remote #1.
That last point trips up more Winchester homeowners than any other. The button is a one-shot enrollment window, not a multi-remote session. Program, test, then repeat from step 1 for the next remote.
What the Learn Button Color Tells You (Chamberlain, LiftMaster, Genie, Craftsman)
The LED color isn’t decoration - it identifies which security protocol the opener uses, which in turn decides whether a given remote will pair at all.
- Chamberlain / LiftMaster, purple button: Security+ 2.0 rolling code. Needs a matching Security+ 2.0 remote or a HomeLink system compatible with it.
- Chamberlain / LiftMaster, yellow button: Security+ 2.0 with MyQ. These are the units where the app setup step matters (see below).
- Chamberlain / LiftMaster, orange or red button: Older Security+ or pre-Security+ rolling code. A modern remote won’t pair to these; you need the era-correct remote.
- Genie, red Learn button: IntelliCode rolling code. Programming sequence is the same press-and-hold, but the 30-second window is shorter on some models.
- Craftsman: varies by model year. A 2005 Craftsman may be rolling code; a 1998 Craftsman may not be. Check the sticker inside the motor housing cover for the model number before buying a replacement remote.
We see all four generation bands across Winchester’s 1980s-2000s stucco subdivisions, often on the same street. Two neighbors with identical-looking doors can have openers that require entirely different remotes.
BeforeAfterRolling Code vs. Fixed Code: Why Your Remote “Works Once, Then Stops”
Openers built after roughly 1996 use rolling security codes that change with every use. If you try to program a fixed-code remote - the kind sold cheap online or inherited from a pre-1996 opener - onto a rolling-code opener, it will often appear to work on the first press and then fail permanently. The remote isn’t broken. It simply can’t match the rolling code generation system, so the opener rejects it after the first cycle.
The fix is a remote built for the opener’s code generation, not more attempts with the old one. The model sticker on the motor housing cover is the fastest way to confirm which generation you have. If you can’t read the sticker, our team can identify the opener from a photo - the home page explains how we handle that diagnostic remotely.
HomeLink (Car Visor) Programming: A Two-Person Job
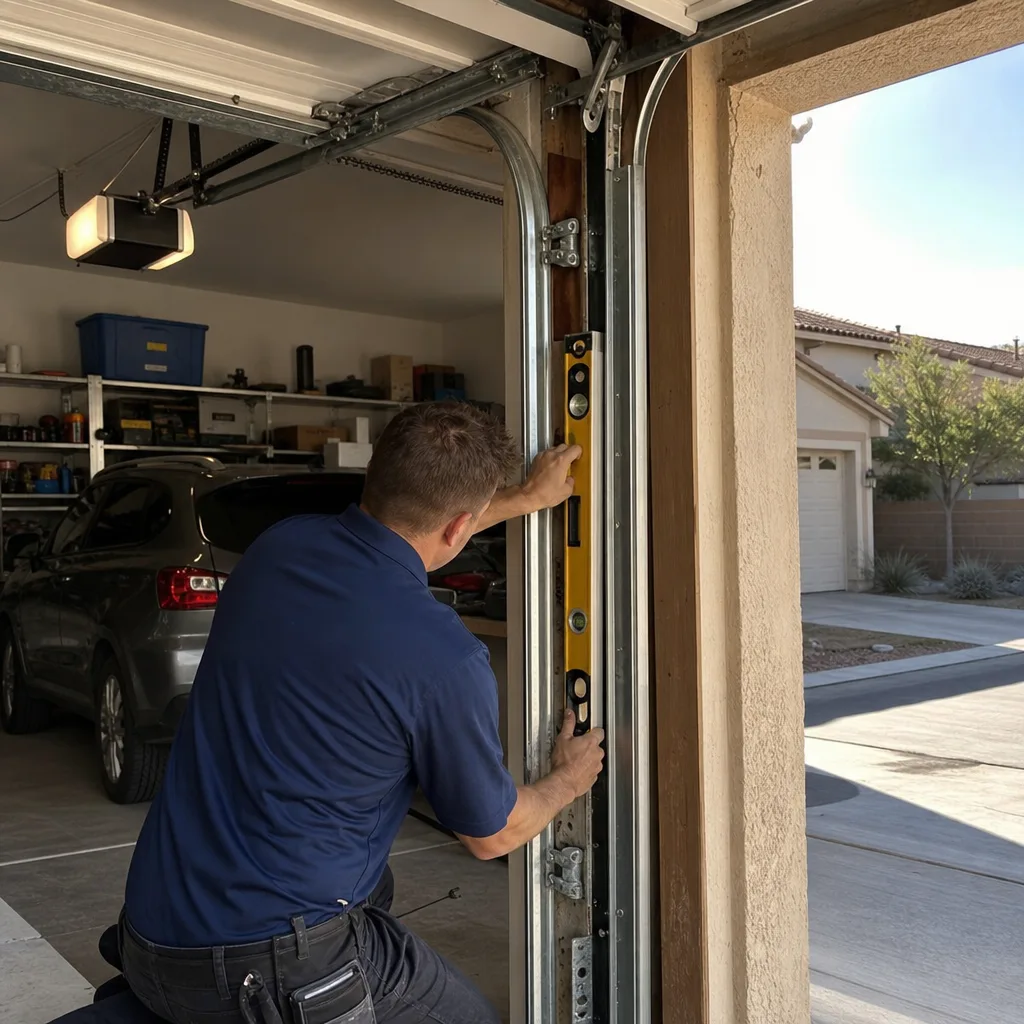
HomeLink buttons on the car visor need the remote battery to be fresh and the opener in Learn mode at the same time. That makes it a two-person task in almost every Winchester driveway - one person at the opener pressing Learn, one in the car holding the HomeLink button. Done solo, the 30-second window closes before you get back to the car.
The sequence: press Learn on the opener, get back to the car within the window, and hold the HomeLink button until the opener responds. If the car is a newer model with a rolling-code-compatible HomeLink, this usually works in one pass. Older HomeLink systems need a separate remote-to-HomeLink training step first, using the original handheld remote as the source. Program the handheld remote to the opener first, then train HomeLink from the handheld.
The 2010s Townhome Case: MyQ-Enabled Openers
Some of Winchester’s 2010s townhome infill was built with MyQ-enabled openers that require an app setup step before the physical remote programs correctly. The opener registers to the MyQ account and the cloud handshake has to complete before the local Learn enrollment will hold. Skip that step and the remote appears to program but drops out within a day.
Generic programming articles miss this entirely because they were written before MyQ became standard on new construction. If your townhome was built in the last decade and the remote keeps deprogramming, do the app setup first, then return to the Learn button sequence.
When to Stop Trying and Call
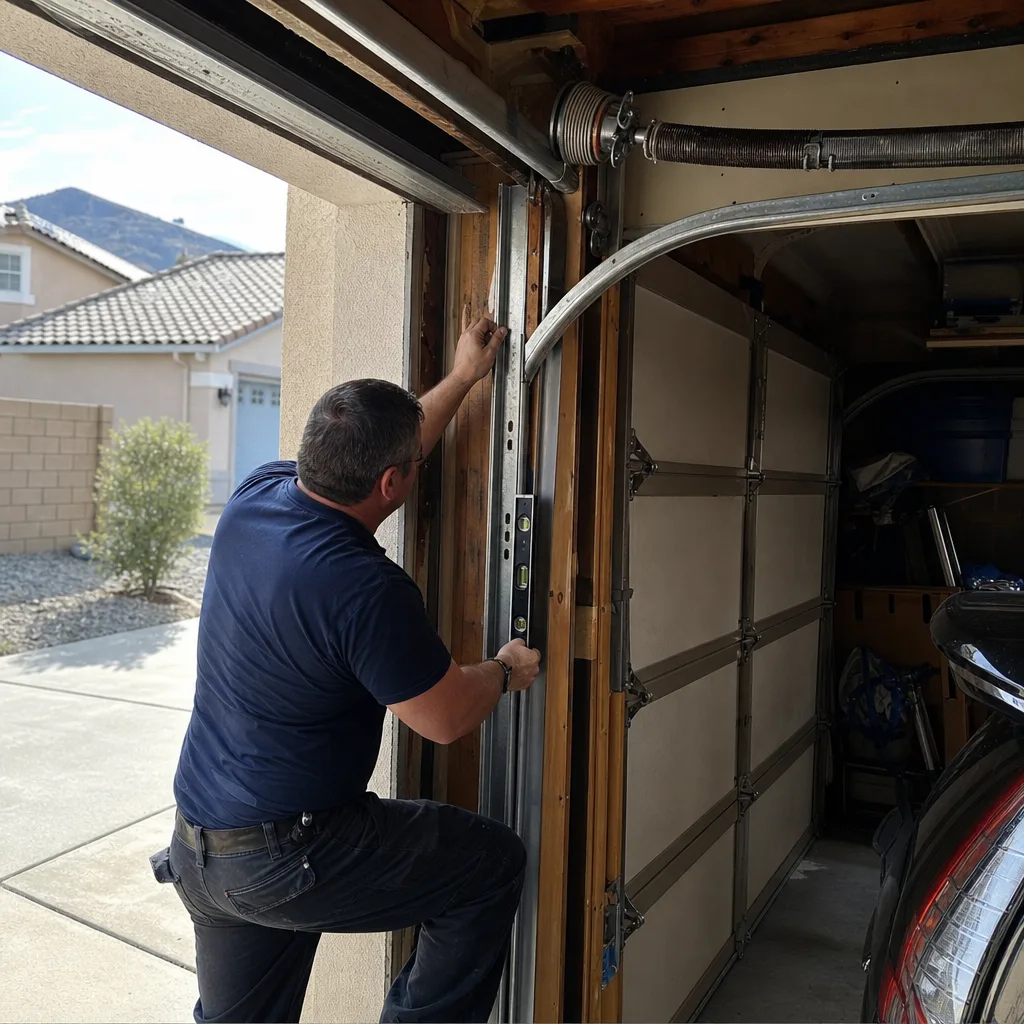
If programming fails after two clean attempts with the right remote, the problem usually isn’t the sequence - it’s the opener’s logic board or the remote’s battery/circuit. At that point, more button presses cost time without changing the outcome. A live call to (855) 517-0284 confirms the model and talks through the exact sequence with no hold loop, and if a technician visit is needed, the written quote covers the diagnostic before any reprogramming begins. Opener repair in Winchester runs $120-$320 depending on the part, and opener installation runs $250-$550. Our technicians have up to 11 years of experience, and the local pro we connect you with is licensed and insured as Nevada requires.
For full detail on our opener work, see Garage Door Opener Repair & Installation and the Garage Door Opener Repair & Installation in Winchester guide. If the opener checks out but the door still won’t cycle cleanly, the issue may sit in the door itself and not the remote at all.
Key Takeaways
- Press Learn, then program within 30 seconds.
- One remote at a time. Pressing Learn for remote #2 wipes remote #1.
- Learn button color (purple, yellow, orange/red, Genie red) maps to the code generation and the remote you need.
- A fixed-code remote on a rolling-code opener works once, then stops. Not broken - mismatched.
- HomeLink is a two-person job. MyQ townhome openers need app setup first.
FAQs
Press the Learn button on the opener, then press and hold your remote button within 30 seconds until the opener clicks. Program one remote at a time and test before moving to the next, because pressing Learn again erases the previous remote. If two attempts fail, call (855) 517-0284 and we’ll confirm your opener model and sequence - estimates are free.
It almost always means a fixed-code remote is trying to pair with a rolling-code opener built after about 1996 - the opener accepts the first press and rejects every one after. The fix is a remote that matches the opener’s code generation, identified from the model sticker inside the motor housing cover. If you’re unsure which generation you have, call (855) 517-0284 for a free walk-through.
Programming on the phone is free, and an on-site opener repair usually runs $120-$320. Opener installation runs $250-$550 when the unit itself needs replacing. We don’t quote on a hunch; if a technician visits, the written price and scope come before any work starts. Call (855) 517-0284 for an exact quote - estimates are free.
Yes. Calls are answered live around the clock, including weekends and holidays, and emergency requests get a same-day visit when one is needed. Most programming issues resolve on the phone in a few minutes, so call (855) 517-0284 first - if a visit is required, you’ll have a written price before anyone drives out.
-
The Servo way on every job: written price and scope before work (Clause 1 of The Haven Standard), a photo of the failed part before any replacement quote (Clause 4), and a documented photo record delivered when the technician leaves. Free second opinion on any competing written estimate - bring the paperwork.
If you’d rather have it looked at, Servo Garage Doors Winchester offers a no-pressure assessment in Winchester - call (855) 517-0284. Written price before any work, photos of what we found, and the 365-Day Done Right Promise.
Written by the team at Servo Garage Doors Winchester, serving Winchester, NV.