
Last updated November 18, 2026
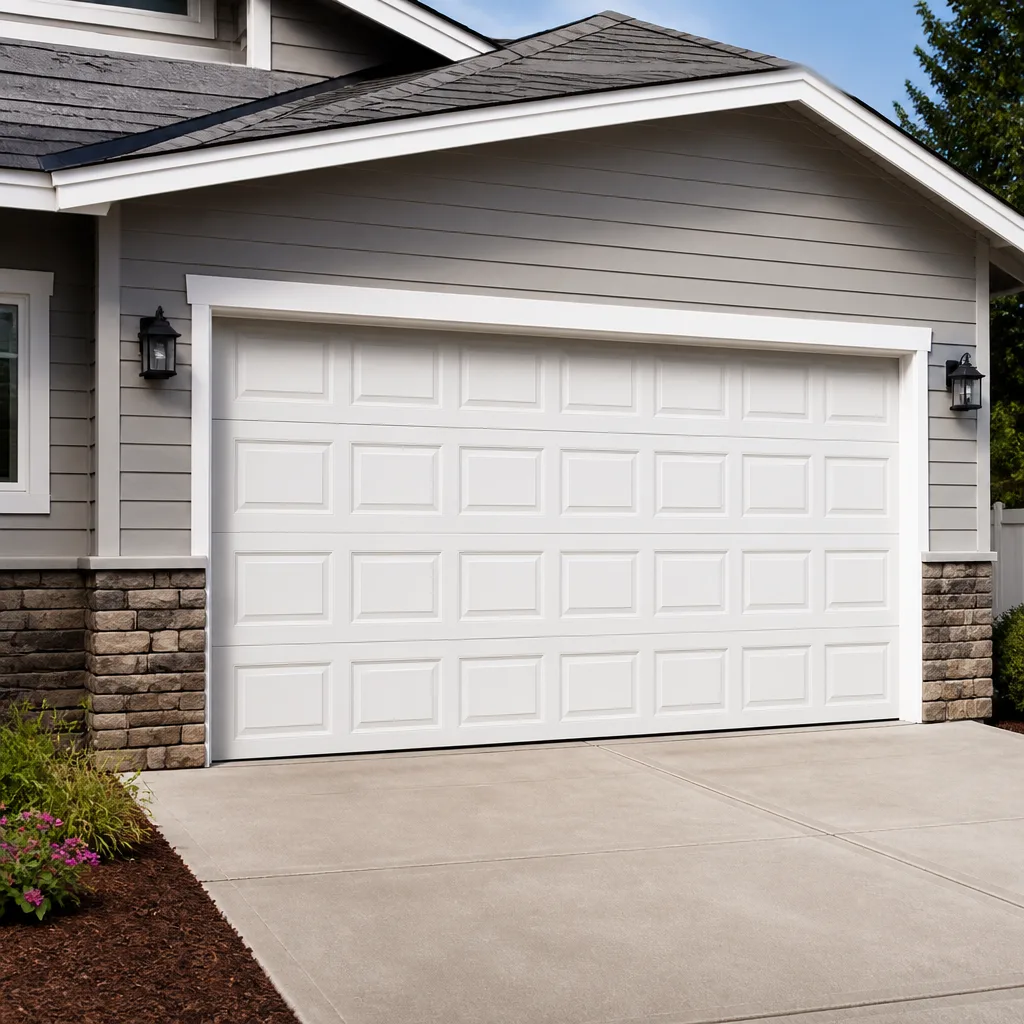 Raised-panel steel
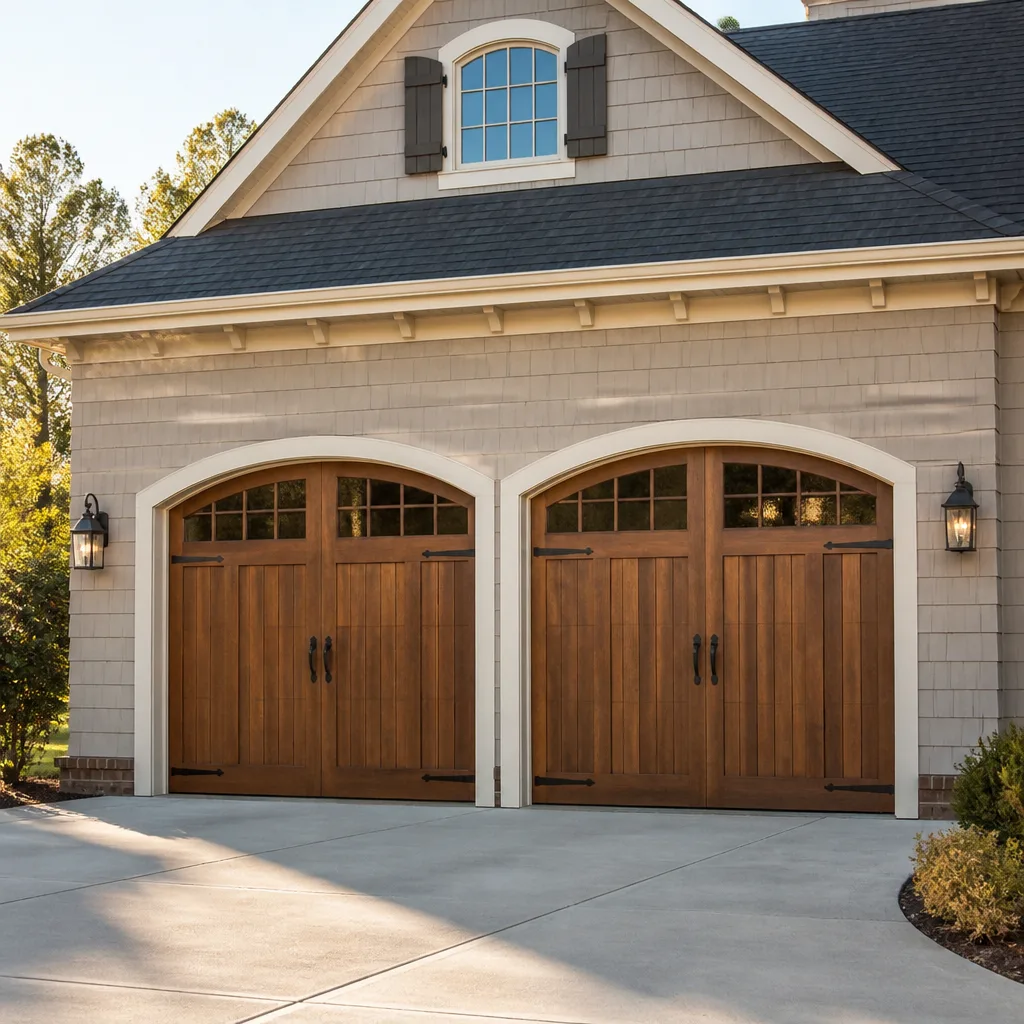 Carriage house
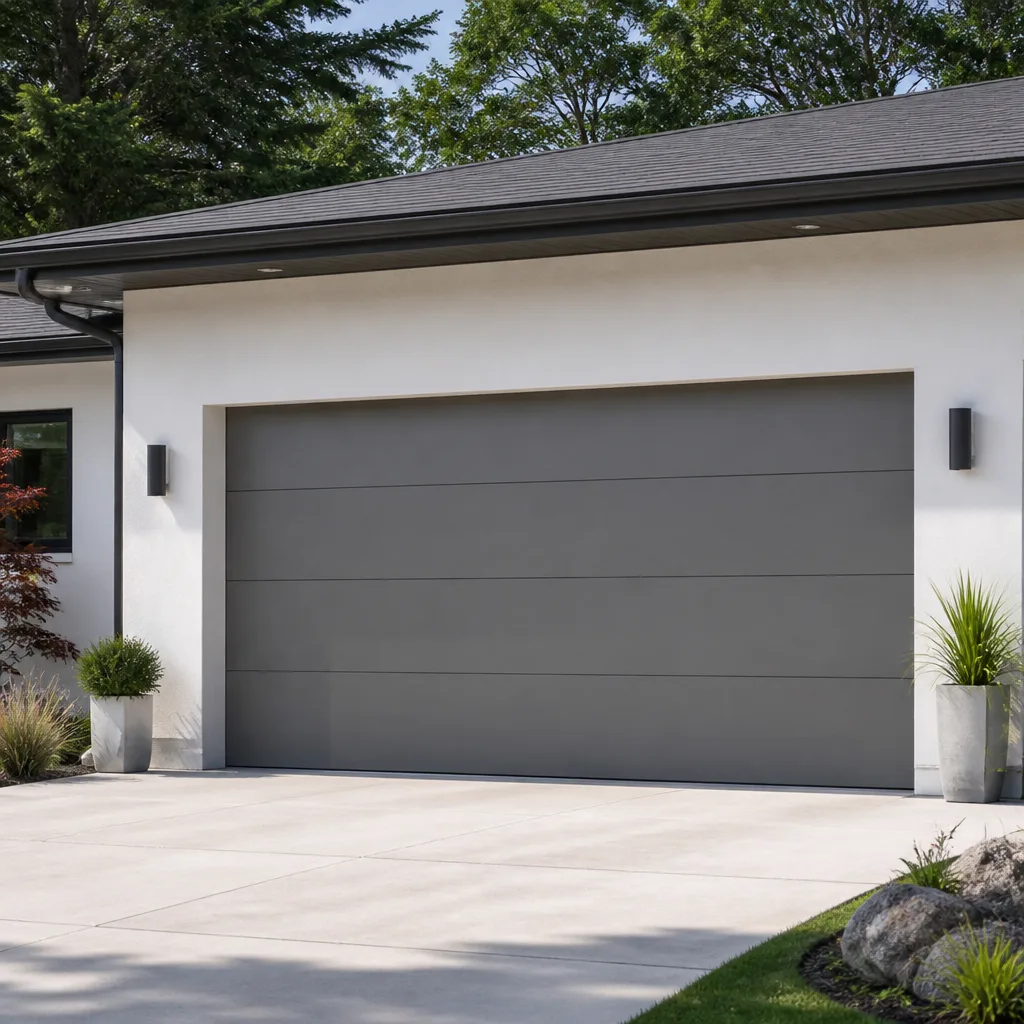 Modern flush
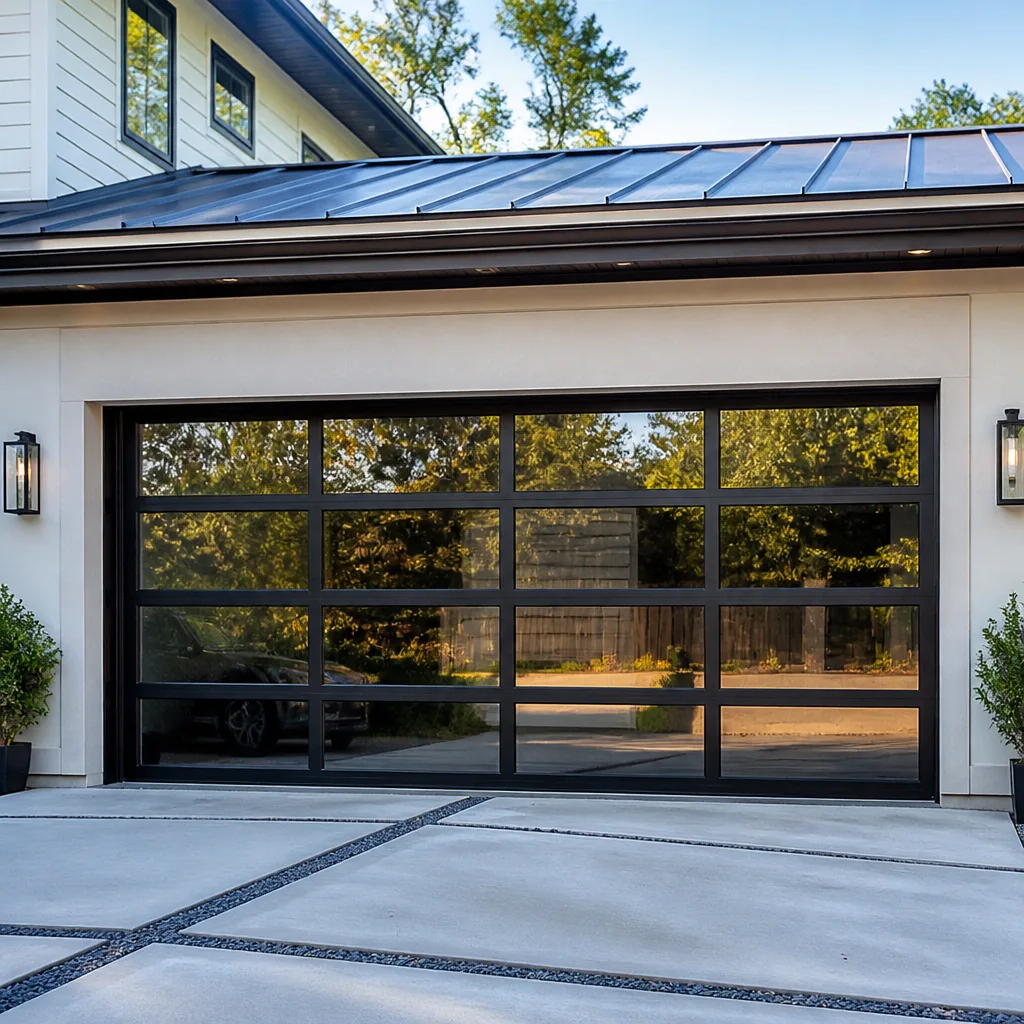 Full-view glass
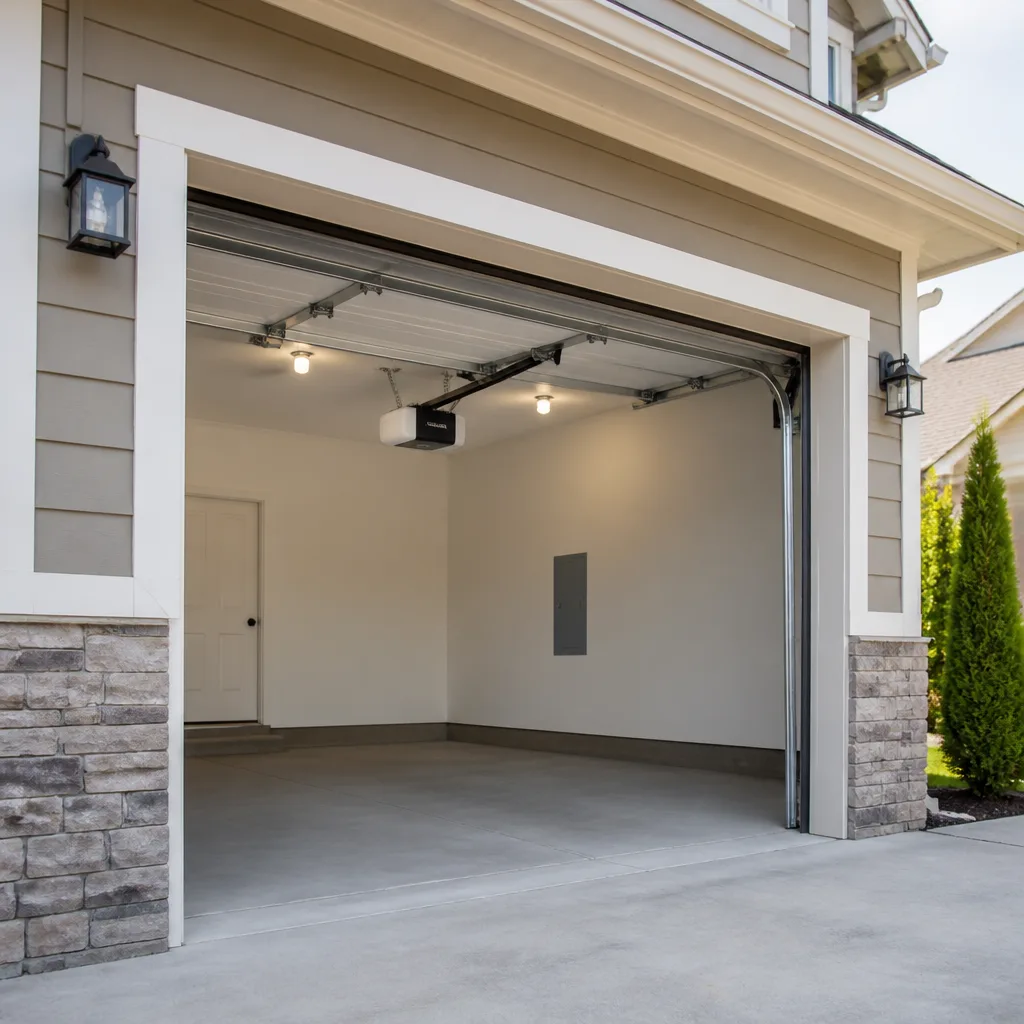 LiftMaster openers
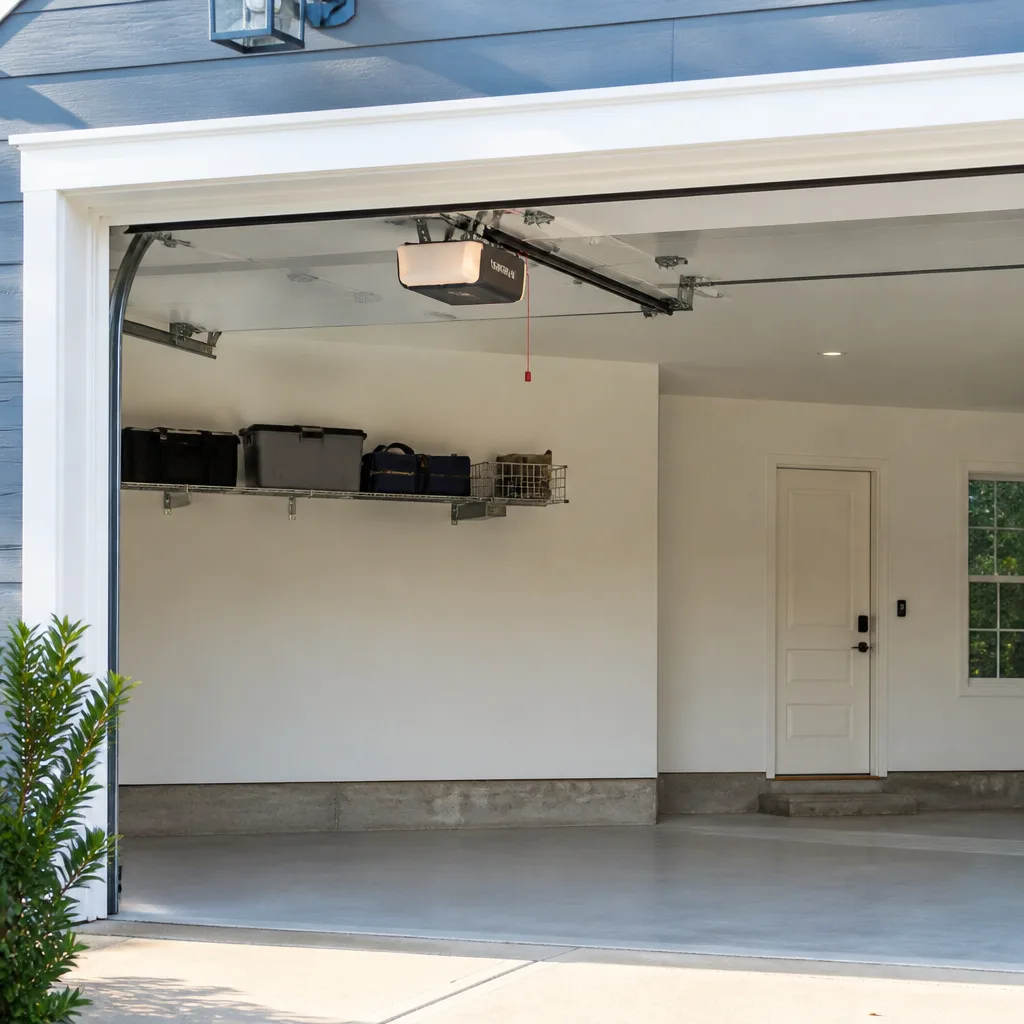 Chamberlain openers
Full 25-point door and opener safety check with every visit - springs, cables, rollers, tracks, and your LiftMaster or Chamberlain opener included
You get a price before we start. It does not change when the pro arrives.
Get your free estimateDIY vs Professional Garage Door Opener Repair & Installation: What’s Safe to Do Yourself
Mounting an opener rail to a ceiling is not mechanically hard. Anyone who can hang a shelf can likely drive the lag bolts. But if that mounting hardware pulls loose and the opener comes down on a vehicle, or a spring-loaded door slams because the travel limits were set wrong, the question your homeowner’s insurance adjuster asks is not whether you were handy. It’s whether a licensed technician signed off. That’s a documentation problem, not a skills problem, and it’s the frame most DIY guides miss entirely. This guide sorts opener work into what a prepared homeowner can safely do, what quietly voids a warranty or complicates a claim, and what should never be touched without a trained pro. We’ll keep it specific to Winchester throughout, because the local climate changes a few of the answers.
Quick Answer
Reprogramming a remote, realigning photo-eyes, using the manual release, and swapping a wall-button wire are genuinely safe DIY tasks. Installing a new opener, adjusting anything that interacts with the spring system, and touching 240V wiring are jobs where professional documentation has value beyond the labor, because a licensed technician’s written record of the installed model, force settings, and photo-eye test is what protects you if hardware fails later. In Winchester, the cost of that documentation is usually smaller than the deductible on a single insurance claim.
Styles & brands we work with
- Raised-panel steel
- Carriage house
- Modern flush
- Full-view glass
- LiftMaster openers
- Chamberlain openers
Table of Contents
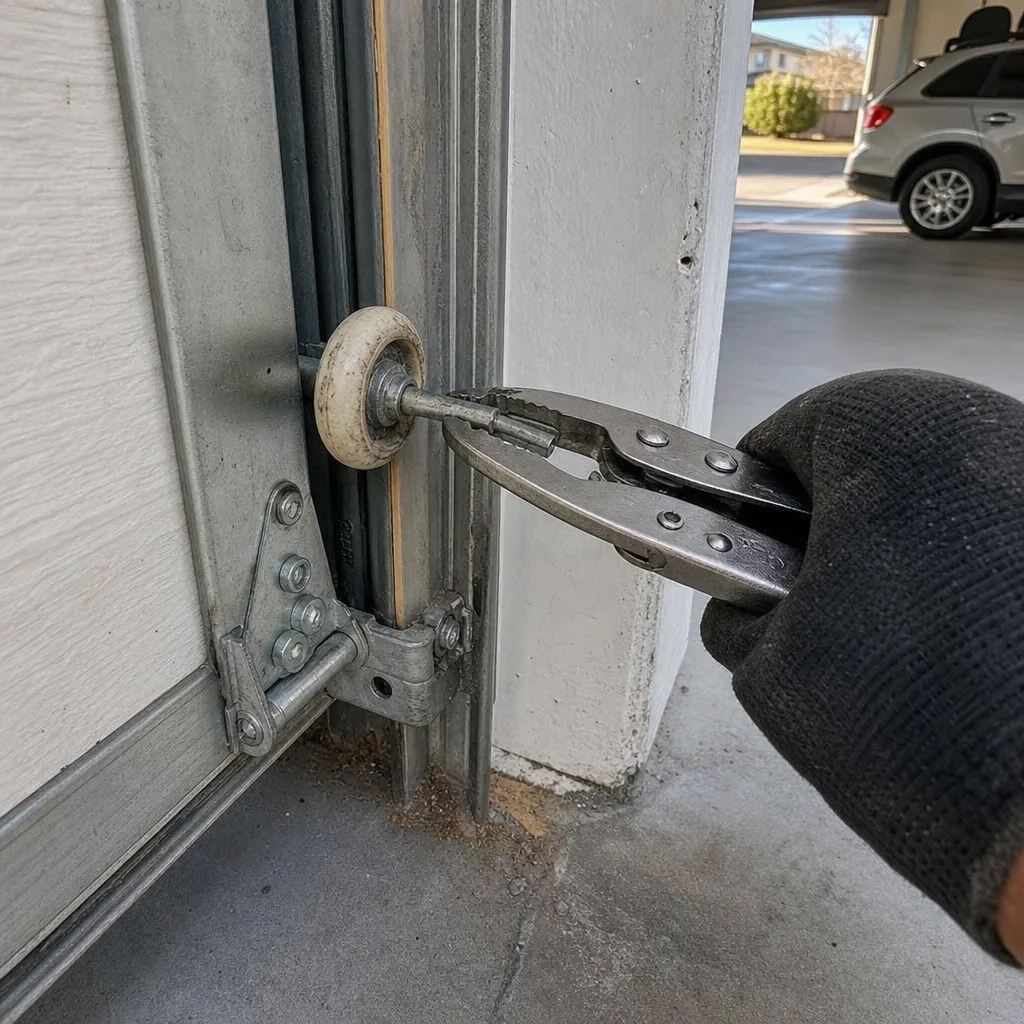
- Why Skill Level Is the Wrong Question: Three Axes That Actually Matter
- The Four Opener Tasks That Are Genuinely Safe to Do Yourself
- Where Professional Documentation Has Value Beyond the Labor
- What “Professional Installation” Documentation Should Actually Contain
- When DIY Repair Voids a Warranty, and How to Check First
- How Winchester Conditions Affect Your Opener Decisions
- Opener Repair and Installation Cost Ranges in Winchester
- The Hard Safety Limits: What Never Goes on a DIY List
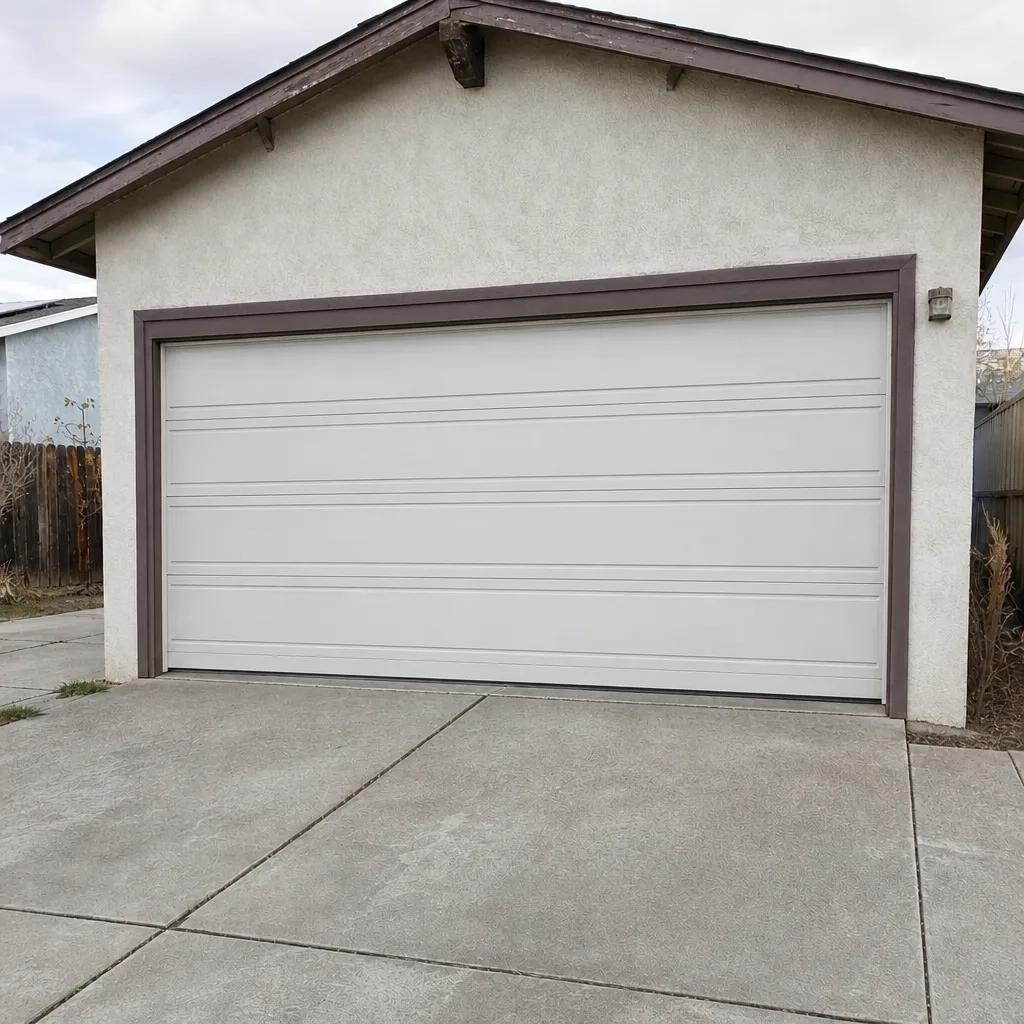
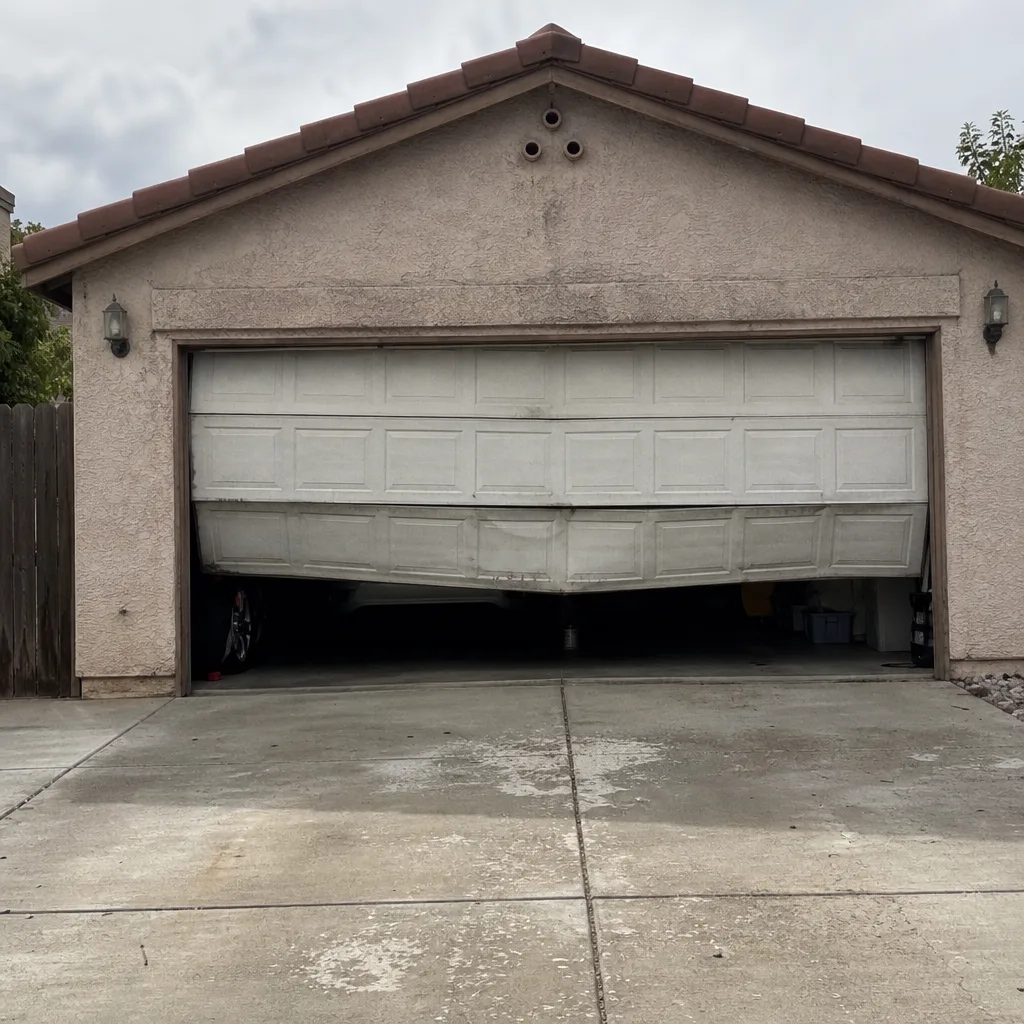 Before
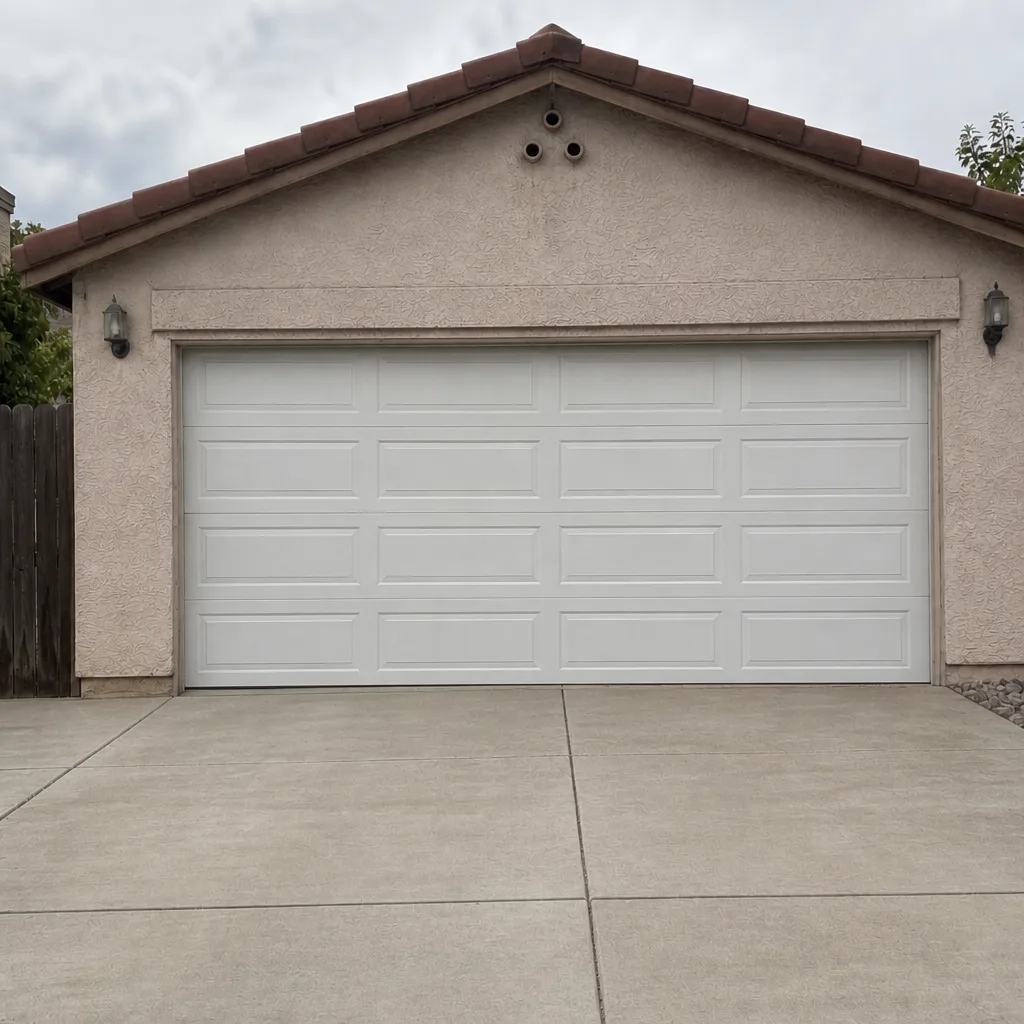 After
Why Skill Level Is the Wrong Question: Three Axes That Actually Matter
Most DIY-versus-pro comparisons are organized around one question: how hard is it? That’s the least useful of the three axes. A task can be physically easy and still be a bad idea, and a task can be physically hard and be fine for a careful homeowner with the right tools. Here are the three axes we use when a Winchester customer asks whether they should attempt something themselves.
- Technical difficulty. How much specialized knowledge, physical strength, and tooling does the task require? This is the axis everyone already thinks about.
- Parts-cost exposure if it goes wrong. If you misdiagnose or damage something, what does the replacement part cost? A $12 photo-eye bracket is low exposure. A logic board on a Chamberlain or Genie unit can run $150 to $300 or more, and an opener that was working when you started and isn’t when you finish is a worse position than calling a tech.
- Insurance and warranty implications. This is the axis almost nobody covers. If the work involves mounting hardware, a spring-loaded door, or line-voltage wiring, a botched job can affect a homeowner’s insurance claim or void a manufacturer warranty, independent of whether you did it well.
A task scores “safe DIY” only when all three axes are low. Reprogramming a remote scores low on all three. Installing a new opener unit to overhead framing scores low on difficulty, moderate on parts exposure, and high on documentation, which pushes it out of the DIY column for most Winchester homeowners, particularly in older neighborhoods where the ceiling framing predates modern construction standards.
The Four Opener Tasks That Are Genuinely Safe to Do Yourself
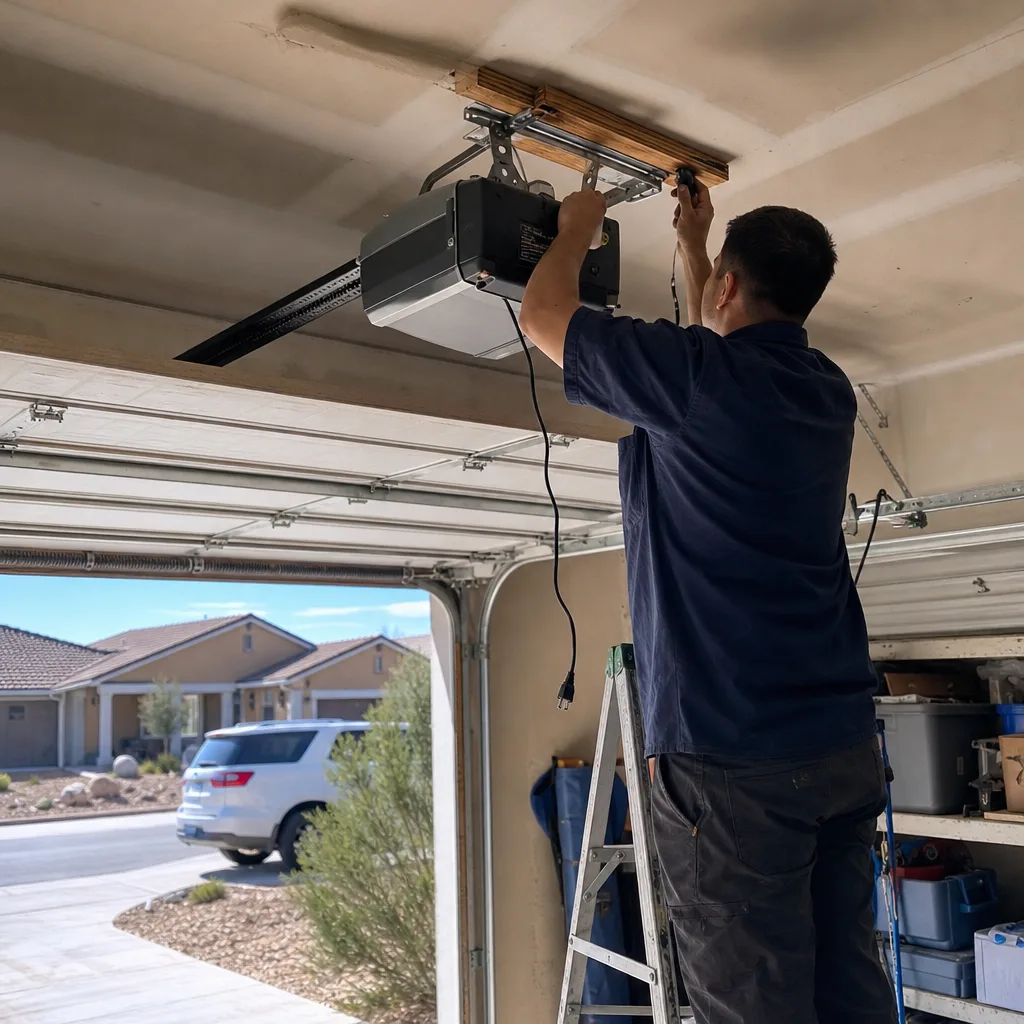
These four tasks are the ones we routinely tell Winchester callers to try before booking a visit. They’re low-risk, low-cost if they go wrong, and they don’t touch anything that carries a warranty or insurance question. If one of these solves your problem, you don’t need us.
- Remote and keypad reprogramming. Whether you’re syncing a new remote to a LiftMaster or Chamberlain opener or resetting a keypad PIN, this is a button sequence. The manual has it, the sequence isn’t destructive, and if it fails you simply haven’t changed anything. We’ll walk you through it on the phone if you can’t find the manual.
- Photo-eye realignment. If the door won’t close but the opener runs, look at the two small sensors at the base of the tracks. If one LED is blinking or dark, the beam is misaligned or dirty. Wipe the lens, check that neither bracket got bumped by a recycling bin, and nudge the bracket until both LEDs are steady. This is safe and reversible.
- Manual release operation. The red cord hanging from the trolley carriage lets you disengage the door from the opener. Every homeowner should know how to use it in a power outage. Pull it, operate the door by hand, and re-engage by running the opener. Nothing here can hurt you as long as the door itself is balanced and the springs are intact.
- Wall-button wire replacement. The low-voltage wire running from the wall button to the opener head can be swapped with basic bell wire and a staple gun. This is 24-volt control wiring, not line voltage. It’s tidy work, and a bad connection just means the button doesn’t work, not that anything burns.
What these four share is a property worth naming: failure is graceful. If you get one wrong, the worst outcome is a door that doesn’t move, not a door that drops, a panel that arcs, or a motor that needs replacing. Our technicians have up to 11 years of experience, and the calls we least mind getting are the ones where the customer has already tried the safe four and just needs the next step confirmed.
Where Professional Documentation Has Value Beyond the Labor
For three categories of work, the paper trail is worth more than the wrench time. This is the argument that gets missed when people frame the DIY question purely around skill. The time you save doing it yourself gets spent later, sometimes years later, when someone asks who installed the unit and on what basis it was signed off.
New opener installation
Mounting a new opener requires running the rail, positioning the head unit, setting the travel limits and force settings, and confirming the photo-eye system, and each of those has a spec. When a new unit is installed by a licensed technician, the record of who did the work and what settings they used is what stands between a homeowner and an insurance question after a hardware failure. If the mounting pulls loose and the unit drops onto a car in a Winchester driveway, the adjuster’s first question is about installation, not about the bolt.
Spring-system interaction adjustments
The opener doesn’t lift the door by itself, it assists a spring system that carries most of the weight. If the springs are unbalanced or the counterweight is wrong, adjusting the opener’s force setting to compensate masks a spring problem and wears the motor. Work that changes how the opener interacts with the springs should be signed off, because the springs are the dangerous part even though the opener is what you’re adjusting.
Any work on 240V wiring
Most residential openers run on 120V, but some setups, including certain detached-garage configurations common in Winchester’s older properties, involve a 240V circuit. Anything on the line-voltage side is electrician territory. The 24V control wire is fine. Line voltage is not, and no document you write yourself protects you there.
Where documentation matters most, we build it into the job by default. Clause 4 of The Haven Standard is why the technician photographs the failed component before quoting a replacement, and the same logic applies to installation: the customer receives a photo record of what was installed and how it was configured, not just a receipt. If you’re weighing the DIY route against a professional install, see our page on Garage Door Opener Repair & Installation in Winchester for what a documented install looks like end to end.
What “Professional Installation” Documentation Should Actually Contain
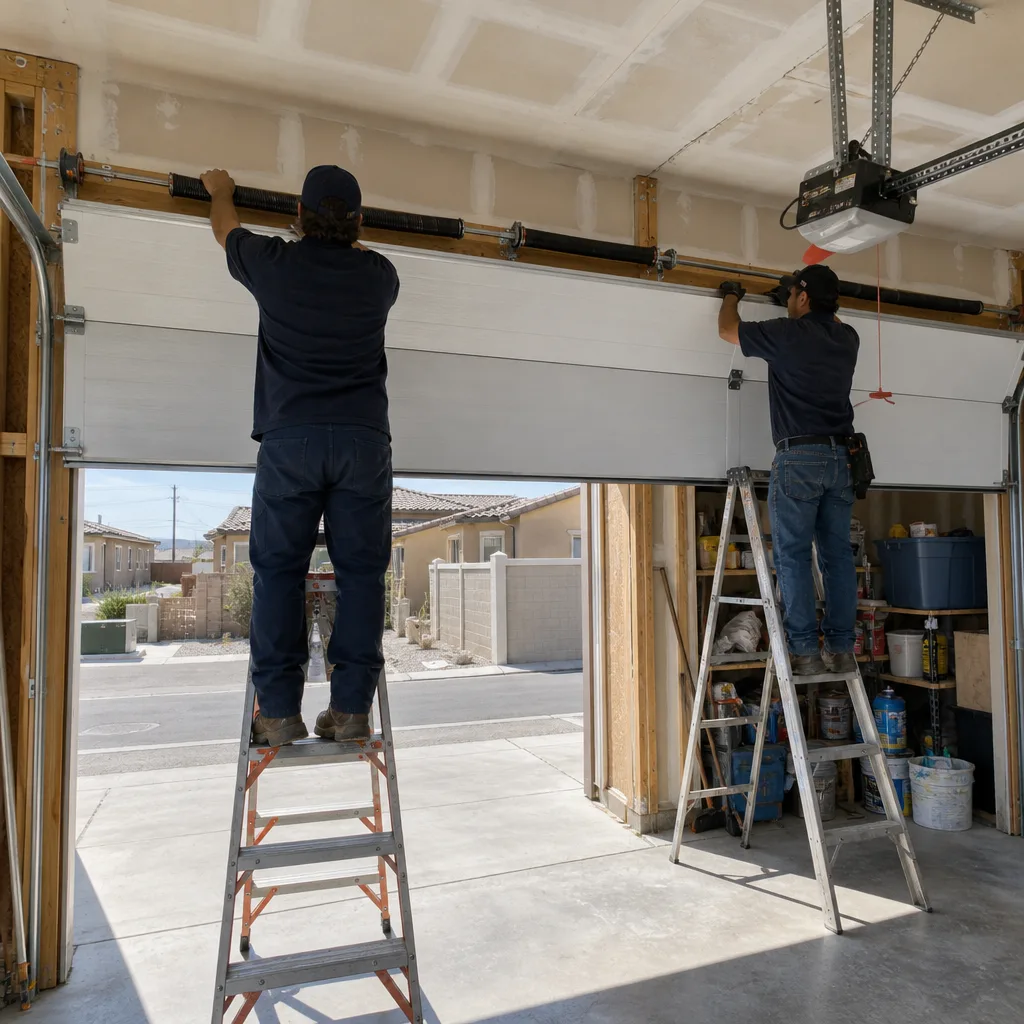
A receipt that says “opener installed” is not documentation. It’s a claim. If you’re hiring anyone to install or repair an opener, ask what record you’ll walk away with. A proper install record should let a future technician, or an insurance adjuster, reconstruct exactly what was done. Here’s what to ask for.
- The installed model and serial number. Written down, not just printed on the box that goes in the recycling. This is what you need if a warranty claim comes up on a Chamberlain or Genie unit two years later.
- Force settings. The specific force and travel-limit settings the technician used. These are the numbers that determine whether the door reverses correctly under load.
- Photo-eye test result. Confirm the safety reverse was tested and passed, with the result noted. This is the single most important safety function on the unit.
- Photo record of the mounting and connections. Pictures of how the head unit was secured and how the wiring was run. This is the part that answers an insurance question if a mounting failure ever occurs.
- Written scope and flat price. What was done, in plain language, quoted and agreed before the work started.
We include the photo record on every visit, not as an upsell. It traces directly to the founding rule that the customer sees the failed part before anyone quotes a replacement. If a contractor can’t tell you what’s in the record they’ll leave behind, that’s your answer about how seriously they take the documentation side of the job.
When DIY Repair Voids a Warranty, and How to Check First
Opening the housing on a garage door opener can void the manufacturer’s warranty on the components inside. This is the scenario that catches prepared, capable homeowners, the ones who could actually fix the problem but shouldn’t because of what they lose by trying. Before you touch a screwdriver to the unit, verify the warranty terms.
How to check warranty terms before opening any housing
- Find the model and serial number on the opener head or the manual. It’s usually on a sticker on the back panel.
- Look up the manufacturer’s warranty document for that model online. Chamberlain, Genie, and the other major brands publish these.
- Read the section on what voids coverage. Look specifically for language about unauthorized repair, opening the housing, or work by unlicensed parties.
- Note the warranty period on the motor versus the electronics. They’re often different, and the electronics are the part that fails.
- If you can’t find the terms or you’re within the warranty window, call a licensed technician before opening anything.
A common pattern: the motor is under warranty for a set period, but the logic board isn’t, or is under a shorter one. Opening the housing to swap something yourself can forfeit the covered portion even if you fix the immediate problem. If you’ve already had a repair attempted and aren’t sure where you stand, our Garage Door Repair in Winchester team can review the unit and the warranty status with you before recommending a path.
How Winchester Conditions Affect Your Opener Decisions
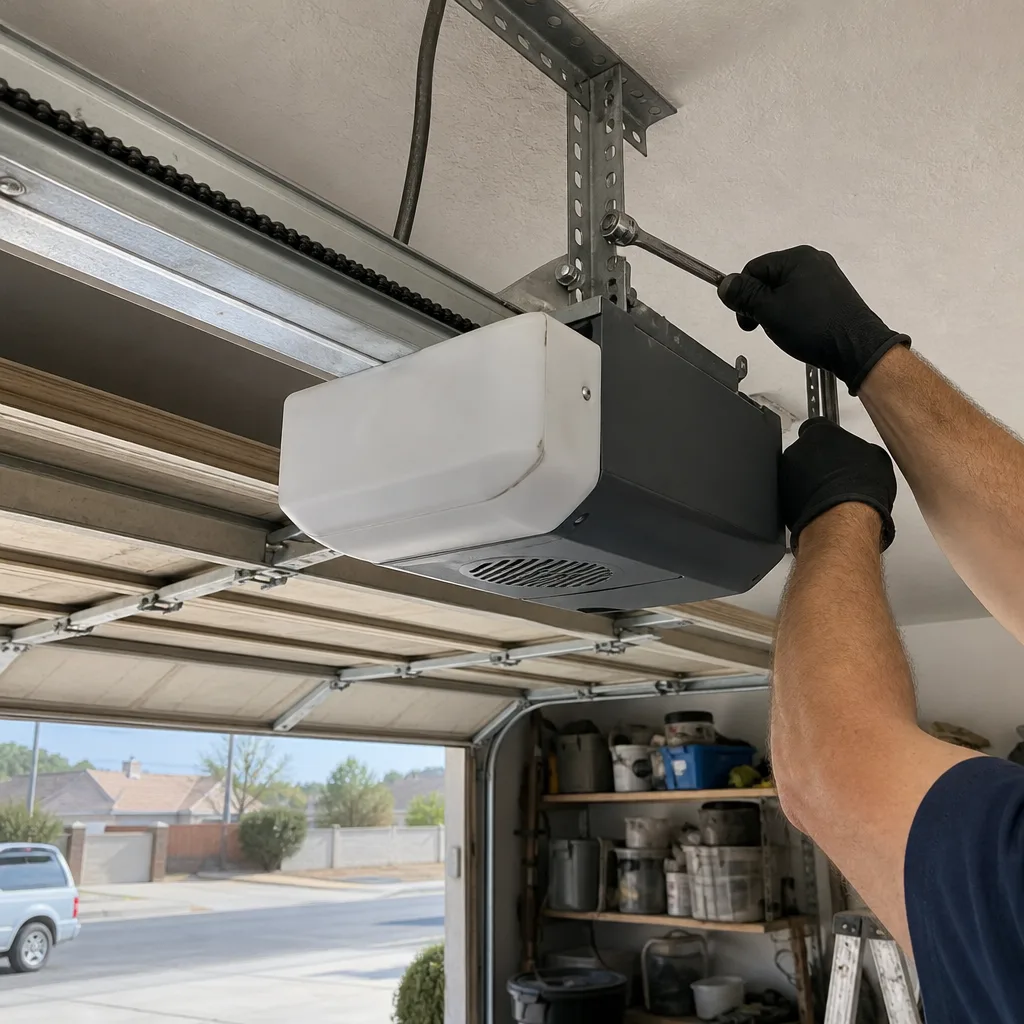
Winchester’s climate and building stock change a few answers in this guide, which is why we don’t hand out a generic national version. Summer heat and the dry stretches we get here work on opener electronics and the photo-eye lenses in ways that show up as repeat callbacks if you don’t account for them.
We regularly see photo-eye failures in Winchester after a dust storm has coated the lenses, and customers who assume the opener is dead when it’s actually a dirty sensor. That’s a five-minute DIY fix in the safe four above. The other Winchester-specific pattern is older garage framing in established neighborhoods, where the ceiling joists are not where a new opener’s mounting brackets want to be. A homeowner installing a unit in that setting may find the hardware spacing doesn’t line up with the framing, and the temptation is to lag into whatever’s nearby. That’s the mounting-failure scenario that turns into a documentation question. If you’re installing into older framing, have someone look at it before you drill.
When the door itself, not the opener, is the problem, that’s a different set of decisions covered on our Garage Door Installation in Winchester page. For a fast overview of what we offer across the area, our Servo Garage Doors Winchester home page lays out the full service list.
Opener Repair and Installation Cost Ranges in Winchester
Here’s what the work actually costs in the Winchester market, so you can weigh the DIY savings against the documentation value honestly. Prices are quoted in writing before any work starts, per Clause 1 of The Haven Standard. “Call for a quote” isn’t how this works. The ranges below are typical; your exact scope is confirmed and agreed before anyone touches the door.
| Task | Typical range | DIY-appropriate? |
|---|---|---|
| Remote / keypad reprogramming | $0 (manual or phone guidance) | Yes |
| Photo-eye realignment / cleaning | $0 to $75 if a tech is called | Yes, if it’s alignment or dirt |
| Wall-button wire replacement | $60 to $120 | Yes, with bell wire |
| Logic board replacement | $180 to $320 | No, warranty risk |
| New opener installation (single door) | $350 to $650 plus opener | No, documentation value |
| Force / travel limit adjustment | $75 to $150 | Conditional, springs involved |
| Safety reverse test and reset | $75 to $150 | No, if springs are implicated |
On installation and replacement, this is measured and scheduled work, not same-day work. You’ll get a free measure and a written price so you know exactly what’s ordered and when it’s scheduled. On repair and emergency calls, we answer live 24/7 and dispatch a named technician with an on-the-way text rather than a callback window. If you have a written estimate from another company, we’ll give you a free second opinion on the paperwork. Call (855) 517-0284 for an exact quote, because estimates are free.
The Hard Safety Limits: What Never Goes on a DIY List
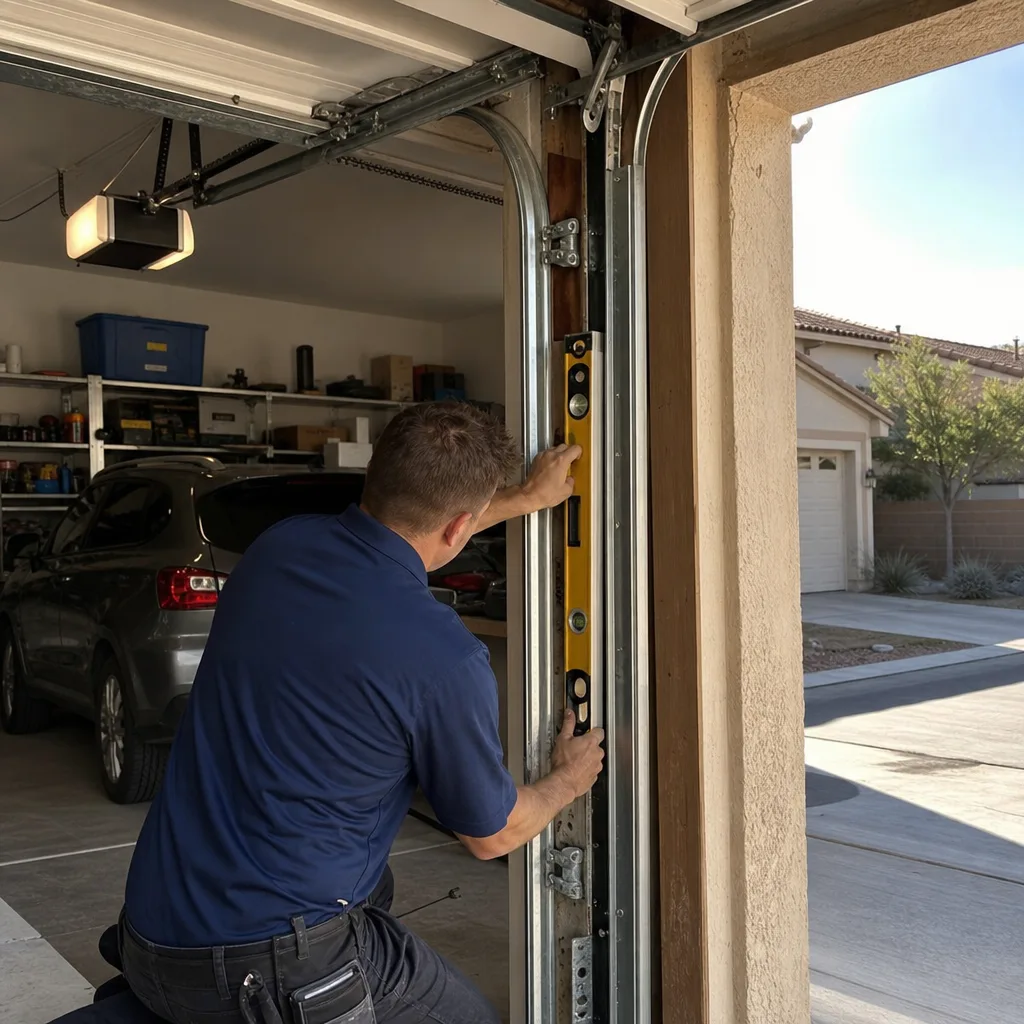
Some parts of a garage door system are genuinely dangerous, and no amount of confidence changes that. Torsion springs carry enormous stored energy; a spring under tension can cause severe injury in an instant, and the tools used to wind and unwind them are specialized for a reason. Extension springs have their own failure modes. The cables that run alongside the springs can snap under load. Anything on the line-voltage side of the opener carries a shock hazard. We don’t hand out step-by-step instructions for those jobs, because a guide that gets someone hurt is worse than no guide.
What you can safely do is understand the system and recognize when it’s telling you to call. If you hear a loud bang from the garage and the door won’t lift, that’s typically a broken spring, not an opener problem, and it’s a call, not a project. If the door comes down unevenly or reverses for no clear reason, stop operating it and have it looked at. Our Garage Door Repair in Winchester team handles spring and cable work, and we photograph the failed component before quoting a replacement so you can see what broke and why.
Common Mistakes to Avoid
- Adjusting the force setting to fix a door that feels heavy. The opener force limit is not a fix for a spring problem. Cranking it up wears the motor and masks a counterweight issue. In Winchester’s older garages, a heavy door is usually a spring, not an opener.
- Opening the housing while still under warranty. This forfeits coverage on the electronics, which are the parts that fail. Check the terms first, every time.
- Lag-bolting into whatever framing is nearby. If the joists don’t line up, don’t improvise. Wrong anchoring is exactly the scenario that turns a mounting failure into an insurance claim.
- Assuming a dirty photo-eye is a dead opener. We get these calls in Winchester constantly. Wipe the lens and check the bracket before booking anything.
- Self-signing an install record. A photo you took of your own work doesn’t carry the weight of a licensed technician’s documentation when an adjuster asks who signed off.
- Skipping the safety reverse test after any adjustment. Any time you touch the travel or force settings, re-test the reverse. It’s the function that keeps a child or a pet out from under the door.
- Buying a replacement opener before diagnosing the failure. Half the installs we do could have been a repair. Diagnose before you shop, or get a second opinion on the estimate you’ve been handed.
See the difference
BeforeAfter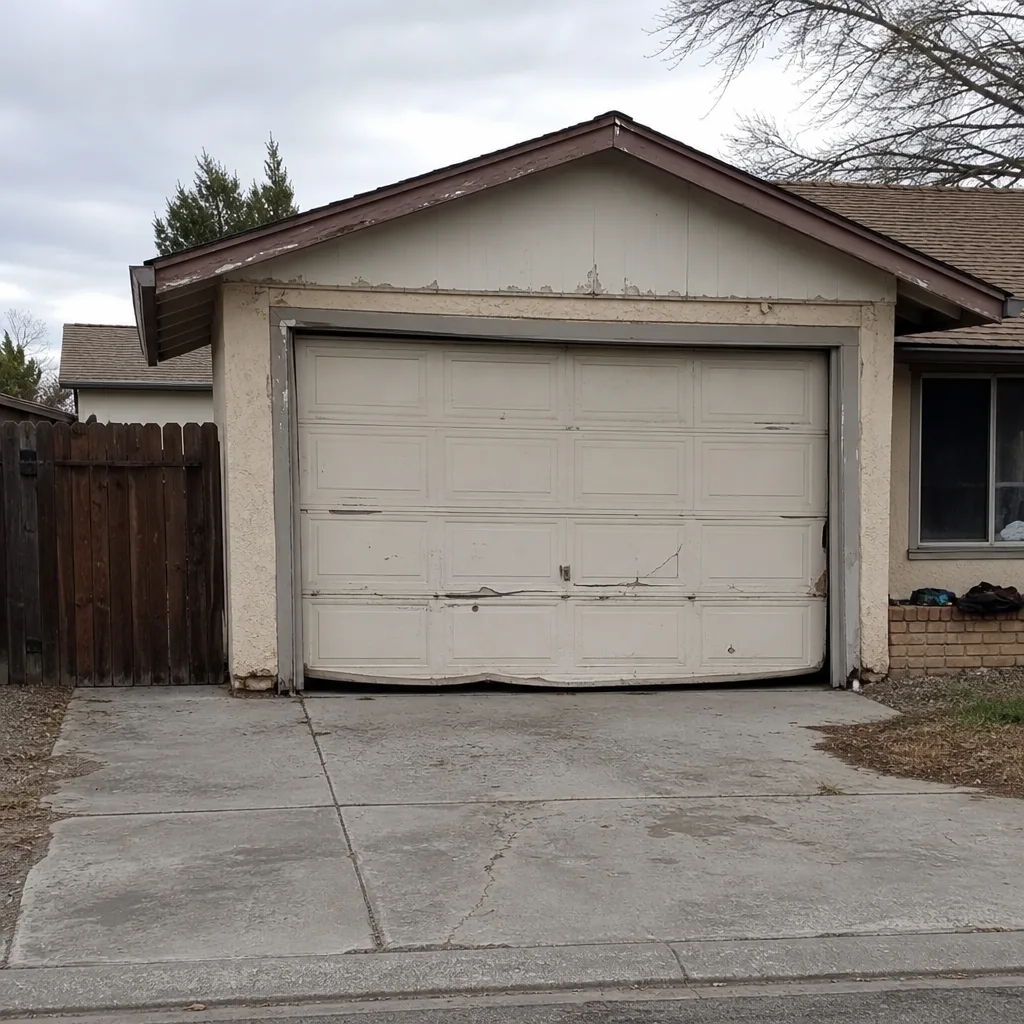 Before
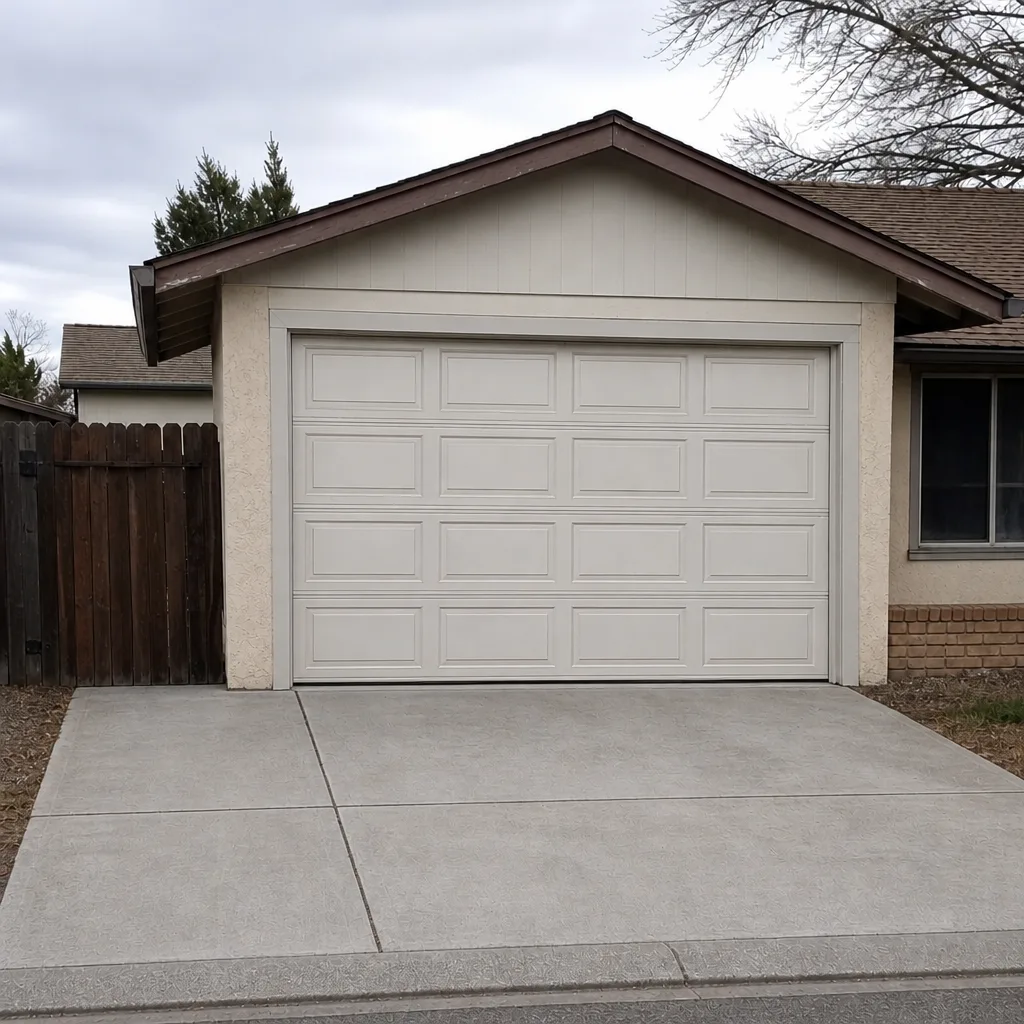 After
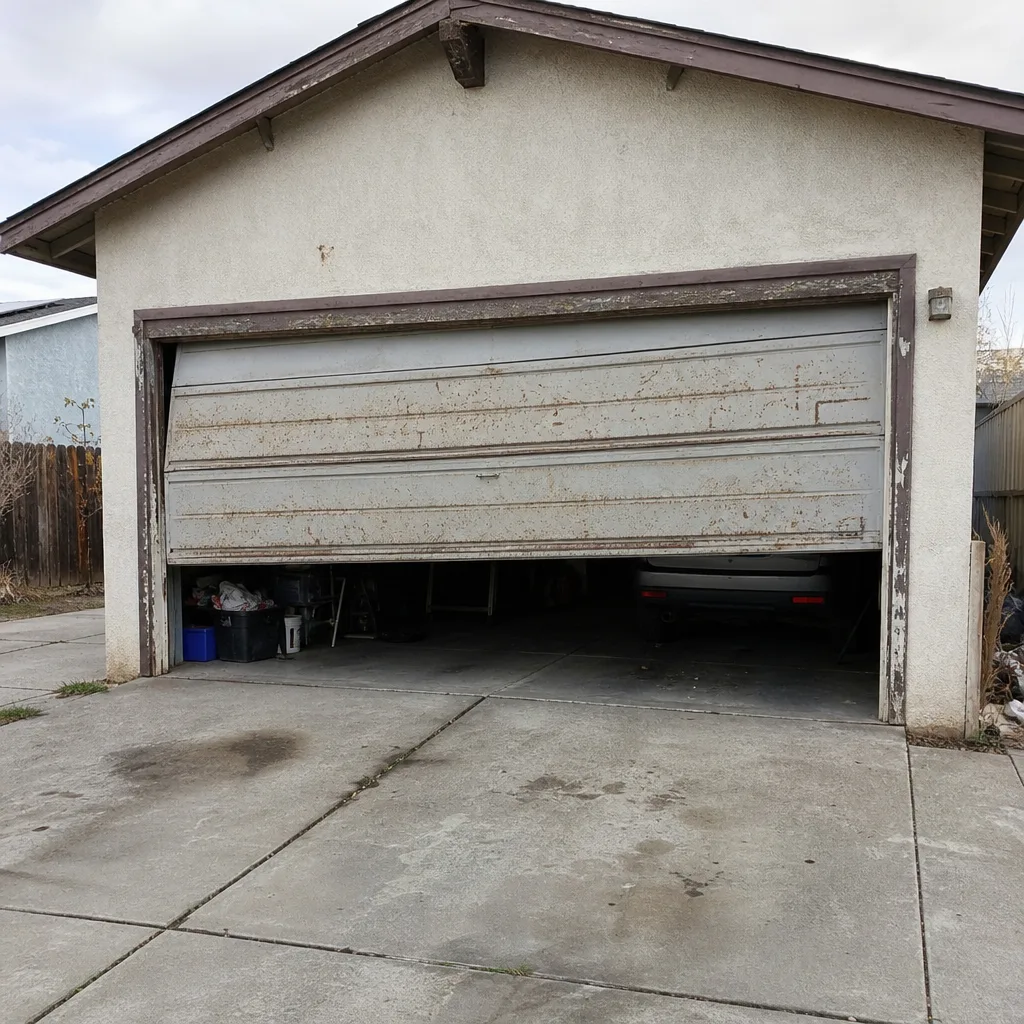 Before
 After
When to Call a Professional
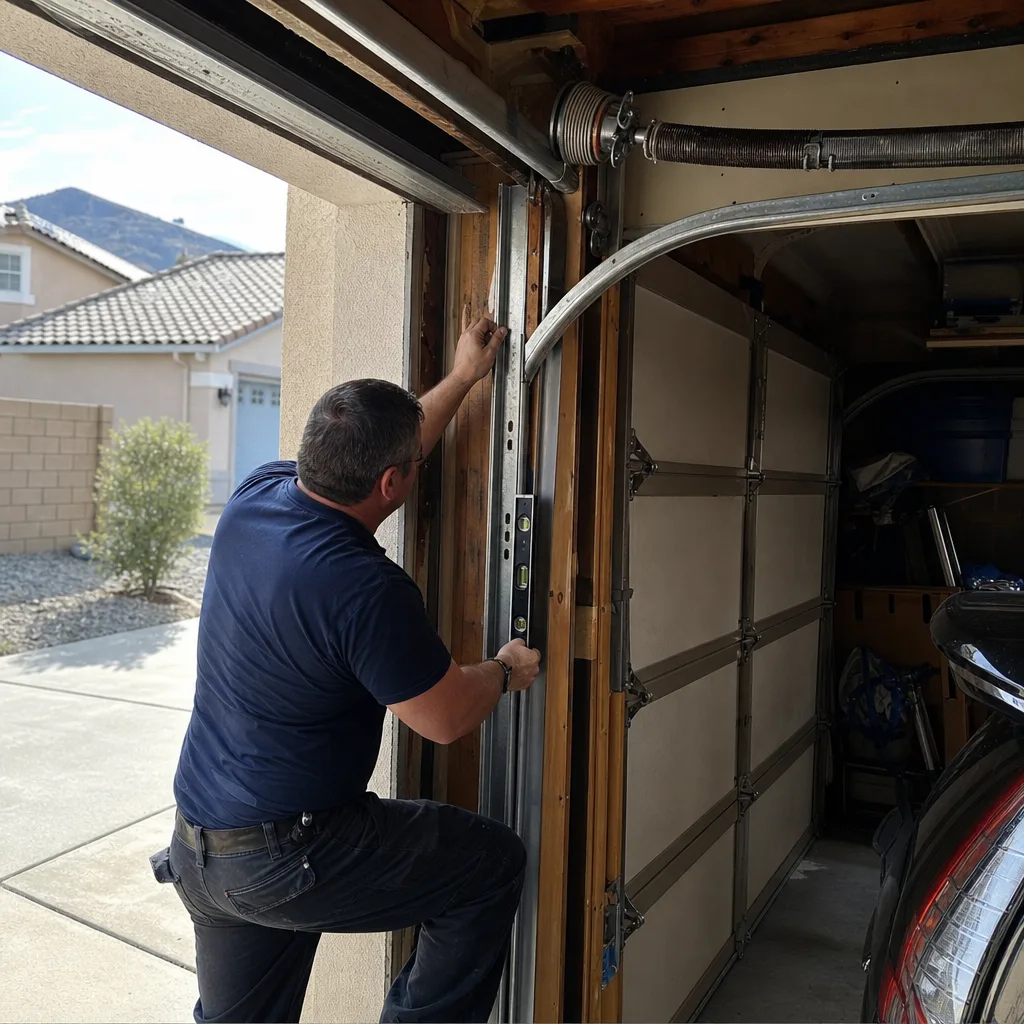
Call when the work involves line voltage, when it involves the spring system in any way, when the opener is under warranty and you’d be opening the housing, or when you’re installing into framing that doesn’t match the bracket spacing. Call when the door won’t reverse, when you hear a bang from the garage, or when a photo-eye and a reprogram have already failed to fix it. Those are the cases where the documentation a professional leaves behind is worth more than the labor you’d save. Servo Garage Doors Winchester offers free estimates in Winchester and a free second opinion on any written estimate you’ve received elsewhere. Call (855) 517-0284 and we’ll tell you plainly whether your job is one you can do yourself. If it is, we’ll say so.
Frequently Asked Questions
Physically, yes, a prepared homeowner can mount most residential openers. The better question is whether you should, and for a new installation the answer is usually no, because what you lose isn’t the labor, it’s the licensed technician’s documentation of the mounting, force settings, and photo-eye test that protects you if hardware fails or an insurance claim comes up. In Winchester, older framing makes the mounting spec more important, not less. Call (855) 517-0284 for a free measure and written price if you’re weighing it.
It can. Opening the housing on a manufacturer’s unit often forfeits coverage on the electronics, even if the motor stays under warranty. Check the warranty document for your specific model before you open anything, and look for language on unauthorized repair. If the unit is within the warranty window, have a licensed technician look at it first. Call (855) 517-0284 and we’ll check the warranty status with you.
A dirty or misaligned photo-eye. When the opener runs but the door won’t close, the safety sensors at the base of the tracks are usually the culprit. Wipe the lenses and check the brackets, and confirm both LEDs are steady. That solves a large share of the Winchester calls we get. If it doesn’t solve yours, call (855) 517-0284.
No. Torsion and extension springs carry stored energy that can cause severe injury in an instant, and the tools used to work on them are specialized. Don’t treat spring adjustment as a DIY task no matter how mechanically confident you are. Leave it to a trained technician. Call (855) 517-0284 for spring and cable work, and we’ll photograph the failed part before quoting a replacement.
Typically $350 to $650 for labor on a single door, plus the cost of the opener itself, depending on the unit and whether any mounting or wiring changes are needed. You get a flat written price and written scope before any work starts, so the number is agreed before anyone touches the door. Call (855) 517-0284 for an exact quote, free of charge.
Try the two safe fixes first: reprogram if it’s a remote issue, and clean and realign the photo-eyes if the door won’t close. If those don’t solve it, call. Any further work risks the warranty, and a licensed technician’s record keeps your coverage intact. Call (855) 517-0284 and we’ll tell you whether it’s safe to attempt or whether it needs a visit.
The Bottom Line
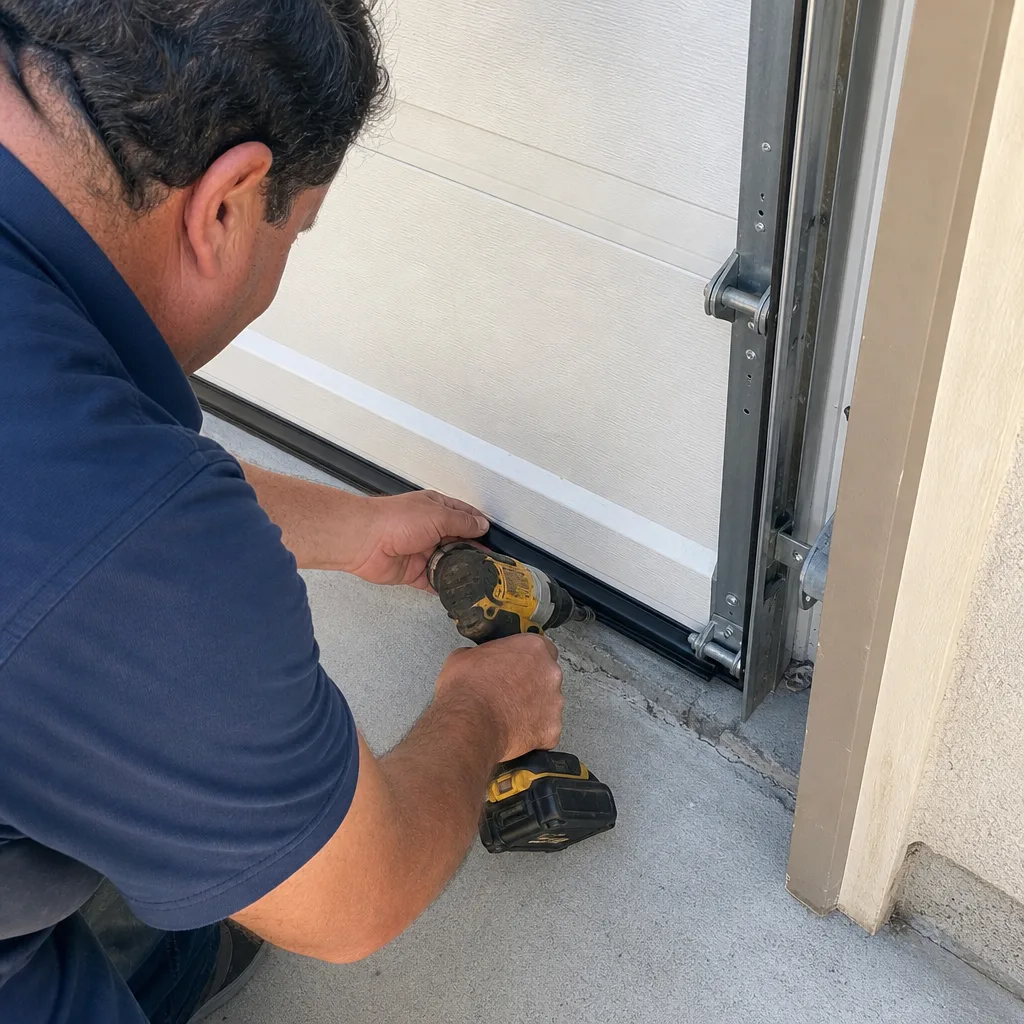
The DIY-versus-pro question for garage door openers comes down to three axes, not one: how hard the task is, what it costs if you get it wrong, and what happens to your warranty and insurance if the work isn’t documented. The four safe tasks, remote reprogramming, photo-eye realignment, manual release, and wall-button wiring, fail gracefully and cost little to get wrong. Installation, spring-interaction adjustments, and line-voltage work are where a licensed technician’s written record of the installed model, force settings, and photo-eye test earns its keep, in Winchester as anywhere. Know which column you’re in before you pick up a tool.
If you’re weighing the two routes, call Servo Garage Doors Winchester at (855) 517-0284 for a free estimate. We quote a flat written price before any work starts, we tell you honestly when a job is safe to handle yourself, and every visit closes with a documented photo record of what we found and what we did. We service LiftMaster, Chamberlain, Genie, Clopay, Amarr, Wayne Dalton, Craftsman, and Raynor units across Winchester.
Written by the team at Servo Garage Doors Winchester.