
Last updated November 18, 2026
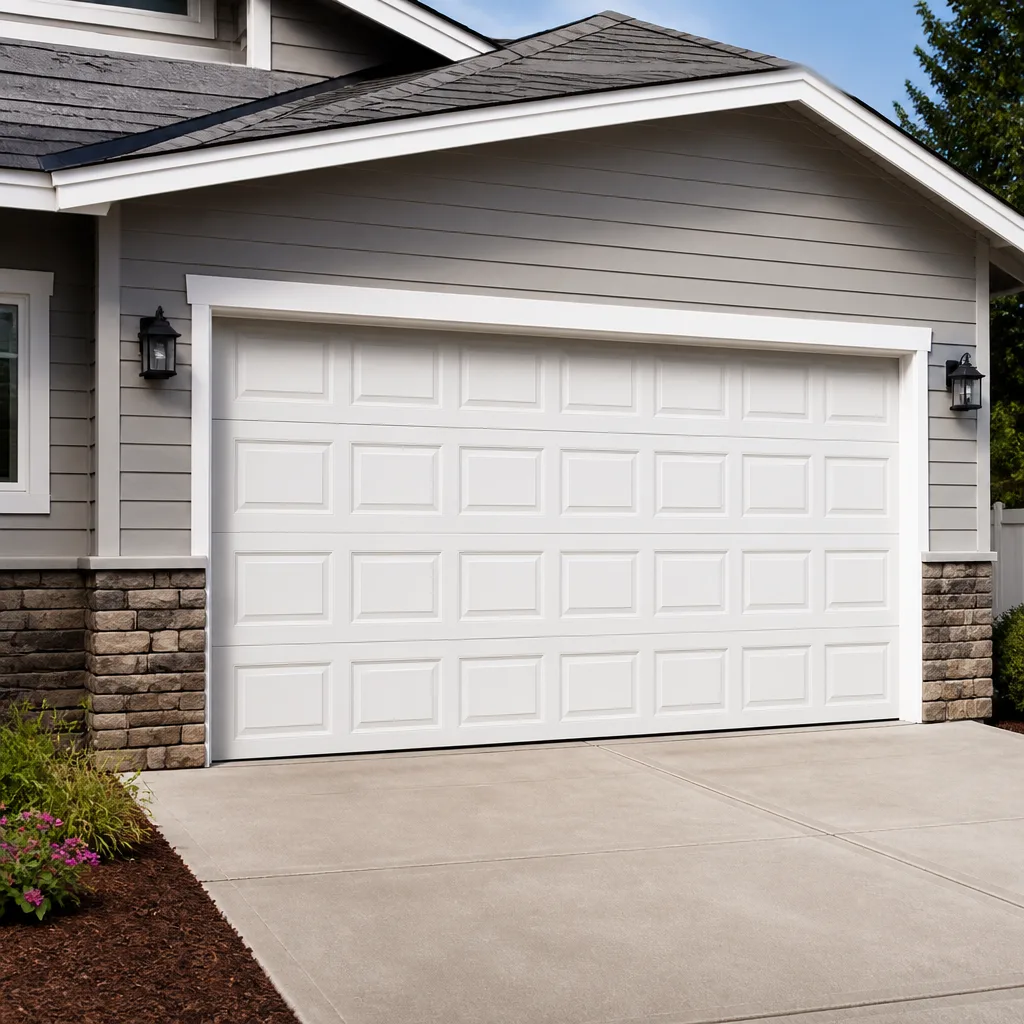 Raised-panel steel
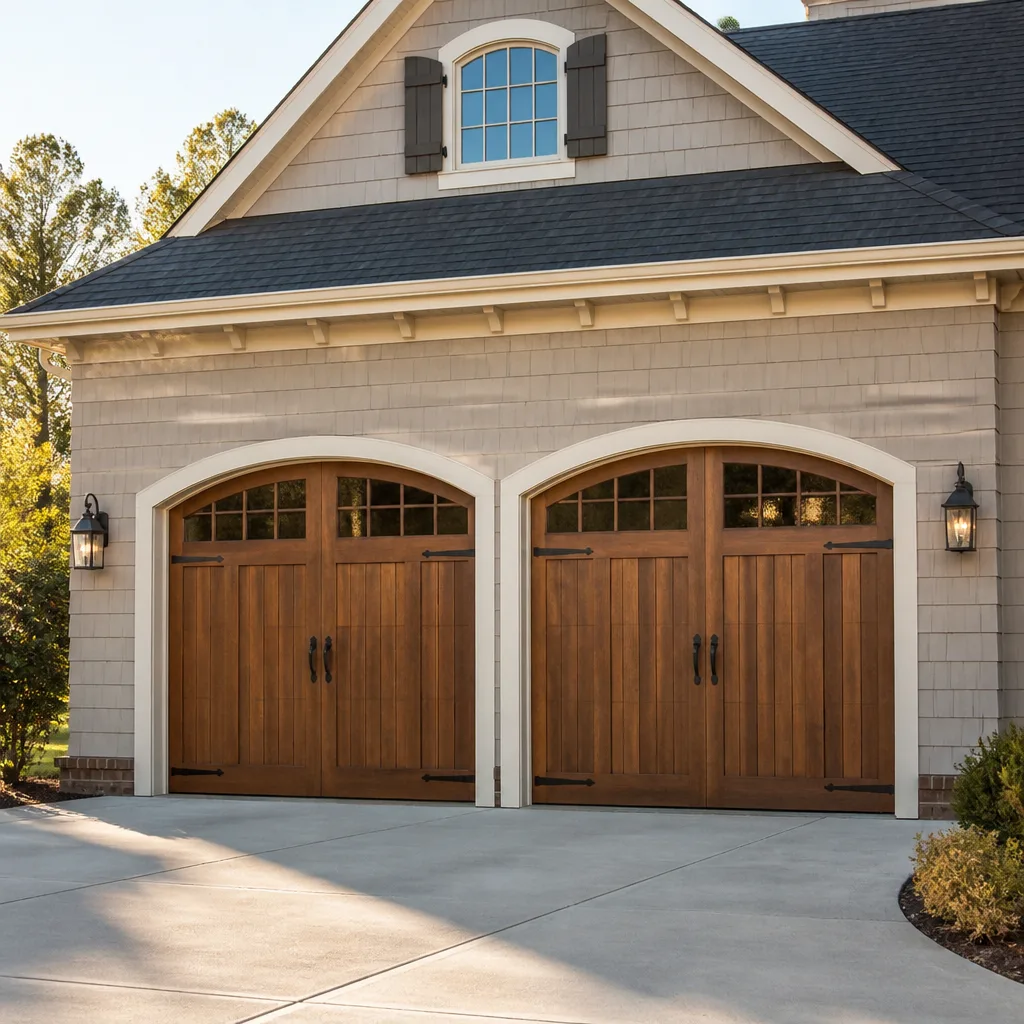 Carriage house
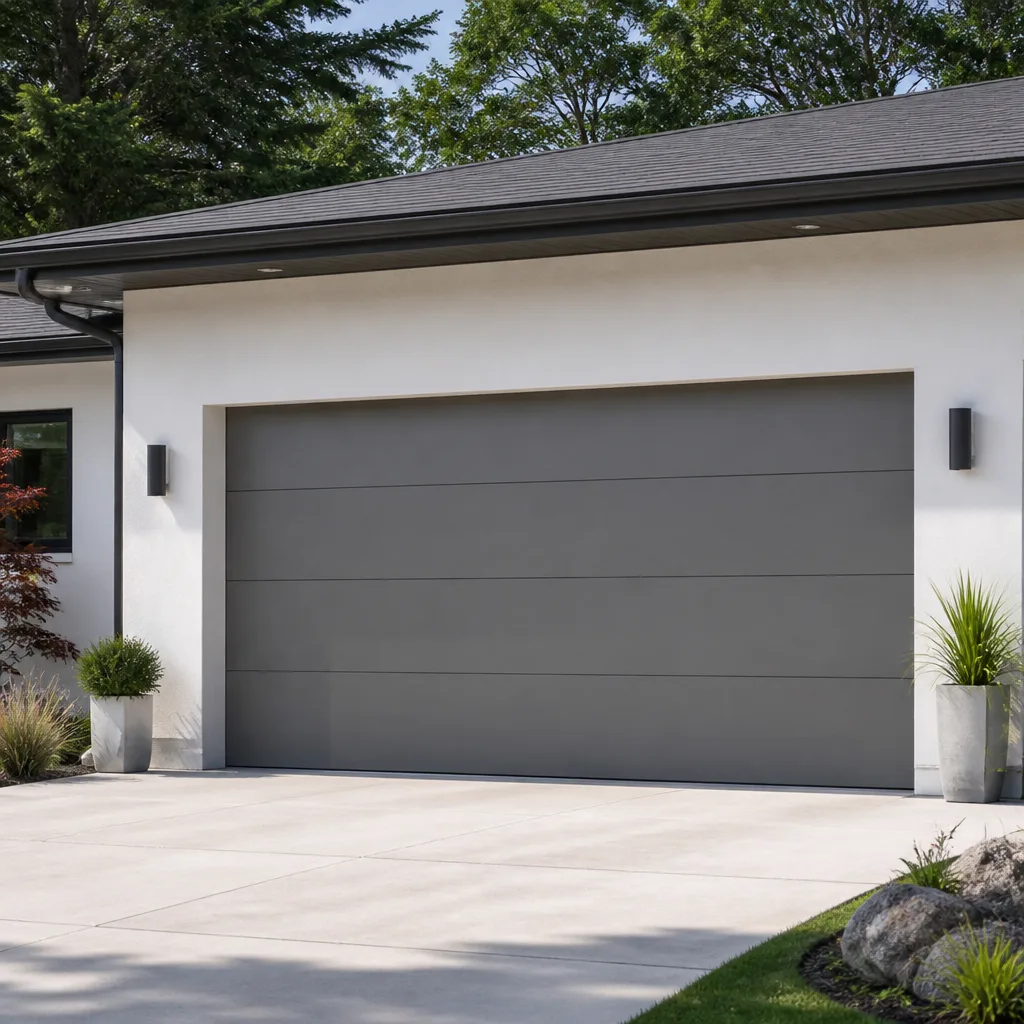 Modern flush
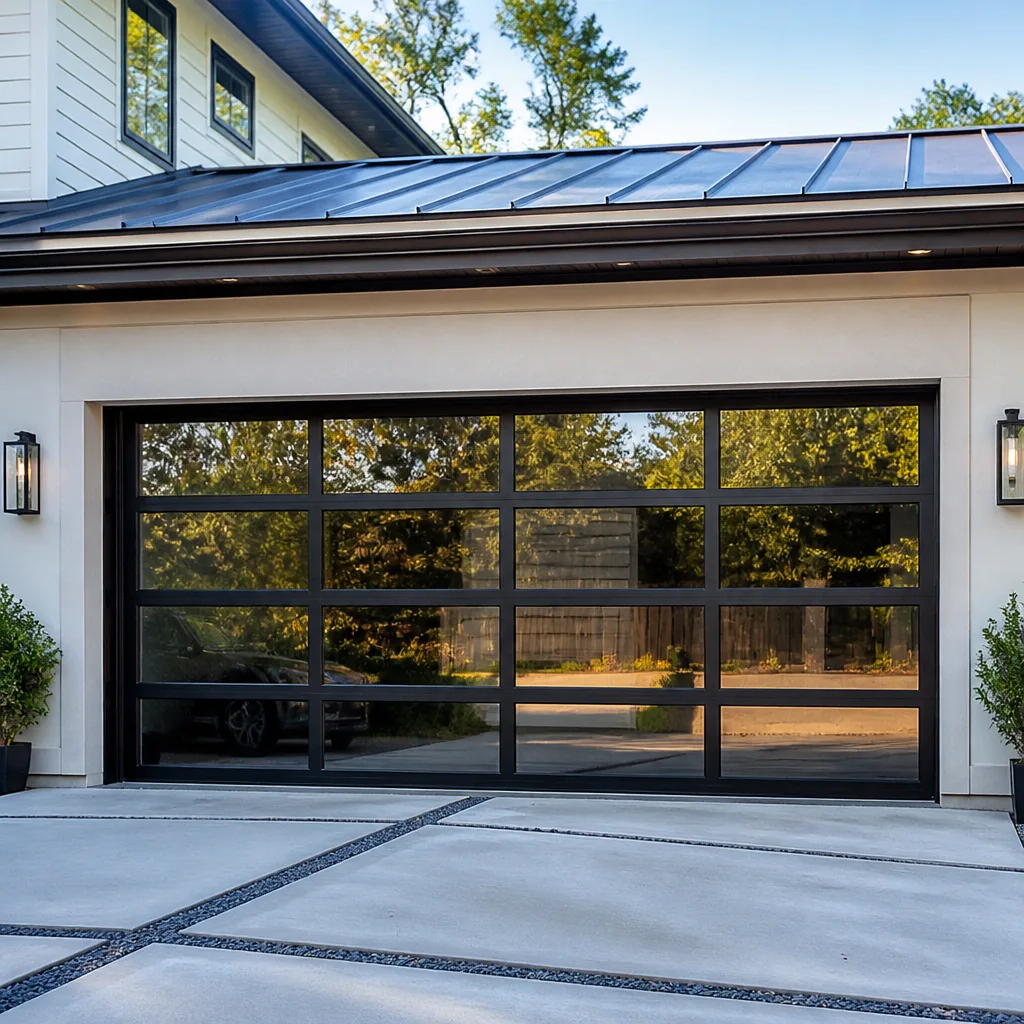 Full-view glass
 LiftMaster openers
 Chamberlain openers
Full 25-point door and opener safety check with every visit - springs, cables, rollers, tracks, and your LiftMaster or Chamberlain opener included
You get a price before we start. It does not change when the pro arrives.
Get your free estimateDIY vs Professional Garage Door Installation: What’s Safe to Do Yourself
Winding a torsion spring requires three numbers that exist only on your door: the door’s exact weight, the spring’s IPPT rating (inch-pounds per turn, the torque the spring delivers each quarter-turn), and the number of quarter-turns needed to reach proper tension for your headroom setup. A generic tutorial can’t give you any of those. It gives illustrative numbers from somebody else’s door. Installing the panels and track yourself is genuinely reasonable work. Tensioning the spring is a different category of task, and the information you’d need to do it safely usually isn’t in front of you. This guide separates the two clearly, with real costs and the Lyon County permit picture.
Quick Answer
Most of a garage door installation is safe DIY work: assembling and stacking panels, bolting hinges, hanging track, mounting the opener head. The moment the job reaches the torsion spring, it stops being DIY-appropriate for almost every homeowner. The spring stores enough energy to cause severe injury, and the correct winding count depends on numbers you must measure, not guess. Our recommendation for Winchester homeowners: DIY the mechanical assembly if you want to, and hand off spring tensioning to a trained technician.
Styles & brands we work with
- Raised-panel steel
- Carriage house
- Modern flush
- Full-view glass
- LiftMaster openers
- Chamberlain openers
Table of Contents
- What a Capable DIYer Can Actually Do
- Where the Job Crosses the Line: Spring Tensioning
- What “Verified Spring Training” Really Means
- Cost Comparison: Full DIY, Partial DIY, Full Pro Install
- Permits and Resale Disclosure in Lyon County, Nevada
- Winchester-Specific Installation Factors
- How to Vet an Installer Before You Hire
- Common Mistakes to Avoid
 Before
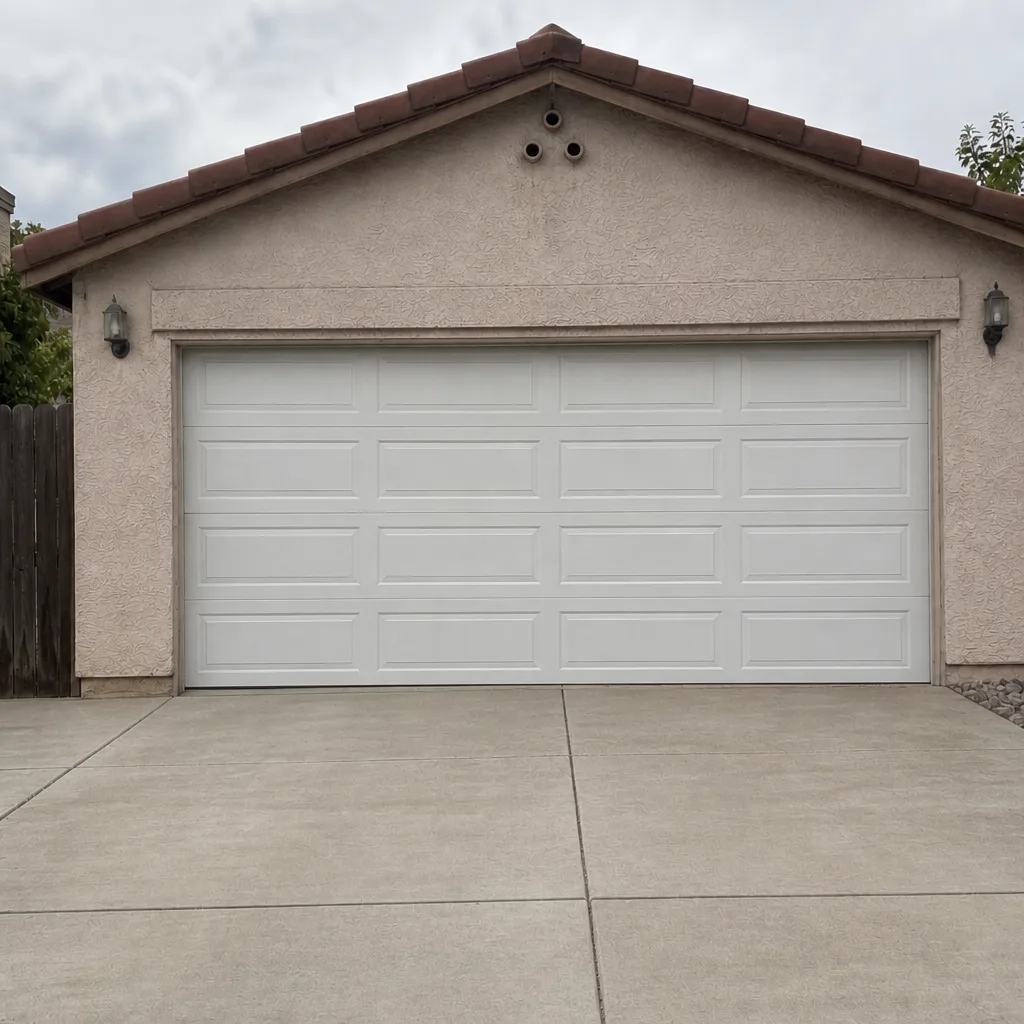 After
What a Capable DIYer Can Actually Do
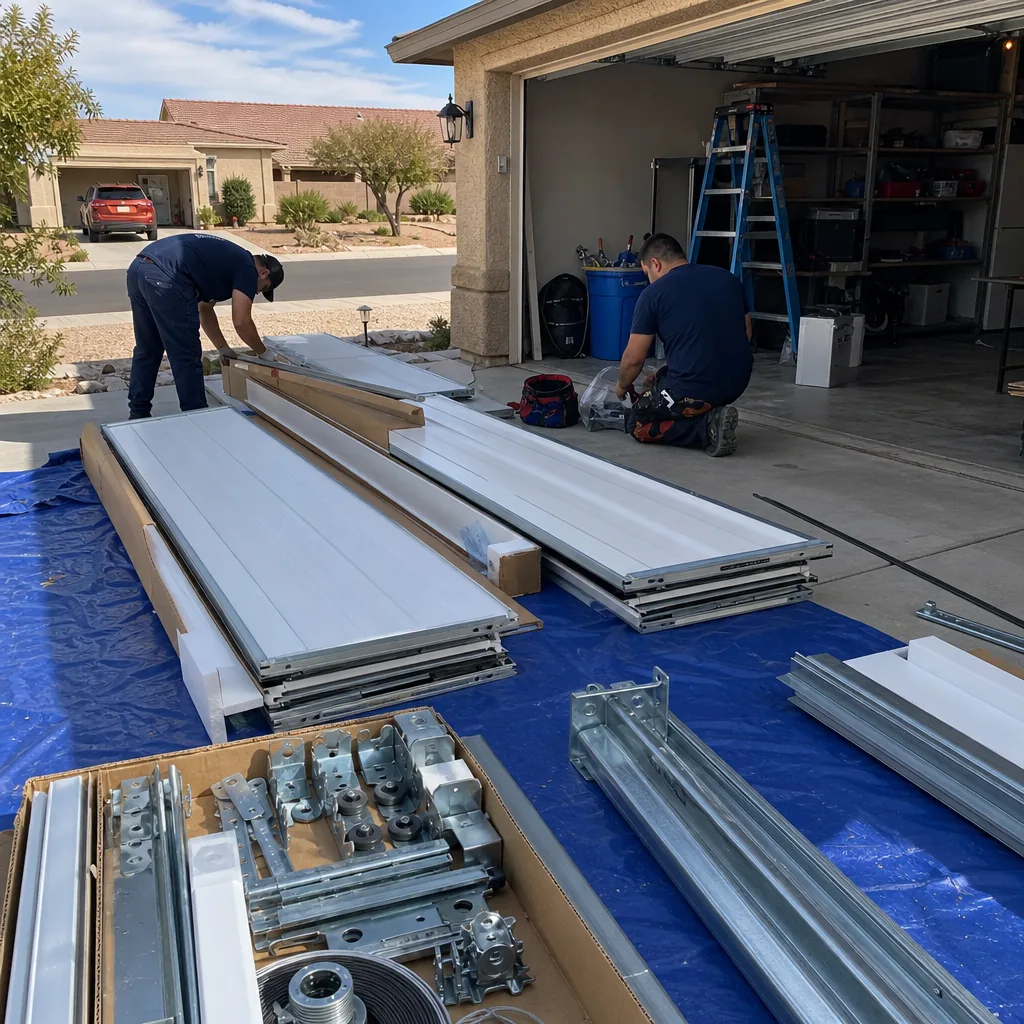
We’ve watched enough installations in Winchester to know the honest split. A homeowner with a socket set, a level, a drill, and reasonable patience can complete the structural assembly of a sectional door. That part of the job is assembly work, not specialized trade work, and it’s the part most tutorials actually cover well.
Here’s what falls on the safe side of the line:
- Panel stacking. Lifting and aligning the door sections into place, checking plumb and level against the jambs as you go. Two people make this straightforward on a standard 7-foot door.
- Hinge and roller attachment. Bolting hinges at the correct panel joints and sliding rollers into the tracks. The placement is determined by the door manufacturer and is not something you calculate.
- Vertical and horizontal track. Hanging the flag brackets and track, setting the reveal so the door travels without scraping. This is fiddly, not dangerous, and you’ll re-check it twice before you’re done.
- Weather seal and bottom astragal. Fitting the bottom seal and perimeter weatherstripping. Straightforward on a new door.
- Opener head and rail mounting. Hanging the opener motor, running the rail, and mounting the wall control and safety sensors, as long as the springs are already tensioned and the door is balanced.
What does not fall on the safe side, and you’ll notice we’re not going to walk you through it, is spring tensioning, cable winding, and the final balance adjustment. Those come later in this guide.
If you’re replacing a door rather than installing from scratch, some of the removal work is the same category. Old panel removal is accessible. Releasing the tension on a live torsion spring during removal is not, even for a door you’re about to throw away.
Where the Job Crosses the Line: Spring Tensioning
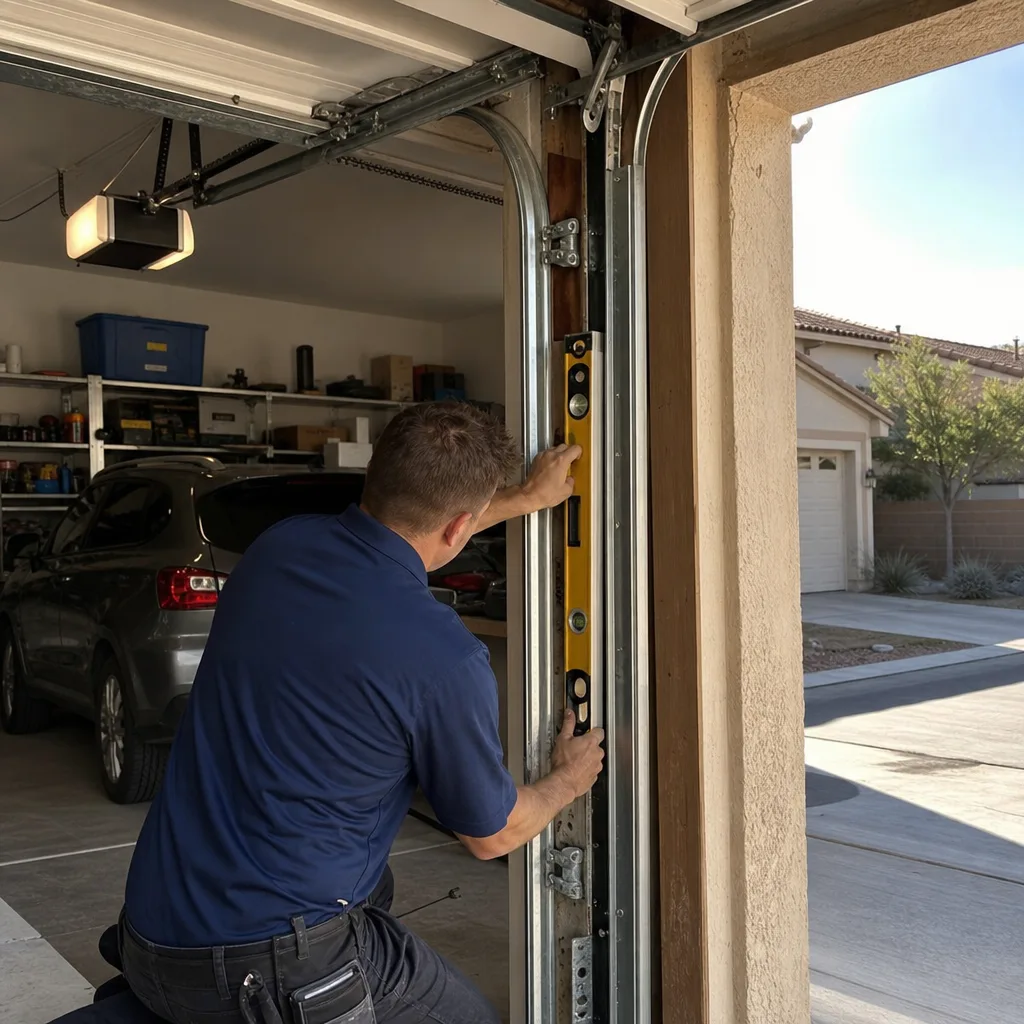
A torsion spring holds a surprising amount of stored energy. On a typical two-car door, that’s several hundred foot-pounds, and it’s released the instant the torsion bar turns without a load on the door. This is the part of a garage door system that sends people to the emergency room. We’re not going to give you a how-to on winding it, because the correct procedure is calibrated to a specific door and getting it wrong is not a mistake you can undo.
Here’s why installation is actually a higher-risk situation than repair, and this is the counterintuitive part: the spring supplier mounted on your old door is your reference for the winding count. You know the door was balanced before. When a door is installed new, there is no existing spring to check your work against. You have to wind to a number you’ve calculated, not a number you can verify by looking at what came off.
Compare a few scenarios to see the difference:
- Replace a broken spring on an existing door: You measure wire diameter, inside diameter, and length, order the correct spring, and wind to the turns spec calculated for that spring and that door height. The manufacturer’s or spring supplier’s number gives you the target.
- Install a new door with a new spring: The door weight, the spring’s IPPT rating, and your ceiling and headroom configuration all determine the winding count. If any of those measurements is off, the door will be over-tensioned or under-tensioned from day one, and that shows up in a cable popping, a roller jumping track, or a spring failing early.
This is the actual answer to “can I install my own garage door.” You probably can, up to about 80% of the way. Then it becomes a job where the information you need doesn’t exist yet. A trained technician measures the door weight with a scale, calculates the geometry, and winds against a reference. If you bring in a professional for that one step, you’ve paid for the ratio, not the whole install.
What “Verified Spring Training” Really Means
Watching the top tutorial on the topic does not count as training, and neither does knowing the theory. Verified spring training means working alongside someone who can confirm your winding count against the door’s measured weight, on the door in front of you, before you turn the bar. That’s a different bar than most people set for themselves.
You know you’re actually ready to wind a spring when three things are true at once:
- You have the door’s measured weight. Not the spec sheet weight, the measured weight. Manufacturer specs assume a standard configuration; your door might have insulation, windows, or a different gauge of steel.
- You have the spring’s IPPT rating. This comes from the spring supplier’s chart, not from the part number on the label alone. Two springs from the same supplier in different gauges can look identical and need different turn counts.
- You or someone on site can verify the turn count. That means the person working with you either calculates it themselves and cross-checks your number, or provides it against the actual configuration. Every reliable install has a check.
If all three aren’t true, the winding shouldn’t happen. In our experience, that’s about the point where a homeowner calls a professional and asks for partial install pricing, and that’s a reasonable call. The commercial-grade winding bars you need for a safe job alone are $80 to $150 anyway, and they’re specific to the wire size. If you’re also buying winding bars for a one-time installation, the cost math changes in the other direction.
Cost Comparison: Full DIY, Partial DIY, Full Pro Install
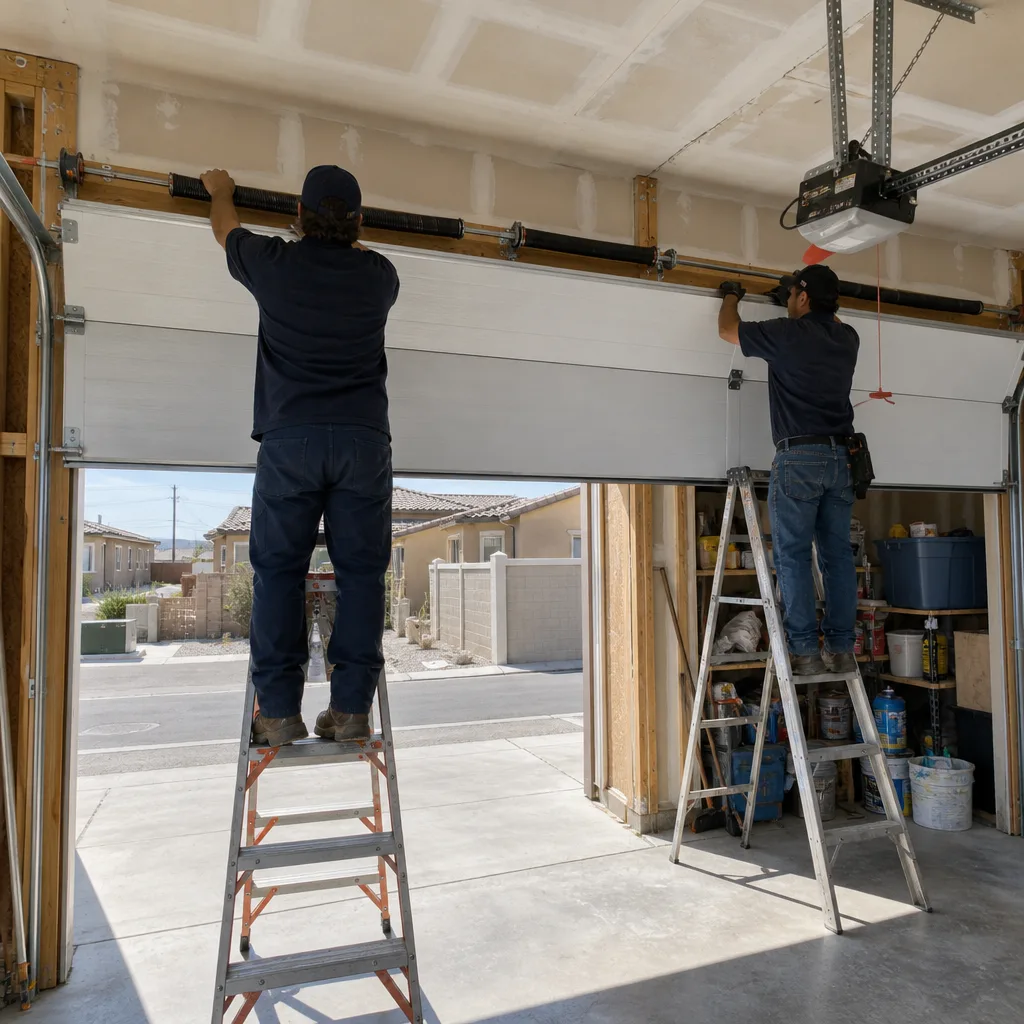
Here’s what the three options actually look like on the dollar, with genuine ranges. These are Winchester-market numbers for a standard two-car door (16×7), including a weather seal. They’re ranges because manufacturer, panel gauge, insulation, and window options all move the parts price.
Full DIY installation (parts only):
- Door and hardware kit: $900 to $1,800
- Winding bars (specific to wire size): $80 to $150
- Permit fee (if required): $150 to $350 depending on valuation
- Tools you probably don’t own yet (fathead bolts, spring scale, laser level): $100 to $200
- Total: $1,230 to $2,500 before anything goes wrong
Partial DIY with professional spring work:
- Door and hardware kit: $900 to $1,800
- Professional spring tensioning and final balance: $250 to $450
- Permit fee (if required): $150 to $350
- Total: $1,300 to $2,600, plus a documented photo record of the spring work and the balance check
Full professional installation:
- Door, hardware, labor, spring work, balance, and documentation: $1,800 to $3,600 installed
- Opener installation, if you’re also replacing the opener: add $300 to $600
The cost math changes when errors happen. This is where DIY quietly costs more than the invoice:
- Over-tensioned spring from a wrong winding count: Spring breaks early, cable pops on the first cycle, or roller jumps track. Repair call: $180 to $340, plus the spring.
- Track out of plumb or wrong reveal: Door binds on first cycle, rollers wear on one side. Realignment and roller replacement: $150 to $400.
- Opener mis-mounted (rail out of line, sensor mis-aimed): From the door binding, from a bad rail hang, or from a sensor that never worked right. Diagnostic and re-mount: $120 to $250.
- Balance adjustment from new spring calculation being off: Door feels heavy or drops on the way down. Re-tensioning with proper measurement: $150 to $300.
Add up to $1,500 of potential correction work against the roughly $600 to $900 you save on labor and it stops being a clear win. If you’re going the partial route, this is where the cost of getting the spring calibrated by a professional earns its keep on the first cycle.
Permits and Resale Disclosure in Lyon County, Nevada
Garage door replacement is often treated as a minor cosmetic swap, and in most jurisdictions it doesn’t automatically require a permit. But there’s a detail worth knowing about Lyon County: door replacement on a residential structure, when it involves a structural or safety component (springs, tension, cable geometry), sits at the edge of what gets reviewed. The safest move is to call Lyon County Community Development before you start, describe the job in a sentence, and ask whether your specific address needs a permit. It takes ten minutes and it settles the question.
The resale side matters more than most homeowners realize. On a resale disclosure in Nevada, you’ll typically be asked whether work done on the property was permitted. If your installation involved the spring and counterbalance assembly and a permit was required but not obtained, that can surface as a defect in the disclosure, and it can cost you at closing.
A professional installation in Winchester usually includes the permit paperwork handled on the homeowner’s behalf if a permit is required and the work is being done as part of a larger replacement. That’s not a reason to skip the call to Community Development yourself. It is a reason to ask the contractor you’re considering whether they’ll handle the permit if one is needed, and to get the answer in writing.
If you’re replacing a door and also replacing the opener, check the separate requirements. Opener replacement in some areas requires a permit; a qualified electrician or a licensed technician can confirm. This is why you want to read the local requirements page for the opener work before you start.
Winchester-Specific Installation Factors
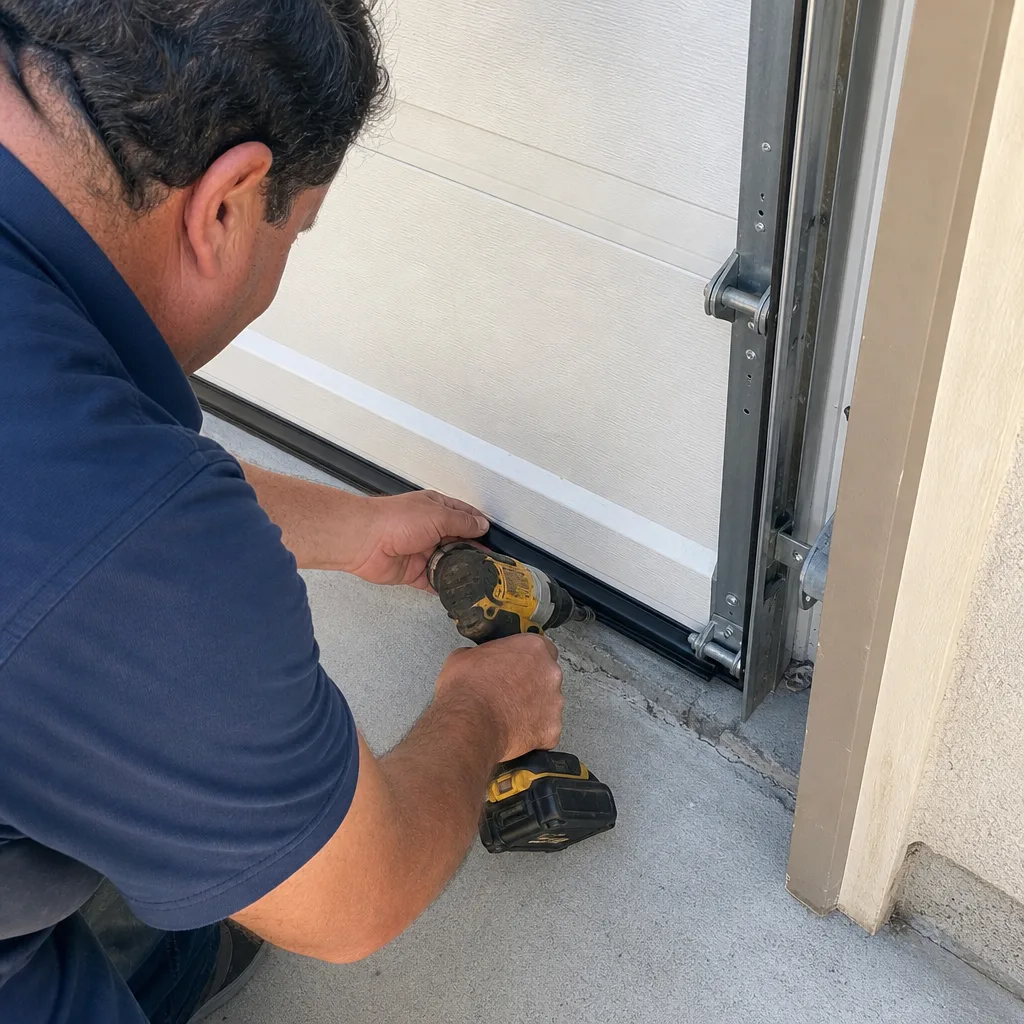
Winchester’s climate creates conditions that affect how a new door should be set up. The desert cycles between very hot afternoons and cooler nights, and that temperature swing matters for seal fit and for track. A door installed tight in July will need a little more clearance for the steel to contract and expand through the seasons without binding. We see more roller wear and track misalignment on doors installed without allowance for that cycle than we do on doors that were hung with a small margin.
Two other local details come up on installation:
- Wind exposure on exposed hillside lots. Doors on the west and south sides of Winchester, especially on elevated lots, see real wind loading. We see more door panel flex and follow-through on windy days on doors installed with the minimum anchor count. Going up one anchor point in that situation is cheap insurance.
- Older doors with sagging headers. Many Winchester homes from the building booms of the 80s and 90s have a header that has settled a fraction of an inch. A new door installed to a sagging header will have a gap at the top or a door that doesn’t seal. It’s worth checking with a straight edge before you measure.
If you want to see the installation coverage in your area before you call, the Winchester installation page has more detail on the door lines we see most often in this market. Insulated Clopay and Amarr doors show up often on homes in the newer subdivisions; LiftMaster and Chamberlain openers are the most common on the same homes.
How to Vet an Installer Before You Hire
The question that reveals the most about an installer isn’t about experience. It’s about documentation. Ask any installer you’re considering: “Will you photograph the installation before you close up the door, and will I get those photos?” The answer to that one question separates a contractor who documents the work from one who hangs the door and leaves with a verbal “looks good.”
Here are the specific questions to ask, and what each answer tells you:
- “Can you tell me the door’s measured weight and the spring’s IPPT rating before you order the spring?” If the installer gives you a spec-sheet weight without measuring, they’re guessing. A measured weight against a known configuration is the professional answer.
- “What’s the winding count calculation for this door, and who verifies it?” Any reliable installer can state the turns count and the calculation behind it. An installer who brushes off the question is telling you they’re not doing the calculation.
- “Will I get a documented photo record of the installation, including the spring work?” The answer should be yes, and the photos should include the spring, the track, the header, and the balance check.
- “Is the permit handled if one is required, and who pulls it?” If your installer doesn’t want to answer this, they probably haven’t done it enough to know the answer.
- “Can I see the price in writing before the truck pulls up?” The answer should be a written, flat price before any work starts.
That last question matters more on installation than almost any other job. The biggest cost risk on a replacement isn’t the door price; it’s the add-ons discovered mid-install (a soft header, a misaligned track anchor, an opener that needs replacing). A written scope and a written price before the day keeps those from becoming an invoice problem.
The technicians you’ll meet in Winchester are background-checked and the license is on the page, not buried at the bottom. That’s a low bar that a lot of the market doesn’t clear. If you want the documentation and warranty story in full, the Servo Garage Doors Winchester home page lays it out, and there’s an active link to the garage door installation page for this area.
Common Mistakes to Avoid
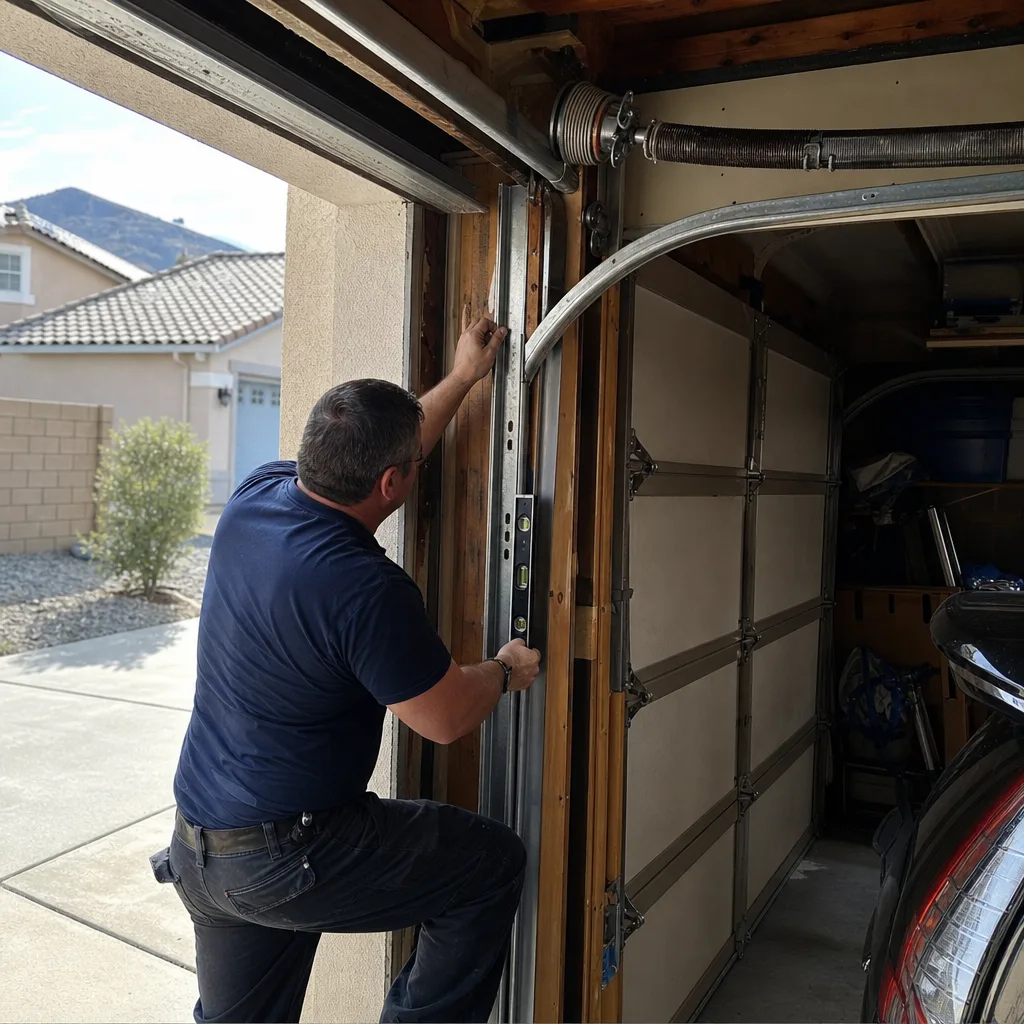
- Winding the spring without the door’s measured weight. The spec sheet weight is not your door’s weight. If a bay window panel or a heavier gauge is part of the configuration, the spec is off and the winding count is wrong.
- Hanging track plumb against a header that isn’t square. In Winchester’s older subdivisions, a fraction of an inch of header sag is common. Plumb the track to the door, not to the header, or you’ll get binding on the first cycle.
- Mounting the opener before the springs are tensioned. The opener is meant to run a balanced door, not lift an unbalanced one. If you hang the opener and then tension the spring, you’ll need to recheck the opener carriage and limit stops after.
- Skipping the balance check after installation. A door that goes up easily but drops on the way down is under-tensioned. A door that feels stiff or speeds up going down is over-tensioned. Both get worse. Do the balance check with the door disconnected from the opener by hand before closing anything up.
- Not calling Lyon County before starting. A ten-minute call settles whether your address needs a permit, and it protects the resale disclosure later. Skip it and you may be asked about it at closing.
- Buying winding bars from a hardware store that fit “most springs.” Winding bars need to match the wire size. A bar that fits loosely is a barrel waiting to kick back. If you’re going to wind, match the bar to the spring.
- Assuming the old spring’s winding count is the right reference for a new door. It’s the right reference for repairing the old door. A new door weighs what it weighs, and its spring needs to be calculated, not copied.
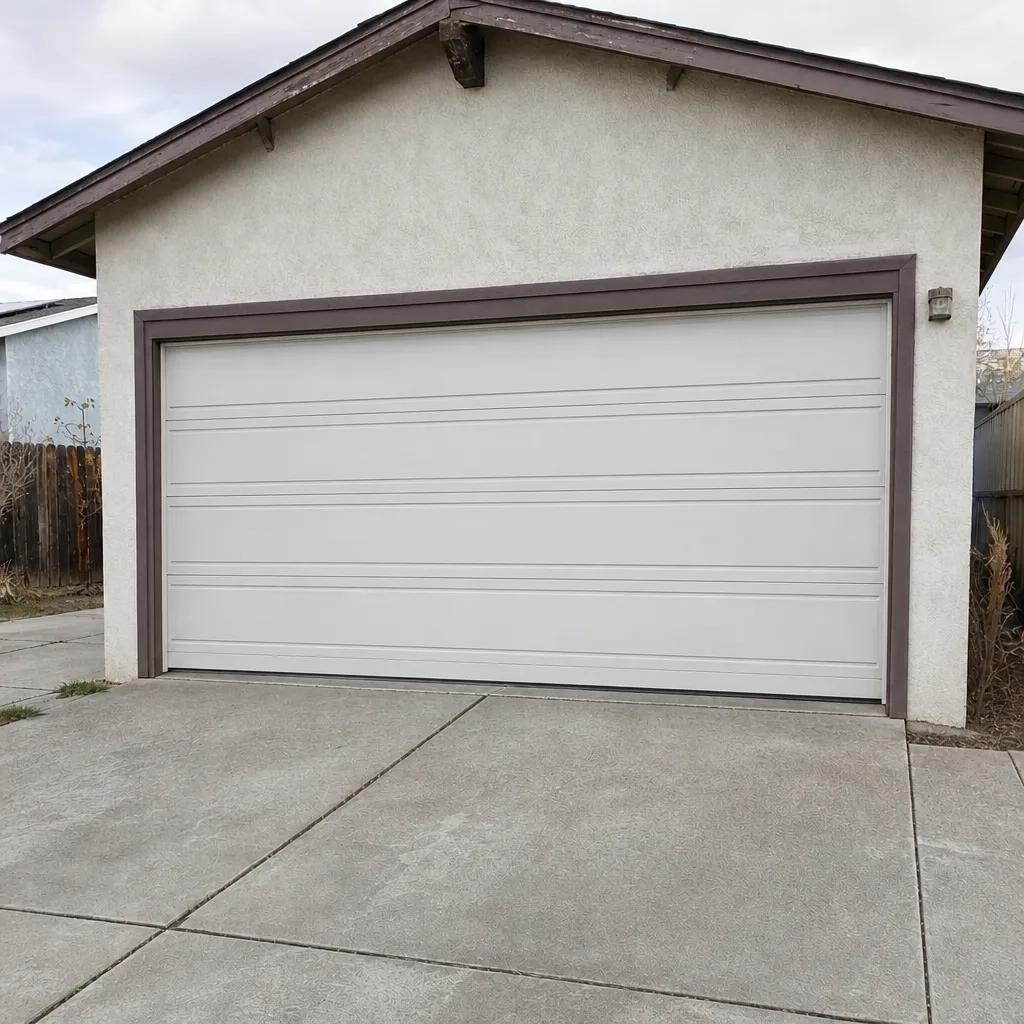
See the difference
BeforeAfter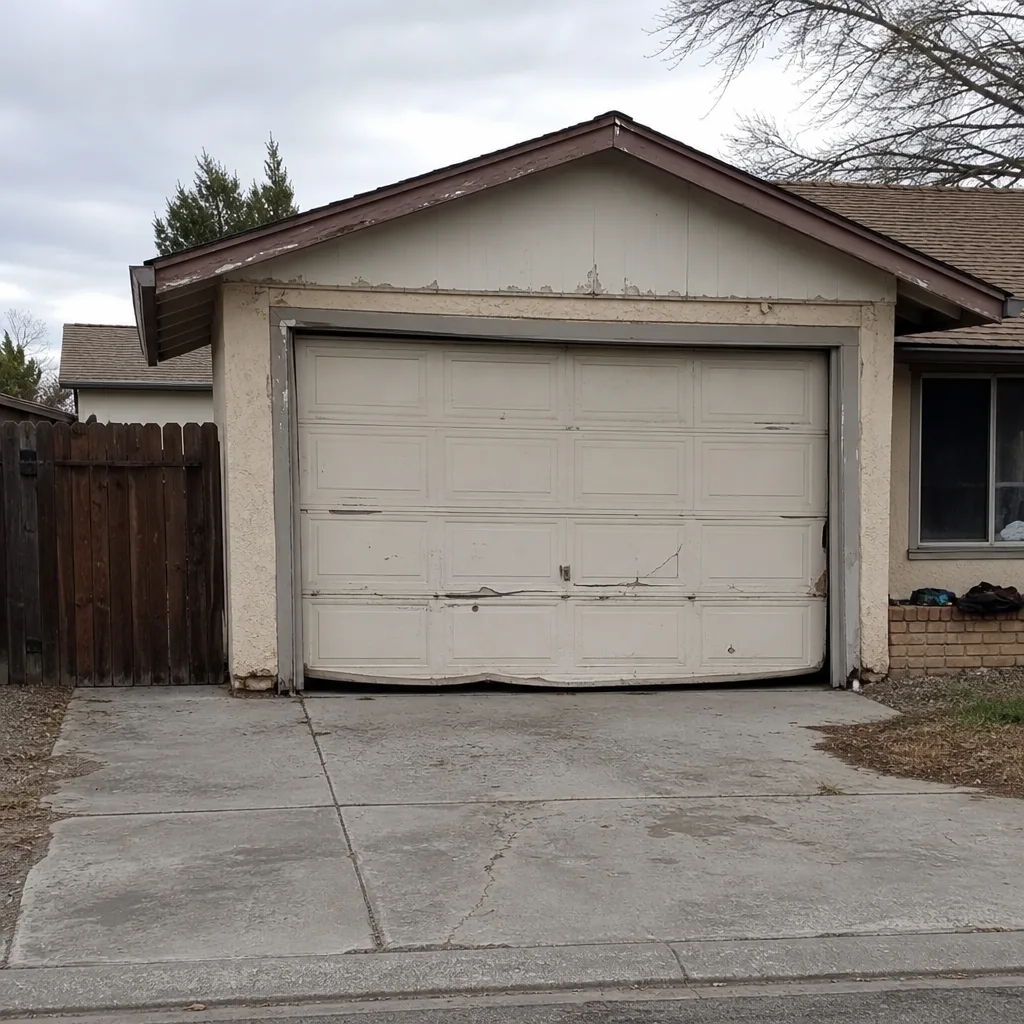 Before
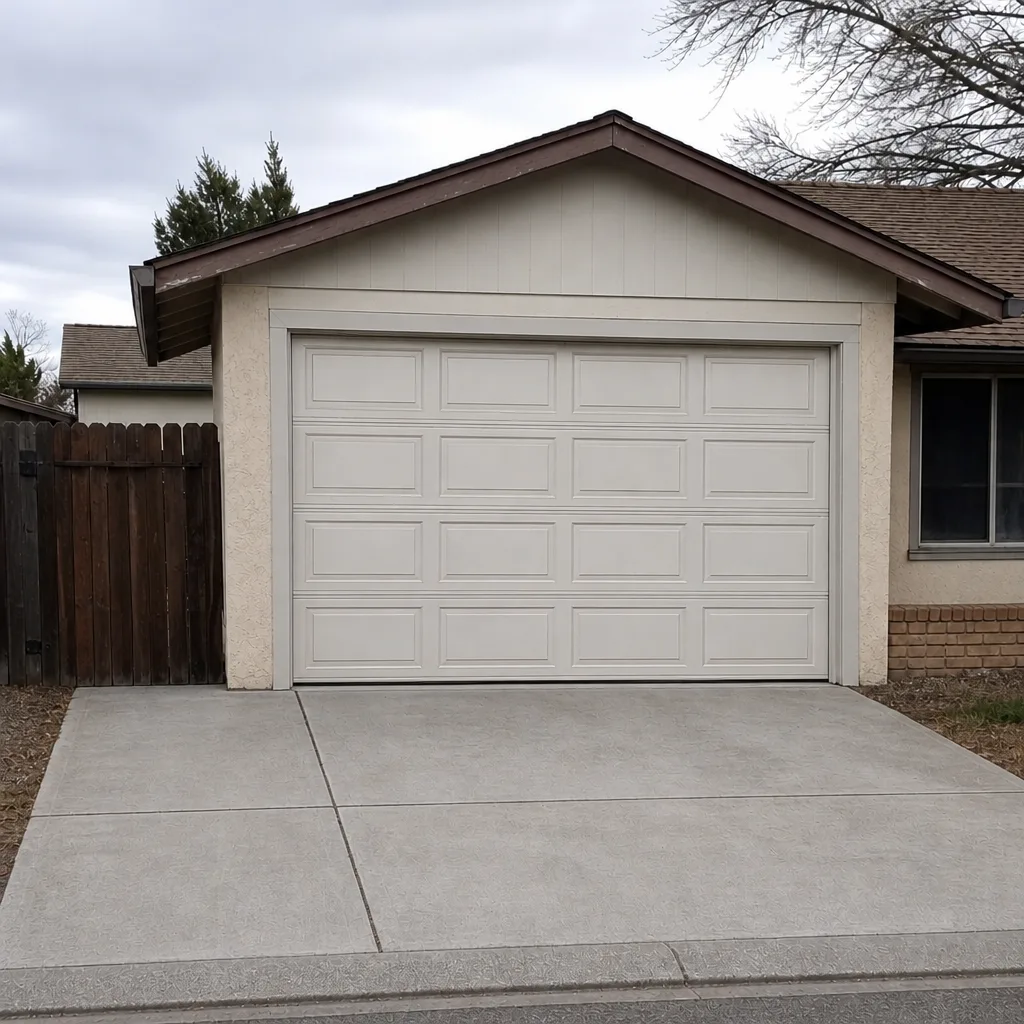 After
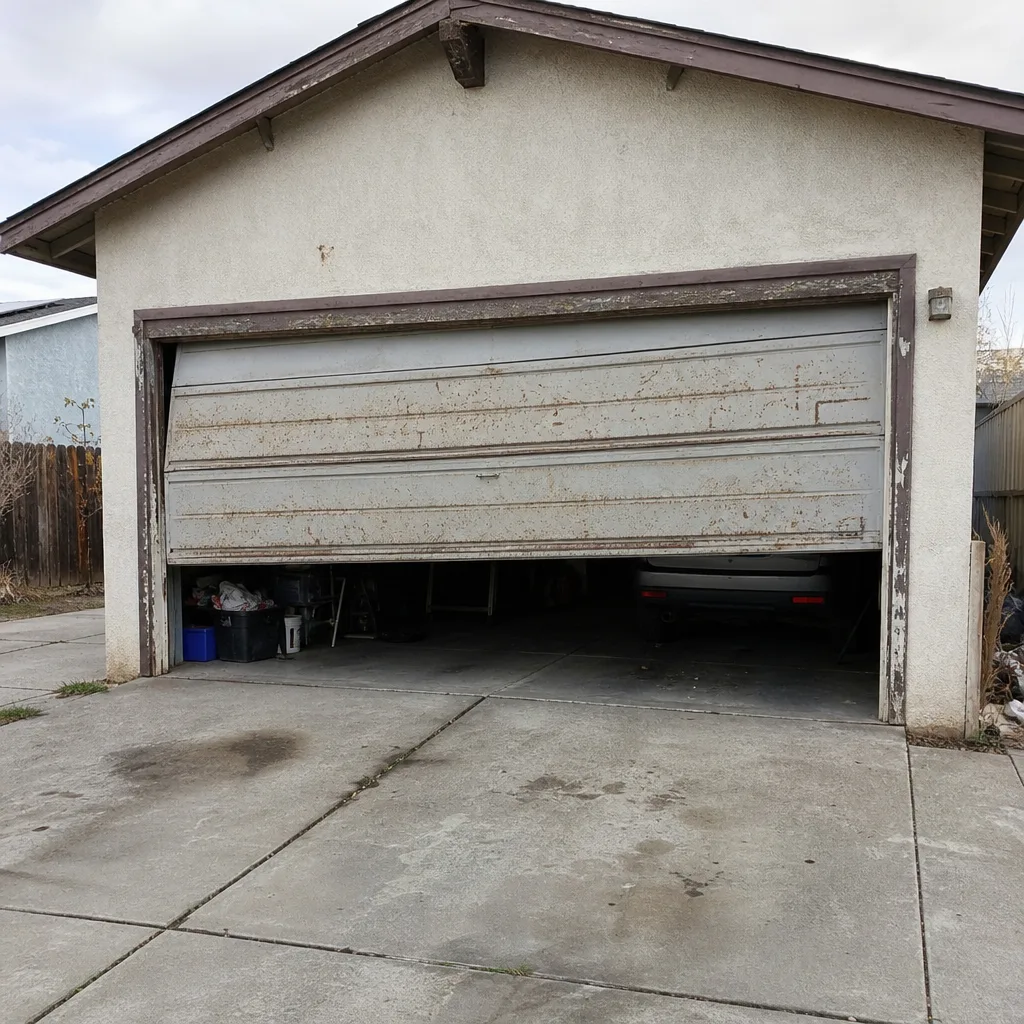 Before
 After
When to Call a Professional
Call a professional if the job involves tensioning a torsion spring for a new installation, releasing the tension on an existing spring, or restoring balance on a door that isn’t right. Also call if you’re replacing a door on a sagging header and you’re not sure how much correction is needed, or if you want the permit handled and a documented record of the work. Those are the categories where the risk or the paperwork justifies the call. We’ve seen enough Winchester installations to know which corners get cut: the spring, the balance check, and the permit. Those three are the whole reason to bring in a professional on installation.
Servo Garage Doors Winchester offers free estimates in Winchester. Call (855) 517-0284 and we’ll come out, measure the door, and give you a written price before anything starts. If you have a written estimate from another installer and you’re not sure about it, we’ll do a free second opinion on the paperwork.
Frequently Asked Questions
Yes, this is the most common middle path, and it’s the one we recommend if you want to do the labor yourself. A professional can tension the spring and balance the door on a door you’ve already assembled, so the professional is only handling the part with the risk and the calculation. Most installations price out around $250 to $450 for that piece. Call (855) 517-0284 and we’ll quote the spring work on its own.
How much does a professional garage door installation cost in Winchester?
A standard two-car door installed professionally in the Winchester market runs $1,800 to $3,600, including the door, hardware, labor, spring work, balance check, and document record. Insulation, windows, and door brand move that range. The price is quoted in writing before any work starts, so you’ll see the full scope before the truck pulls up. Call (855) 517-0284 for an exact quote on your door.
Sometimes. Whether you need one depends on the scope and whether the installation involves structural or safety components, and the safe move is to call Lyon County Community Development with your address before starting. A permit, when required, usually runs $150 to $350. A professional installer can typically handle the permit paperwork on your behalf if you prefer, but confirming with the county first protects your resale disclosure later.
The door gets faster going down, the spring runs closer to its failure point, and in the worst case the spring breaks early or a cable fails. Repair is typically $180 to $340 plus the spring. The other direction, under-tension, shows up as a door that’s heavy to lift by hand and drops on the way down. Both are corrected by re-tensioning against the measured door weight. If your door is behaving either way after installation, call (855) 517-0284 before running it on the opener.
Yes, a full installation usually includes the opener if you’re replacing it as well, and the price for the opener work adds roughly $300 to $600 to the door installation. LiftMaster and Chamberlain are the most common openers on Winchester homes, so the parts are straightforward to source. If you only need the opener replaced, that’s a separate job, and it’s covered on the Garage Door Opener Repair & Installation in Winchester page.
Yes, and it’s a common call. The usual problems are a door that binds on one side, a door that drops on the way down, or an opener that won’t close the door flush. What we do is measure the door weight, check the spring against the winding count, check track plumb, and check the opener’s limits. Then we correct what’s off and photograph what we found. If the correction is a repair rather than a full replacement, it’s handled through the Garage Door Repair in Winchester team. Call (855) 517-0284 and describe what the door is doing.
The Bottom Line
Doing the assembly part of a garage door installation yourself is reasonable. Doing the spring is not, and the reason is specific: on a new installation there’s no existing spring to reference, so the winding count has to come from measured numbers, not from a tutorial. The partial path, DIY the assembly and bring in a professional for the spring and the balance check, saves roughly $400 to $700 over a full professional install while keeping the risk on the trained side of the line. Budget for the permit question, budget for a written price before work starts, and ask any installer you’re considering to show you the documentation. The parts are the cheap part.
If you’re installing a door in Winchester, the installation coverage for this market is on the Garage Door Installation in Winchester page. If you want a free estimate, if you want a free second opinion on a written estimate you already have, or if you just want to ask the installer the questions in this guide and see what they say, call us at (855) 517-0284. Live calls are answered by a real person, and every quote is in writing, with a flat price and a written scope before any work starts.
Written by the team at Servo Garage Doors Winchester.