
Last updated November 18, 2026
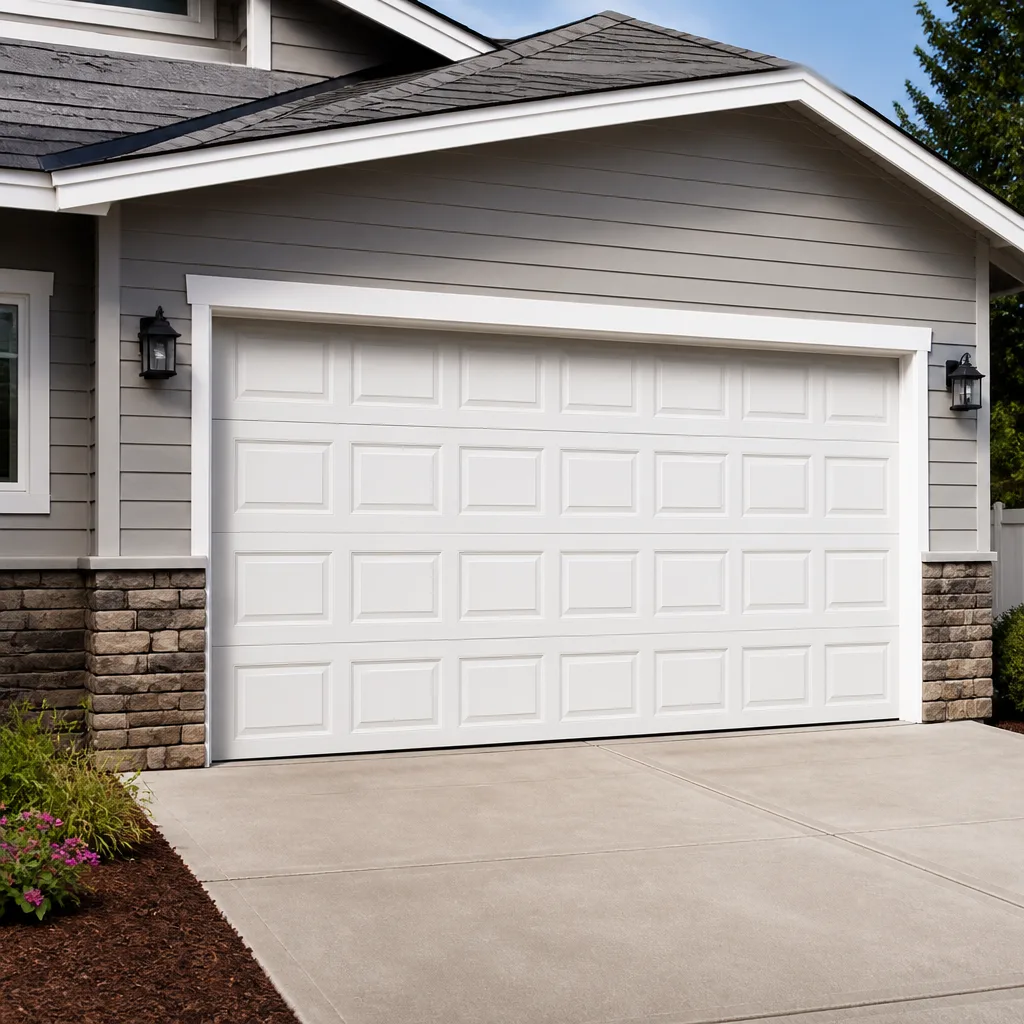 Raised-panel steel
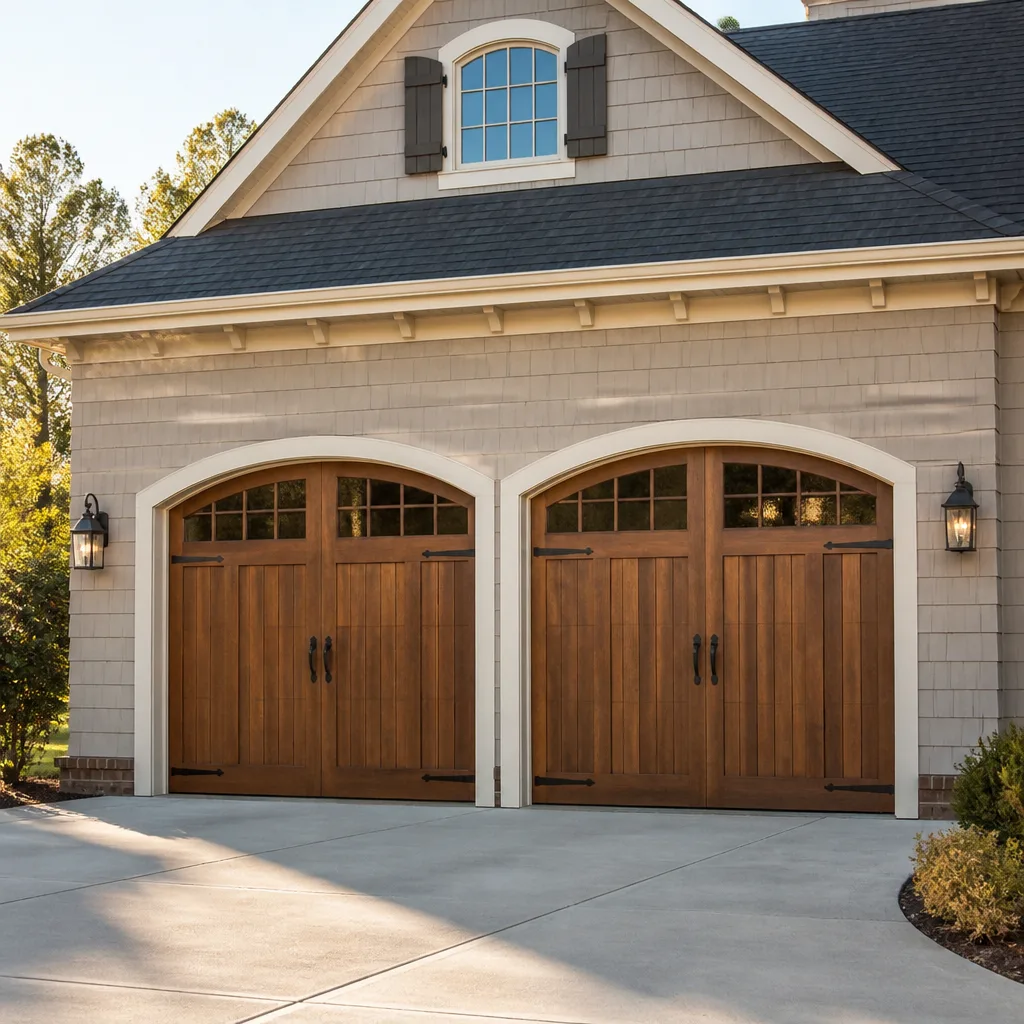 Carriage house
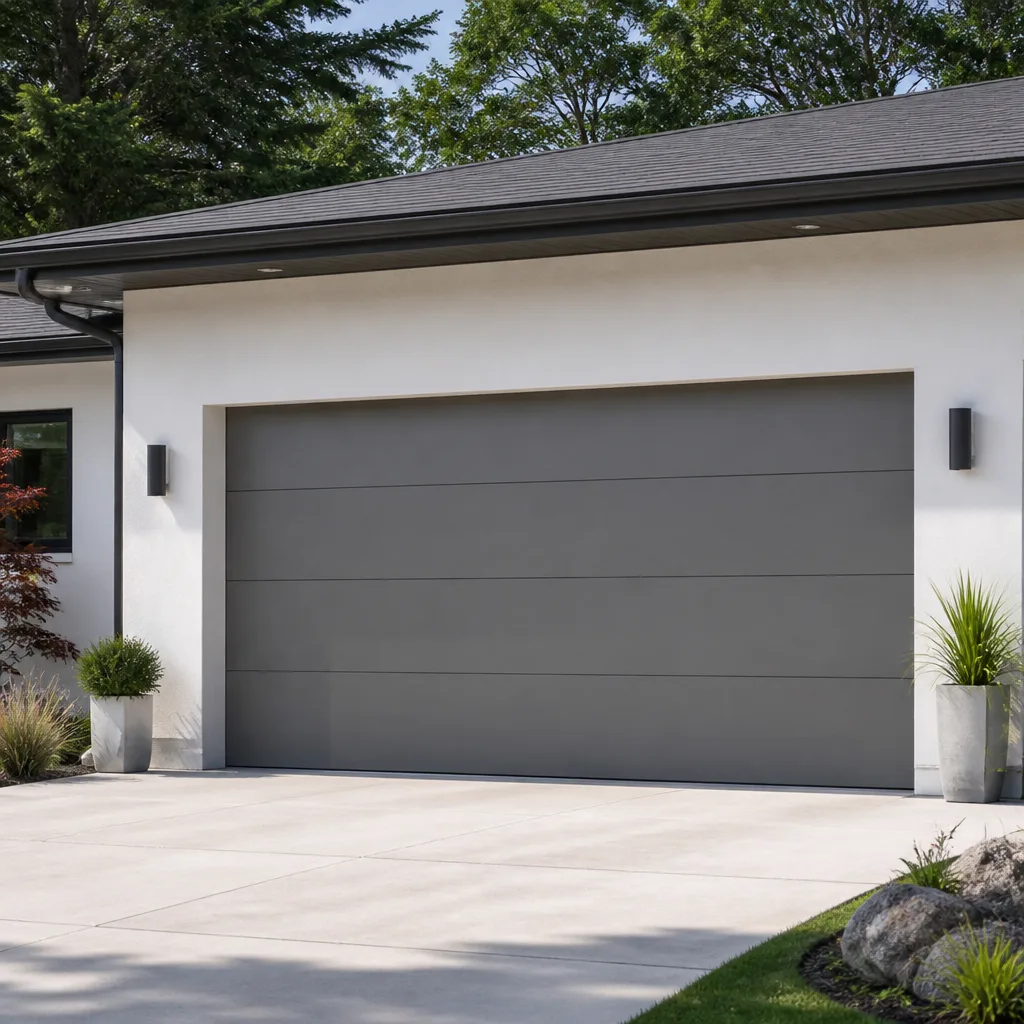 Modern flush
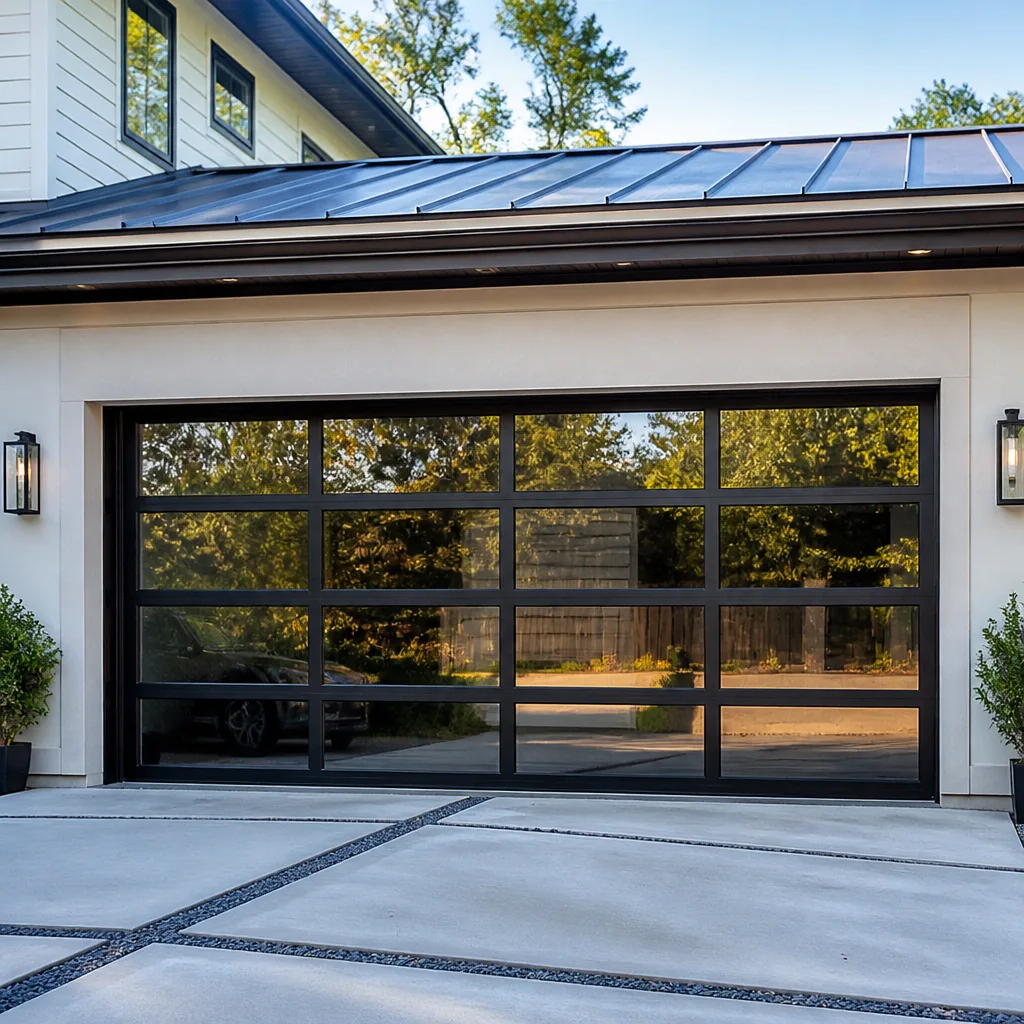 Full-view glass
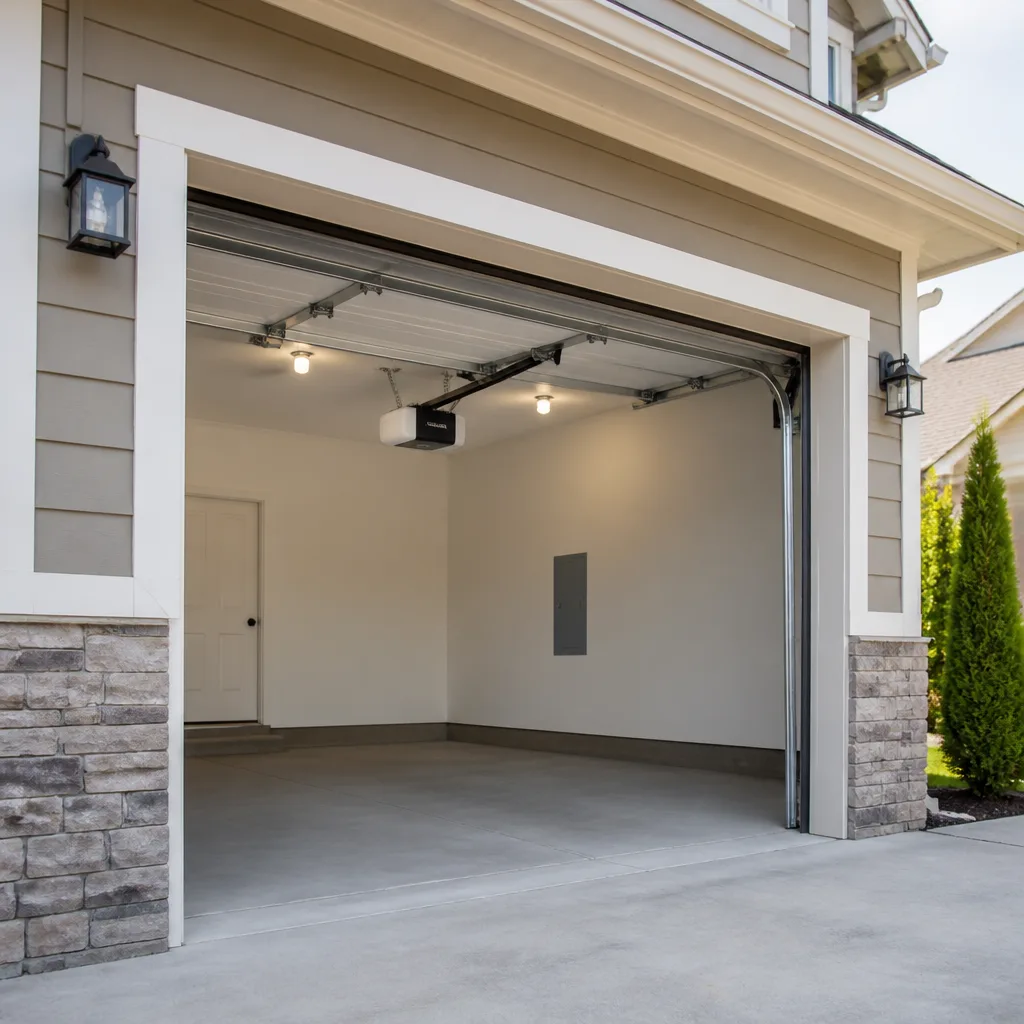 LiftMaster openers
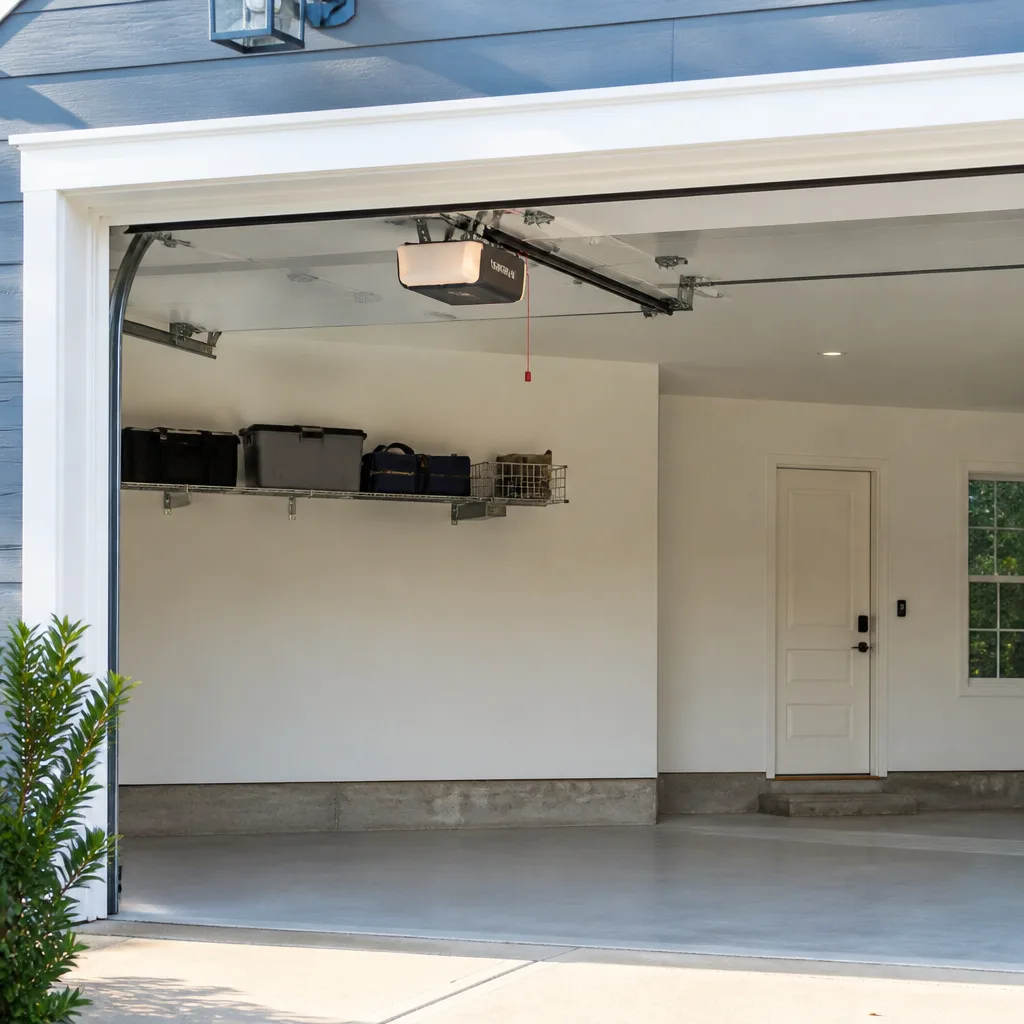 Chamberlain openers
Full 25-point door and opener safety check with every visit - springs, cables, rollers, tracks, and your LiftMaster or Chamberlain opener included
You get a price before we start. It does not change when the pro arrives.
Get your free estimateGarage Door Opener Repair & Installation Troubleshooting: Common Problems and How to Fix Them
Here’s the counterintuitive part: the call we get most often, the one where the homeowner is sure the opener is dead, is usually about a door that’s working exactly as designed. It’s responding to a safety sensor it thinks is blocked. In our experience across Winchester, the majority of “won’t close” calls end with an alignment fix, not a part. Most troubleshooting guides skip the diagnostic logic that tells you whether the fault is electrical, mechanical, or calibration, and that skipped step is why people buy a $45 logic board when the real problem was a $6 photo-eye. This guide gives you that logic, node by node.
Quick Answer
Garage door opener troubleshooting follows a fixed order: check power, then the safety sensors, then the logic board, then the drive mechanism, then mechanical interference. Pass each node before moving to the next. Most openers that “fail” are actually fine; the fault is a misaligned sensor or a force-limit calibration that shifted. Recalibration costs nothing in parts and resolves more repairs than any replacement does.
Styles & brands we work with
- Raised-panel steel
- Carriage house
- Modern flush
- Full-view glass
- LiftMaster openers
- Chamberlain openers
Table of Contents
- The Decision-Tree Diagnostic: Five Nodes, In Order
- Repair vs. Recalibration: What Actually Needs Parts
- Five Components Replaced Unnecessarily (And the Test That Rules Them Out)
- What a Technician Should Photograph Before Quoting
- When to Cut the Power Immediately
- Photo-Eye Sensors and the “Won’t Close” Call
- Brand Differences: LiftMaster, Chamberlain, Genie
- Common Mistakes to Avoid
 Before
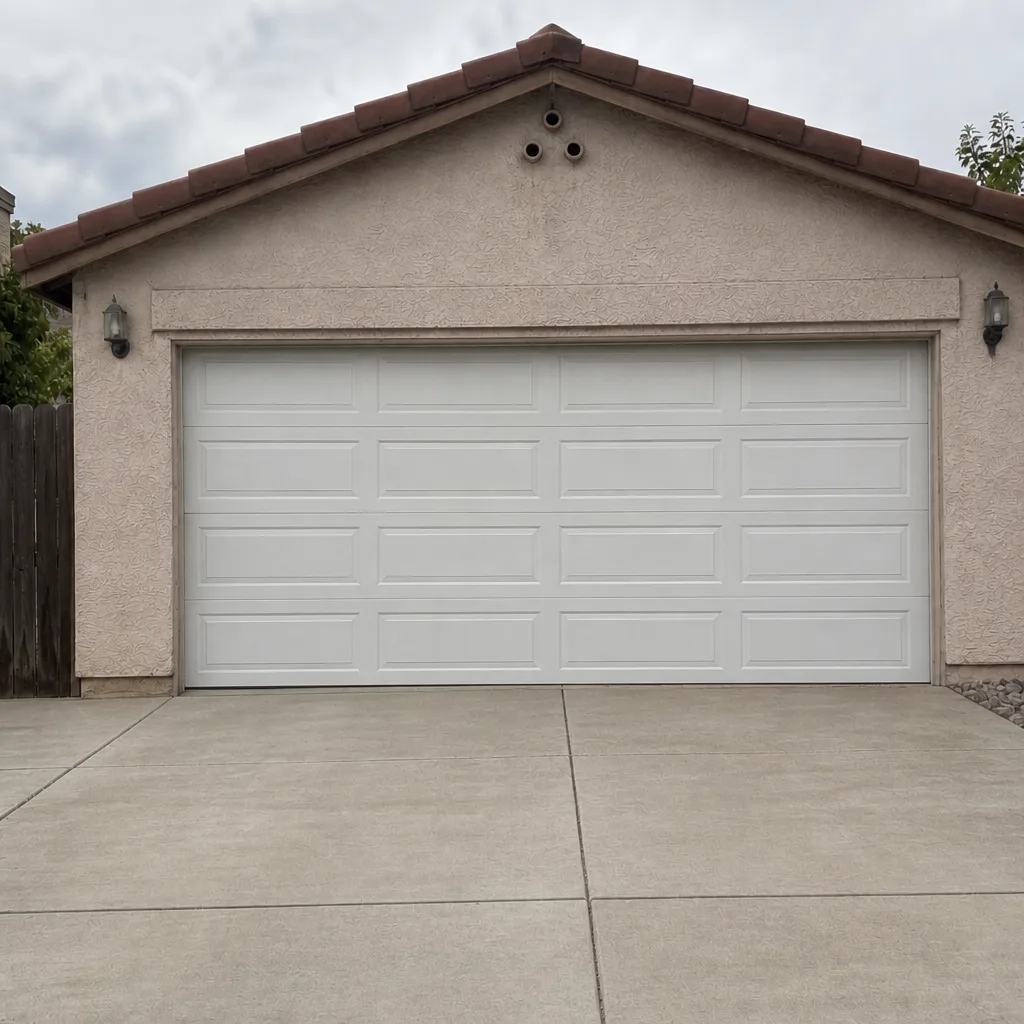 After
The Decision-Tree Diagnostic: Five Nodes, In Order
The order matters more than any single test. Skip a node and you’ll chase symptoms into the wrong system. Here’s the sequence we use, and the same one a homeowner can run before calling anyone in Winchester.
- Power. Test the outlet with a known-working device. Check the breaker panel and the GFCI outlet the opener typically shares with the garage lighting circuit. Pass/fail: the opener’s LED and wall button respond. If neither does, stop here – nothing downstream matters.
- Safety sensors. Look for a steady indicator light on each photo-eye (the small lens pair mounted at the bottom of the tracks). Pass/fail: both lights steady, not blinking. A blinking light on one side means misalignment or a blocked path. If one light is dark entirely, the sensor has lost power or wiring.
- Logic board. The logic board is the opener’s circuit board. Most models display a diagnostic LED pattern (a count of blinks) that corresponds to a specific fault code. Pass/fail: the board’s LED pattern matches a known fault. If the pattern points to the board itself, that’s the one node where replacement may be correct.
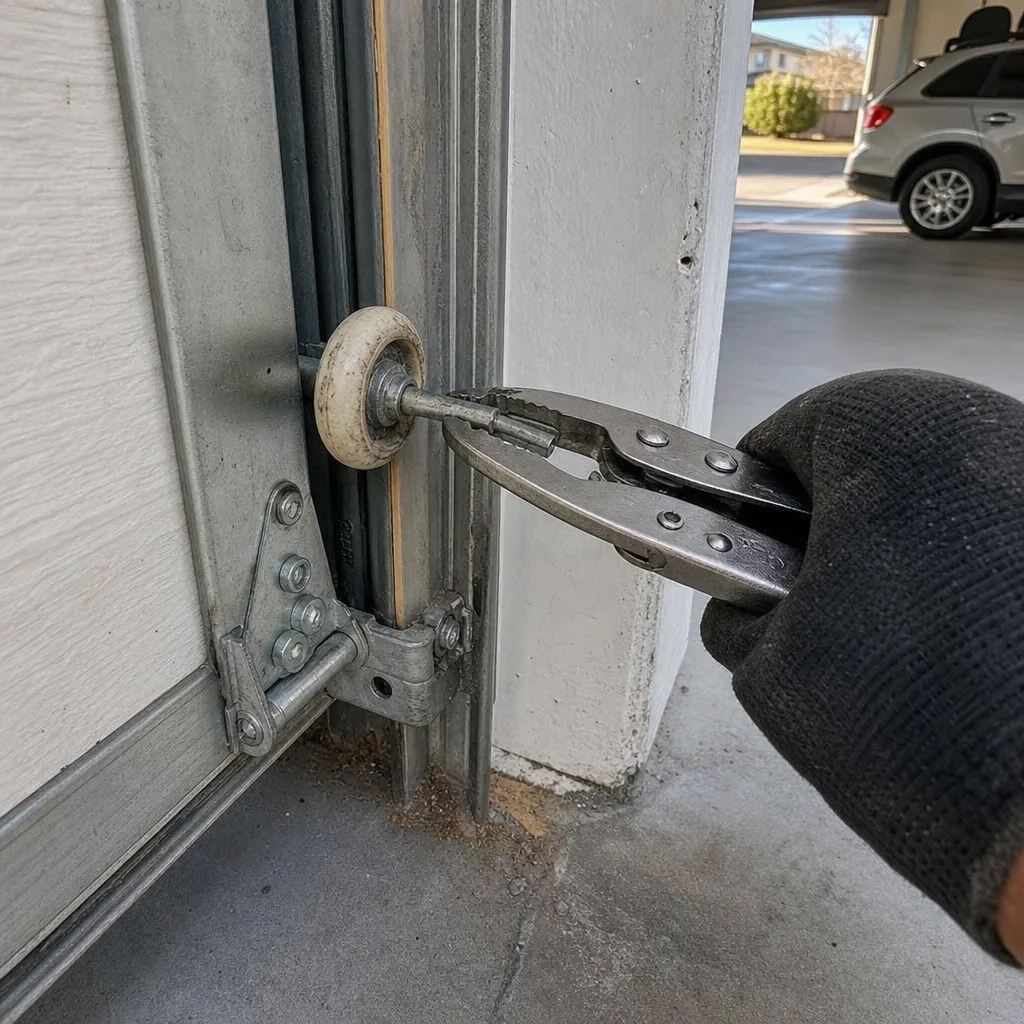
- Drive mechanism. The trolley carriage (the piece that rides the rail and connects to the door arm) and the drive gear inside the motor housing. Operate the door with the release cord pulled so it runs by hand. Pass/fail: the door moves freely by hand. If it binds, the fault is mechanical, not electrical.
- Mechanical interference. Rollers, hinges, track alignment, and the torsion spring assembly. Pass/fail: no visible track bend, no grinding at the rollers, no spring damage.
Because so many Winchester openers sit on circuits shared with garage lighting, node one removes a surprising number of “dead opener” calls before the technician even opens the housing. If you’re mid-test and want the underlying service, our Garage Door Opener Repair & Installation in Winchester page describes what a full diagnostic visit includes.
Repair vs. Recalibration: What Actually Needs Parts
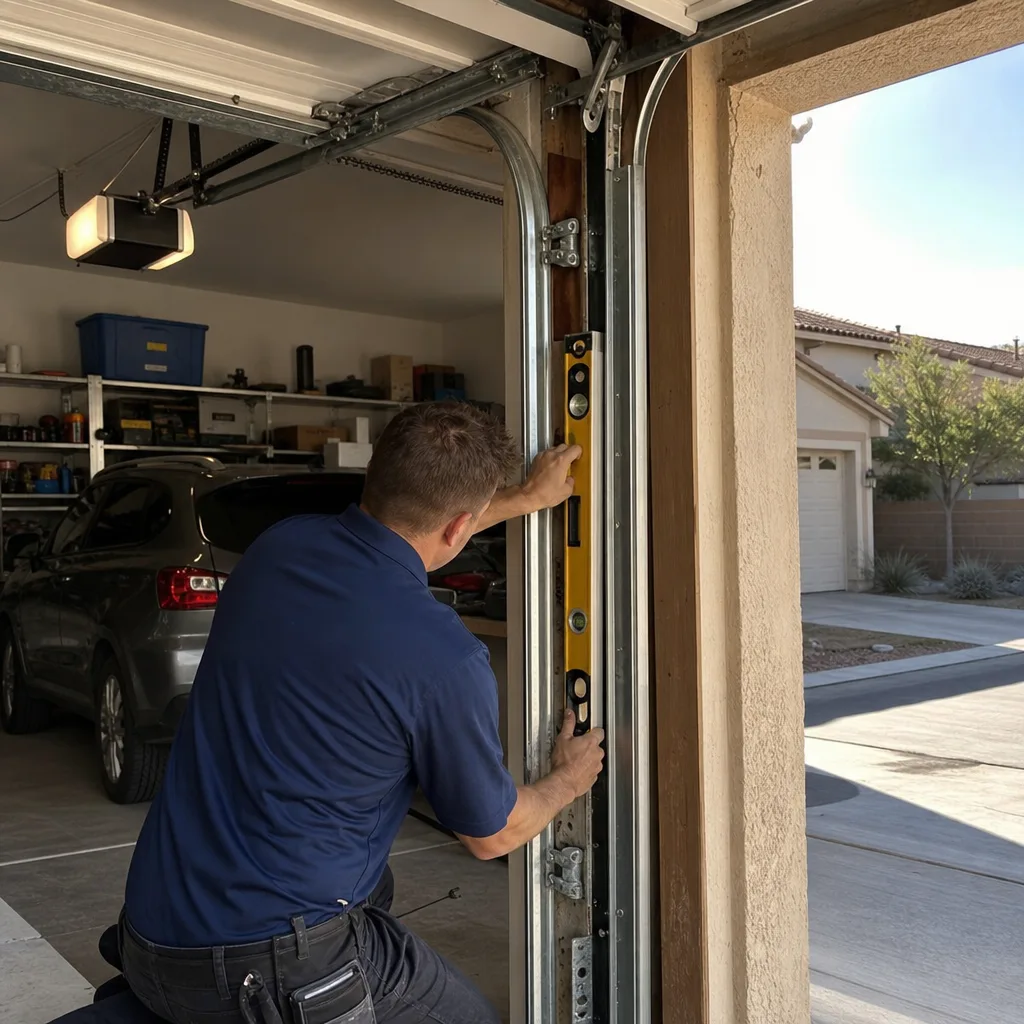
A repair replaces a failed component. A recalibration adjusts the opener’s settings so an otherwise healthy unit does its job again. Two settings cause most of the trouble: the force limit (how much resistance the opener tolerates before it reverses) and the travel limit (how far the door opens and closes).
When a door reverses for no visible reason, or stops six inches short of the floor, the opener is usually obeying a force-limit setting that has drifted, not a broken part. The opener interprets a slightly stiff hinge or a cold-stiffened roller as an obstruction and backs off, exactly as it should. Tightening the force limit without finding the source of the stiffness masks the problem; servicing the rollers, hinges, and track removes it.
Recalibration is a set of steps performed with the opener’s own control panel, and the exact procedure varies by brand. On a LiftMaster or Chamberlain, the travel limits are set with the up and down arrows on the motor head; a Genie uses a similar sequence with its own button pattern. We’re not going to hand you a universal step list, because there isn’t one and a wrong adjustment can make a door reverse onto a car.
What we will tell you is how to know you’re in recalibration territory rather than repair territory: the opener runs, the lights work, the sensors pass, and the door still behaves oddly at one end of its travel. That pattern almost never needs a new part.
Five Components Replaced Unnecessarily (And the Test That Rules Them Out)
We see these five parts swapped out on Winchester jobs where the original was fine. Here’s the test that should be run first.
- Logic board. Test: read the error LED and confirm its blink pattern maps to a board fault, not a sensor or travel fault. A board that correctly reports “sensor obstruction” is working, not failing.
- Capacitor. Test: the motor hums but doesn’t spin, or turns sluggishly. A failed start capacitor (a small cylinder on the motor that gives the motor its kick) will show a bulged top. If the motor spins cleanly, the capacitor is fine.
- Drive gear. Test: listen for grinding or slipping when the door moves. A stripping drive gear slips under load and grinds audibly. A quiet opener with a door that moves smoothly has an intact gear.
- Photo-eye sensor pair. Test: both indicator lights steady. A sensor with a steady light is functioning; re-aim, don’t replace.
- Wall button. Test: short the two button wires at the wall plate. If the opener responds, the button is bad; if not, the fault is upstream in the wiring or the board.
Running these tests before authorizing parts is the difference between a $6 fix and a $200 repair. When the diagnosis does call for a repair, ask for the price in advance as a written number, per Clause 1 of The Haven Standard – we deliver a flat, written price and scope before any work starts, no exceptions.
What a Technician Should Photograph Before Quoting
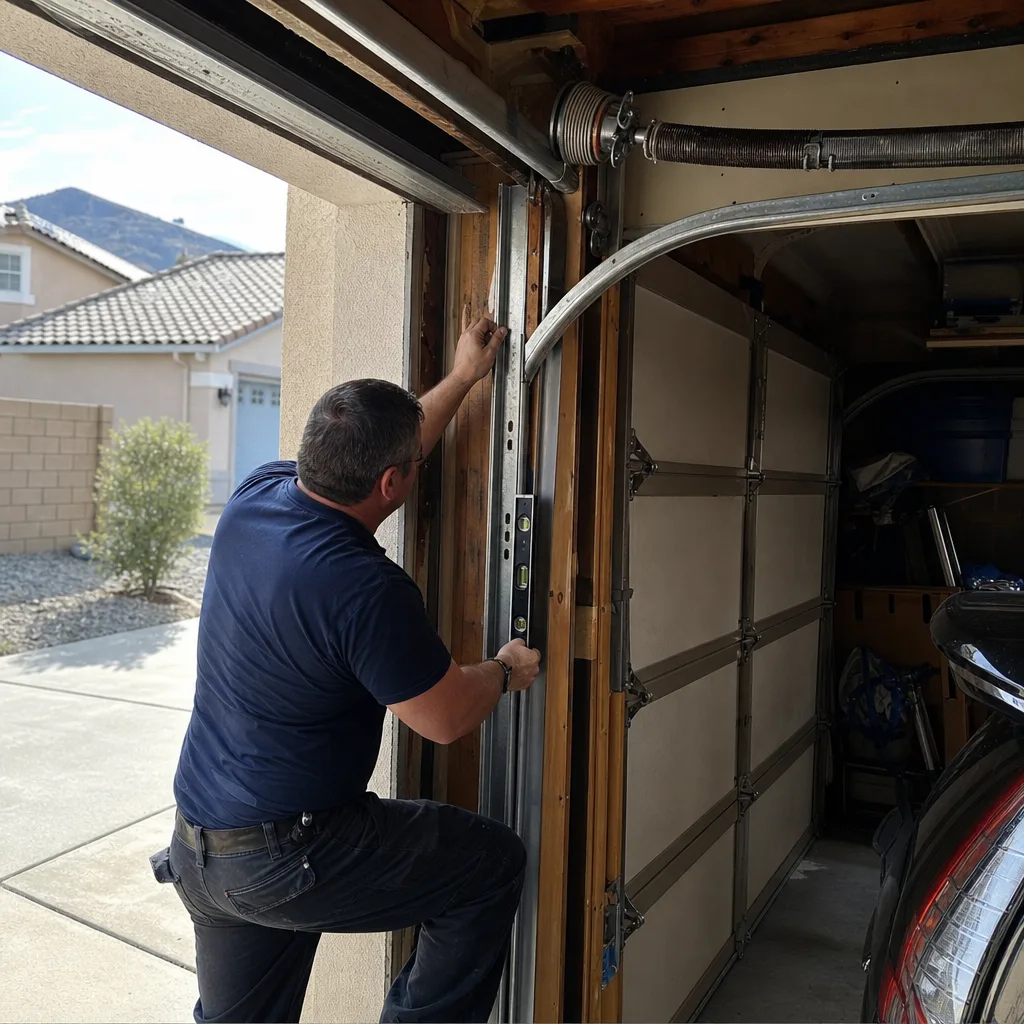
Photos aren’t decoration. They’re the evidence that makes the quote checkable. A technician should capture three things before naming a repair price, and you should expect to see them.
- The logic board LED error pattern. A photo of the blinking code, so you can see exactly what the opener reported.
- The sensor alignment indicator. The steady or blinking light on each photo-eye, in frame.
- The drive mechanism under load. The trolley carriage and gear in operation, ideally as a short video, so a slipping gear or a binding track is visible.
This is Clause 4 in practice: the customer sees the failed part before anyone quotes a replacement. Every Servo visit closes with a documented photo record of what was found and what was done. You should be able to look at the images and understand why a part is being recommended, not take our word for it.
When to Cut the Power Immediately
Not every opener fault is an emergency, and not every one is safe to leave alone. The dividing line is mechanical, not electrical.
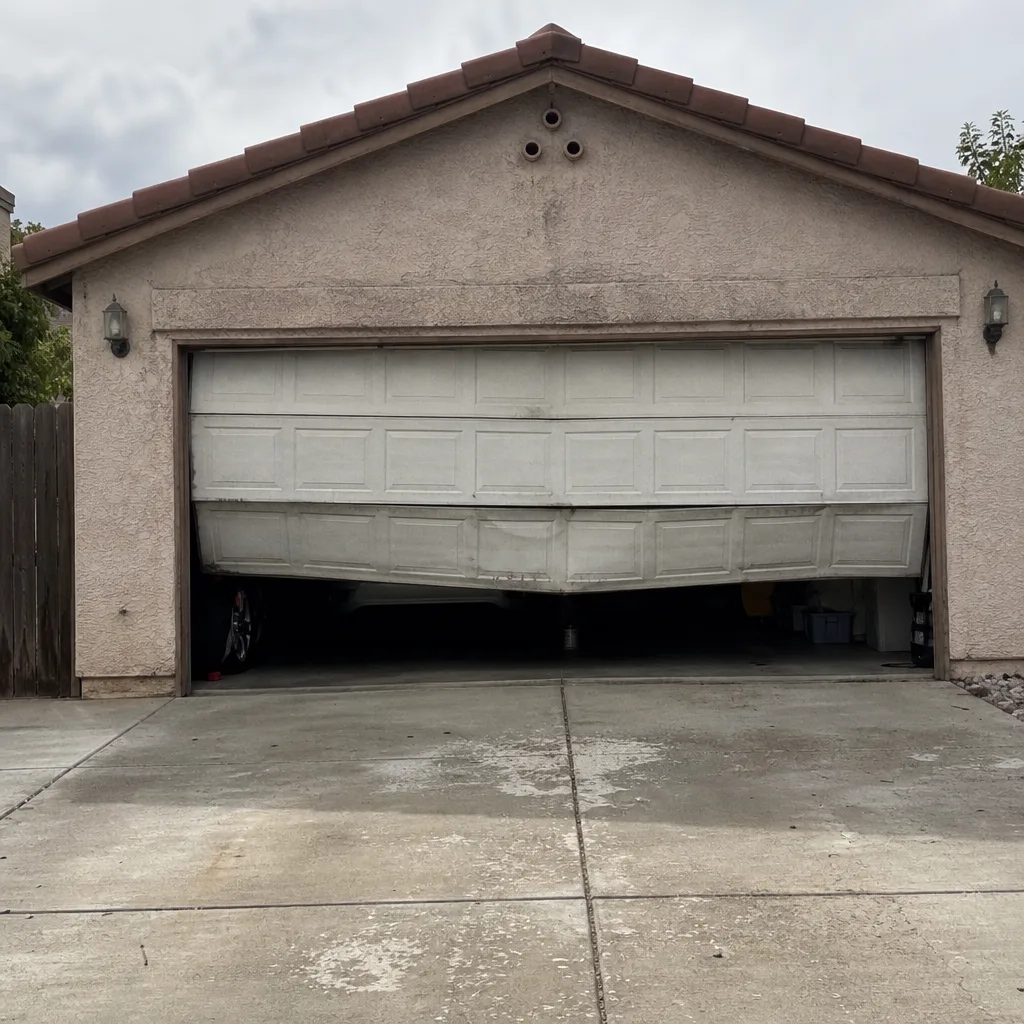
Cut the power now, and call: a torsion spring or cable that has visibly snapped; a door hanging off one track; a door that has fallen or partially collapsed; grinding or binding so severe the door reverses hard against the floor; or the smell of burning from the motor housing. Use the emergency release cord only if the door is under control and you’re strong enough to guide it down by hand – a door with a broken spring can drop hard and fast.
Safe to operate temporarily: a misaligned photo-eye sensor on a door that otherwise moves smoothly; an opener that beeps or flashes a fault code but still cycles; a wall button that won’t respond while the remotes do. These are inconvenient, not dangerous, and you can use the door until a technician arrives.
Springs, cables, and the torsion assembly are the genuine hazard. That bar is under extreme tension and a cable can release with enough force to injure. We don’t give DIY steps for those parts, and no responsible guide should. A trained professional with the right winding bars handles them safely; anyone else should stay clear. For spring and cable emergencies, our Garage Door Repair in Winchester team can be reached around the clock, and a live person answers every call.
Photo-Eye Sensors and the “Won’t Close” Call
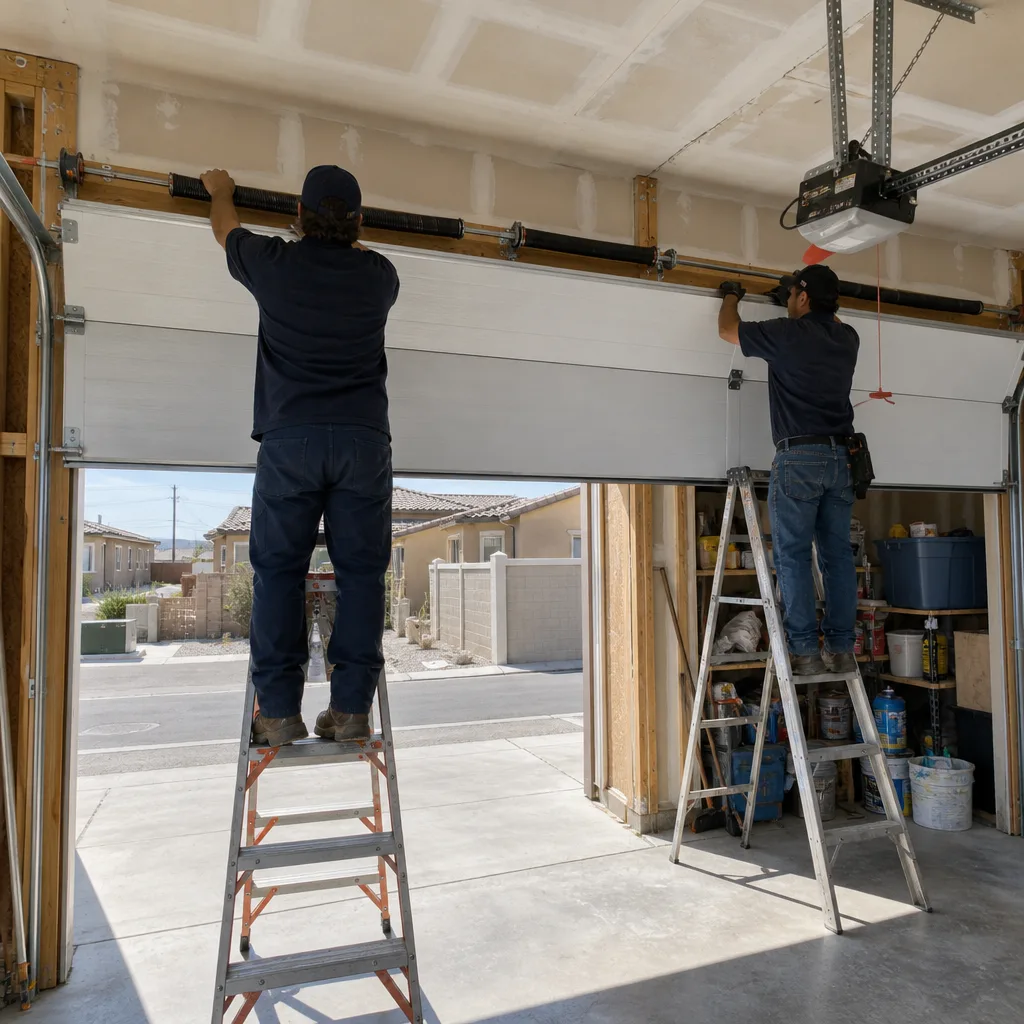
The photo-eye sensors are two small units mounted at the bottom of the tracks, one on each side, that shine an invisible beam across the doorway. If the beam is broken, or a sensor thinks it is, the opener refuses to close the door. It’s a safety feature, and it’s doing exactly its job.
Check, in this order: is anything in the beam path (a broom handle, a leaf, a recycling bin)? Is one bracket loose enough that the lens has rotated a few degrees? Is sunlight hitting the receiving sensor and washing out the beam? Is the wiring at either sensor loose or chewed? In our experience in Winchester, a loose bracket from a bumped car bumper is the most common single cause. Re-aim, tighten, retest.
If the sensors are aligned and the door still won’t close, the fault has moved to node three, the logic board, and the diagnostic LED pattern becomes the next piece of evidence. That’s the point where a call makes sense. Servo technicians carry the parts for same-day sensor and board repairs, and no work starts until you’ve agreed to a written price. We offer free same-day estimates on repairs, and 24/7 emergency coverage for the calls that can’t wait. More of the door itself is covered in the Servo Garage Doors Winchester home overview.
Brand Differences: LiftMaster, Chamberlain, Genie
The core logic of the decision tree is the same across brands. The details shift.
- LiftMaster and Chamberlain share much of their internal architecture. Their diagnostic LED patterns are similar and their travel-limit procedure is nearly identical. Many units include MyQ connectivity, and a “not responding” complaint sometimes traces to a router, not the opener.
- Genie openers use their own button sequences for travel and force limits, and a few models run a different sensor setup. A Genie that beeps once and flashes may simply want the limit re-set rather than a new board.
- Clopay is a door manufacturer, not an opener maker – if you’ve paired a Clopay door with a LiftMaster or Genie operator, the diagnosis follows the opener’s brand, not the door’s.
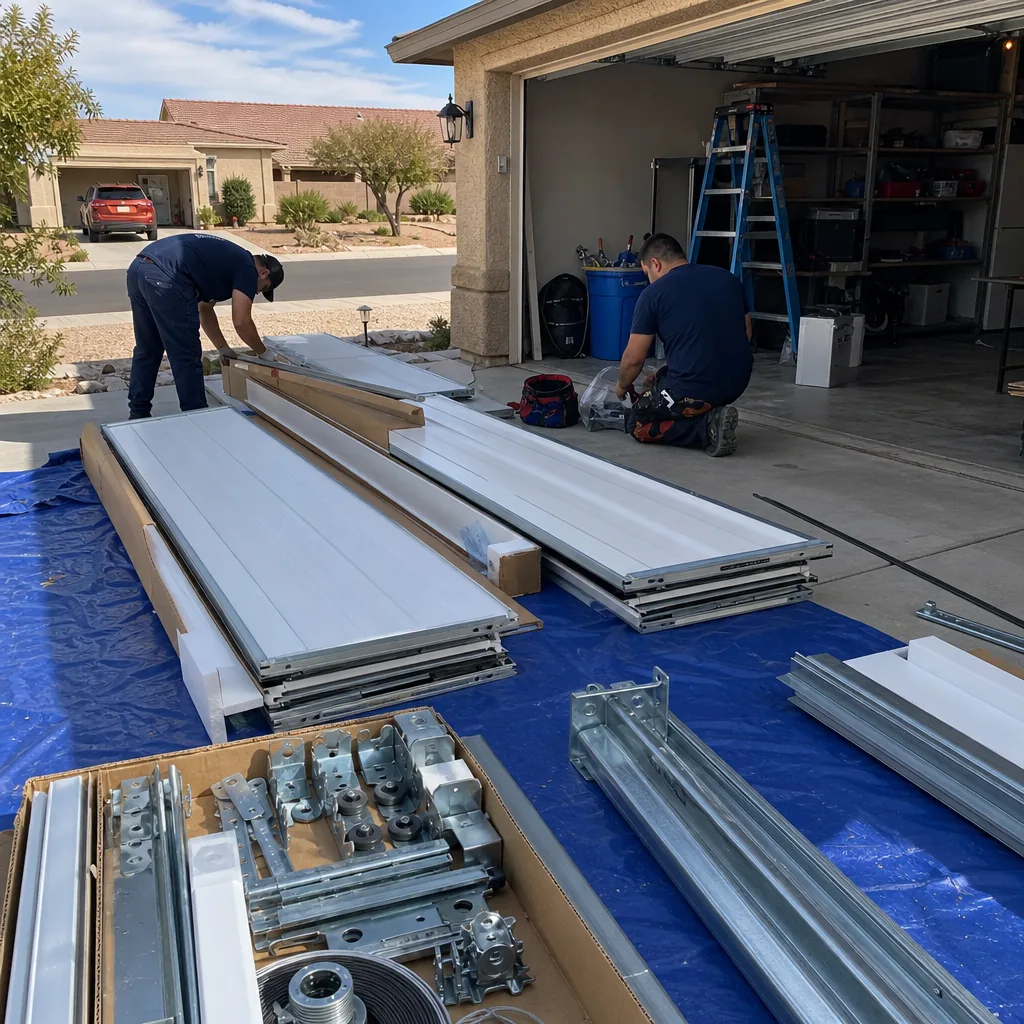
Service history matters here. A familiar brand has a known failure mode, and a technician who has worked that model many times reads the code faster than one guessing. Our technicians have up to 11 years of experience and service all eight major brands. If a new opener or door is the right answer rather than a repair, our Garage Door Installation in Winchester page covers the measured, ordered, scheduled process for that side of the work. Installation is not a same-day service, and we won’t pretend otherwise; we come out, measure, and give you a written price.
Common Mistakes to Avoid
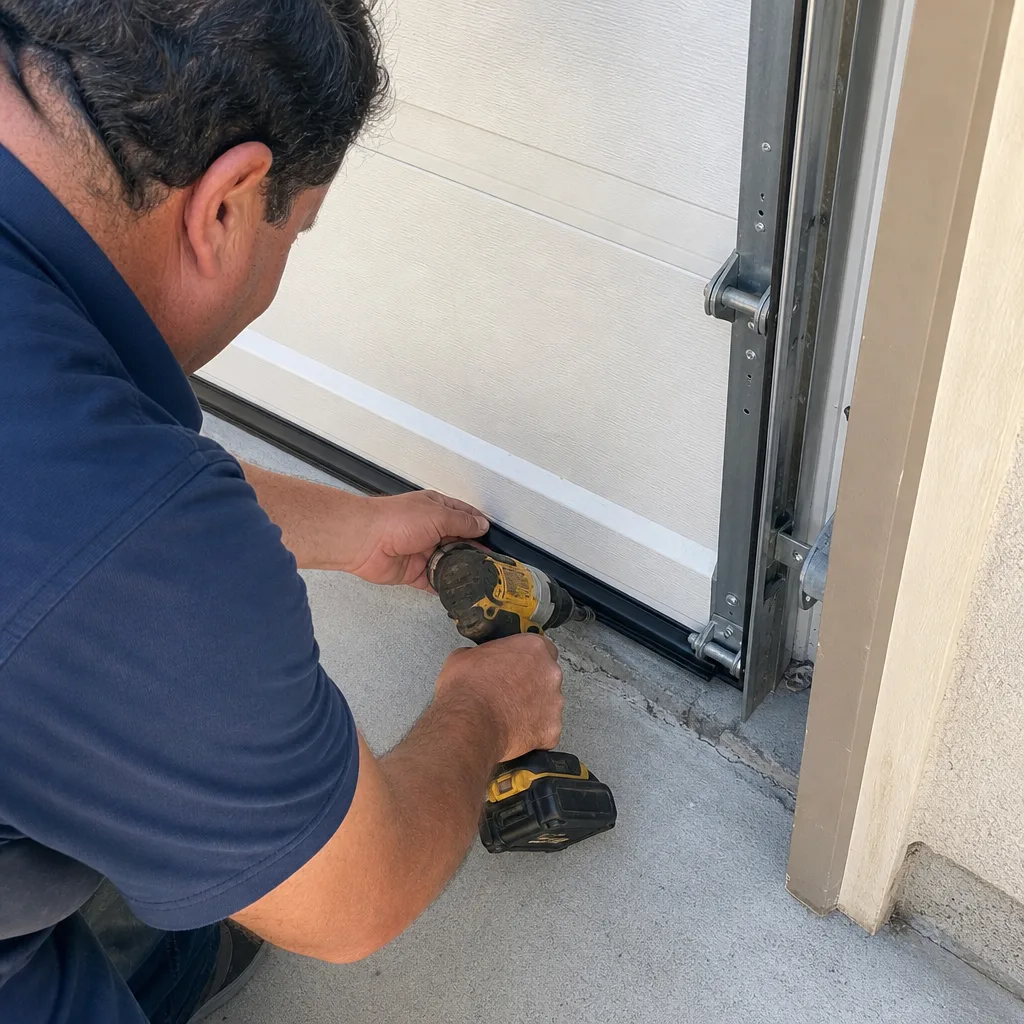
- Replacing the logic board on a sensor fault. The board often correctly reports an obstruction. Read the code before buying a part.
- Forcing the door past a bind. Cranking the force limit to bully a stiff door hides the real fault and wears the drive gear. Find the binding roller or hinge instead.
- Ignoring the emergency release cord’s purpose. It disconnects the door from the opener. Once pulled, the opener won’t move the door until it’s re-engaged. A “dead” opener is sometimes just a released trolley.
- Running a door with a broken spring because the opener still lifts it. In Winchester, this is how a $150 spring repair becomes a $400 motor replacement. The opener is doing work the spring should be doing.
- Accepting a verbal price. A spoken number leaves nothing to check. Clause 1 exists so you have the written price and scope before a wrench moves.
- Using the same sensor cleaning ritual that never works. If wiping the lenses doesn’t fix it, the problem isn’t dust; it’s alignment or a loose bracket. Check the beam path and the mount.
- Buying a new opener when the door is the problem. A binding, off-track, or stiff door makes a healthy opener seem weak. Test the door by hand before replacing the operator.
See the difference
BeforeAfter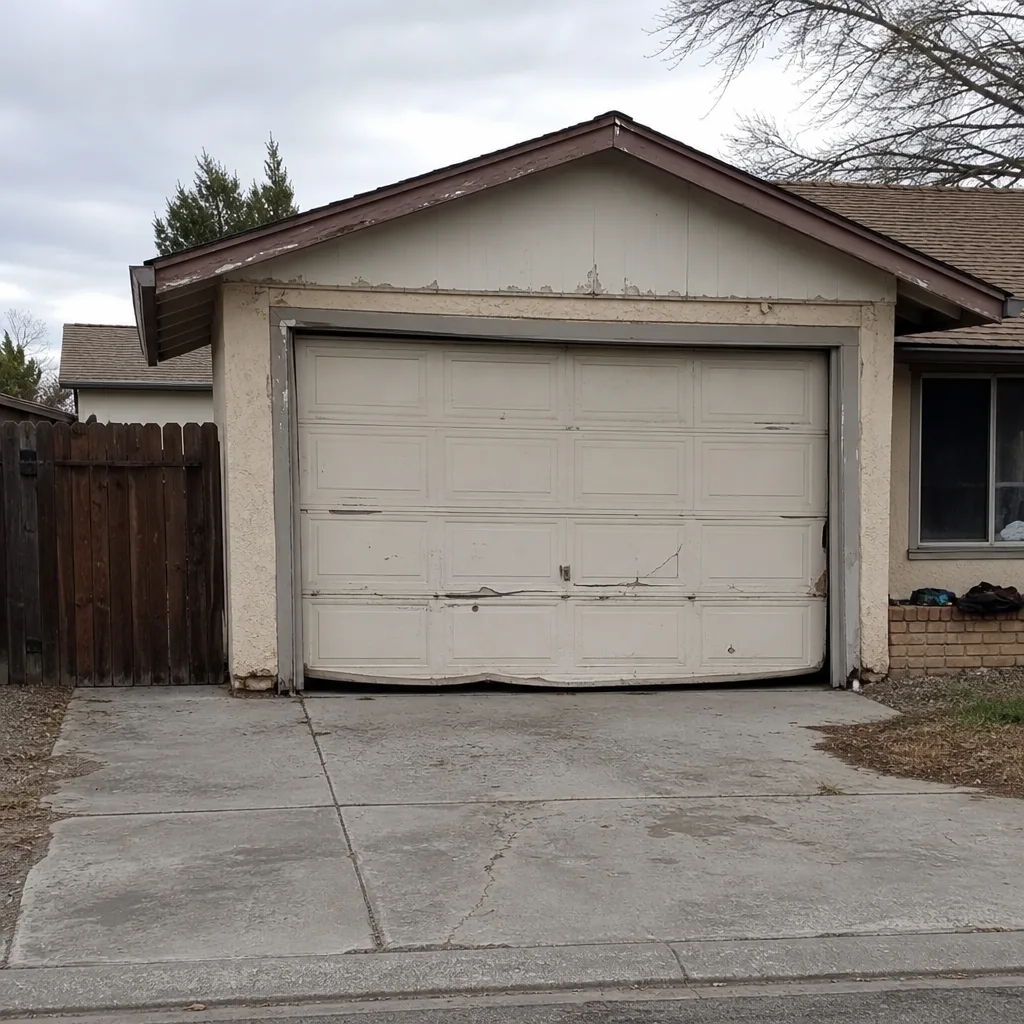 Before
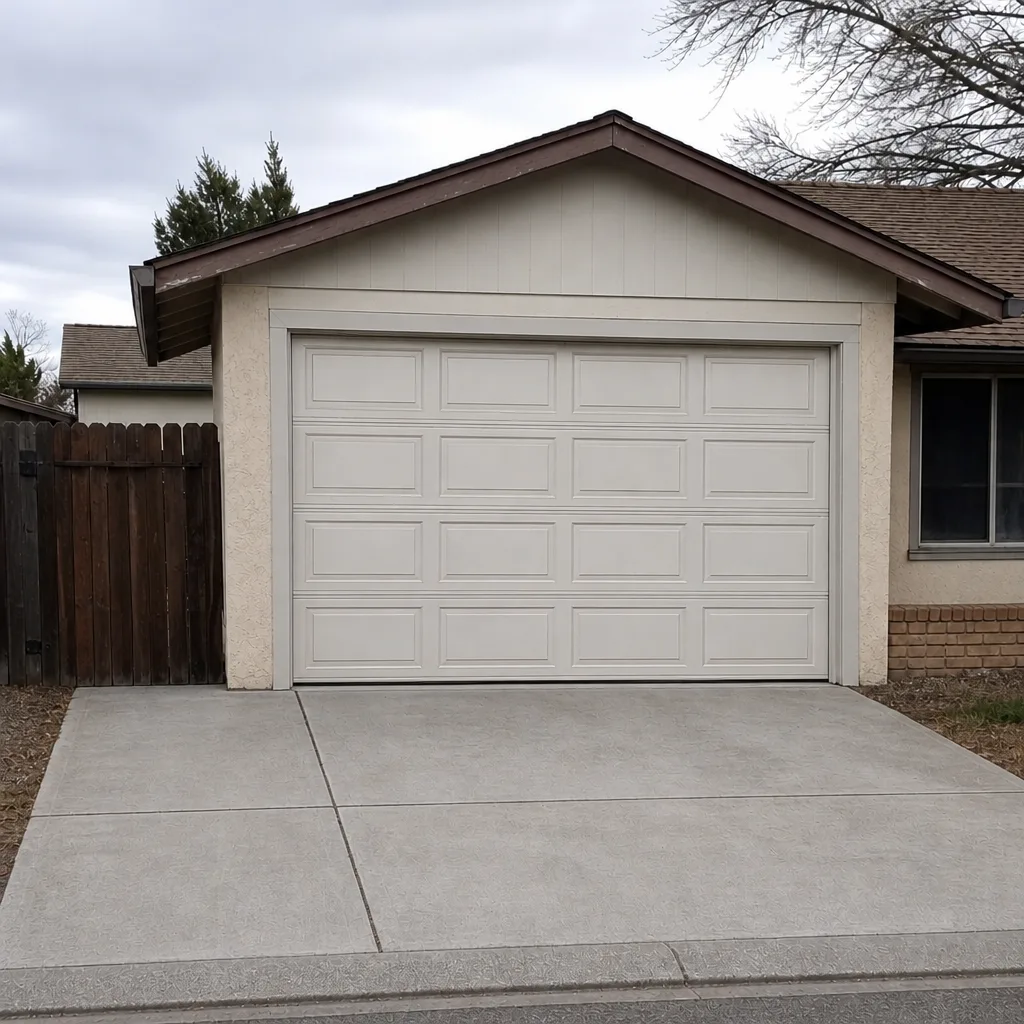 After
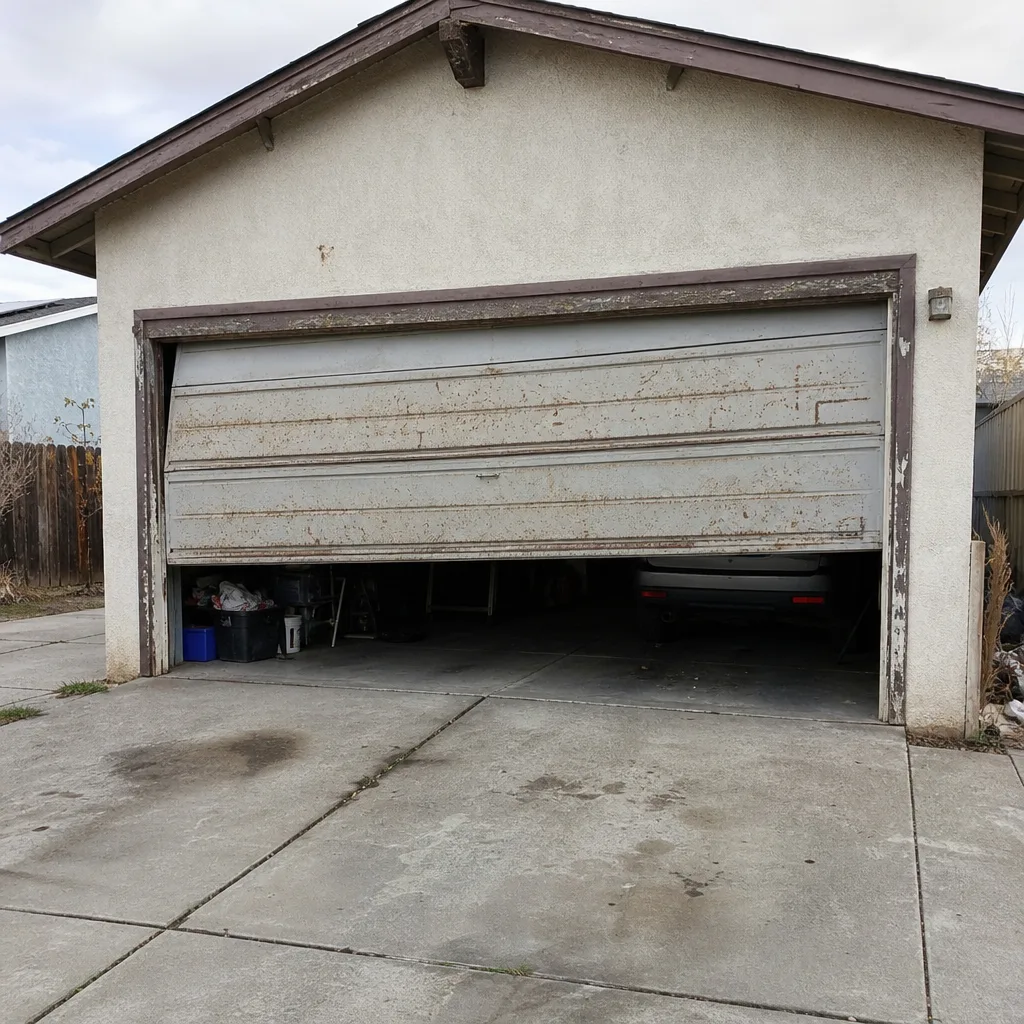 Before
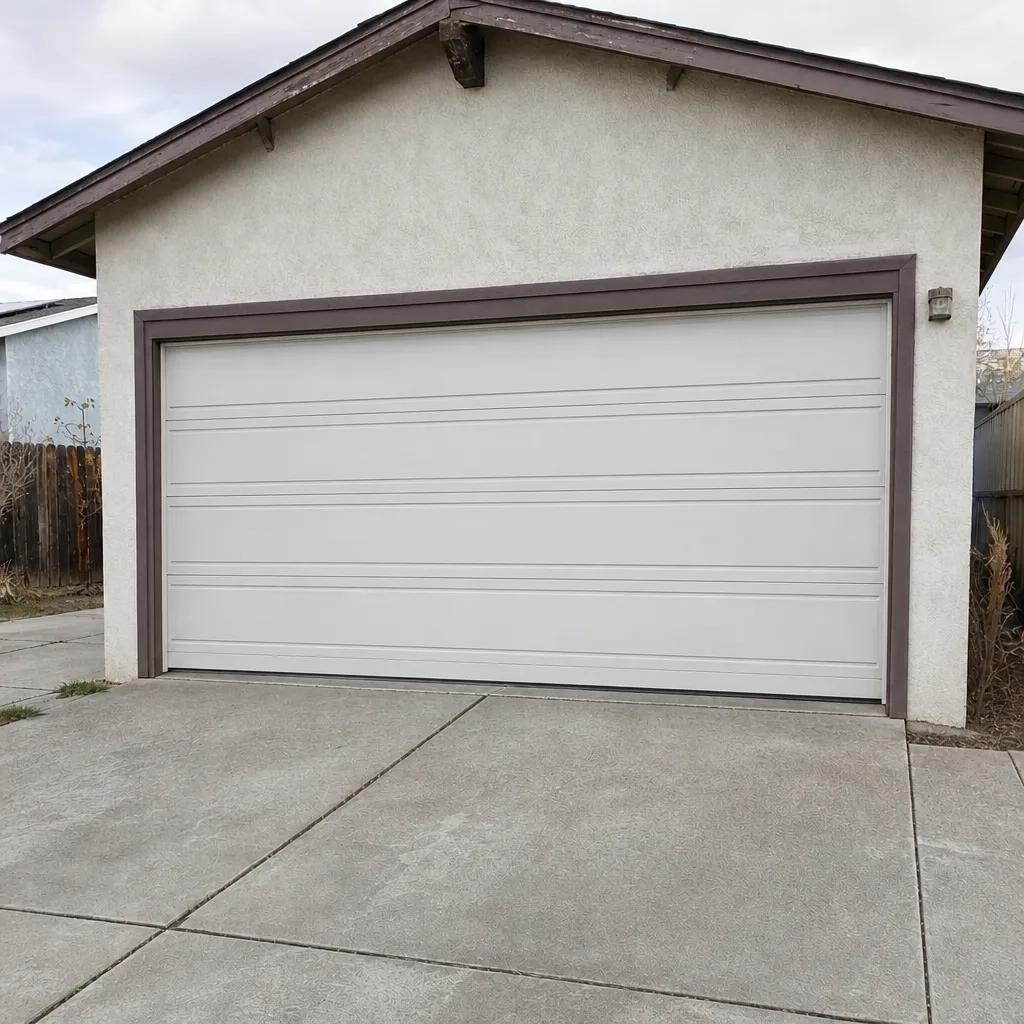 After
When to Call a Professional
Call for anything involving springs, cables, or a door off its tracks. Call immediately if the motor smells of burning, if the door reverses hard against the floor, or if a spring has visibly broken. Call when the diagnostic tree reaches the logic board and you can’t read the error pattern with confidence, or when the sensors are aligned and the door still won’t close. Call when a repair you didn’t authorize is being quoted with urgency – a written price you can check is the whole point. Servo Garage Doors Winchester offers free estimates in Winchester – call (855) 517-0284. We answer live, 24/7, and a technician is named on every emergency call with an on-the-way text, not a callback window.
Frequently Asked Questions
In most cases, it’s a safety sensor responding to a blocked or misaligned photo-eye beam. Check the two lenses at the bottom of the tracks for steady indicator lights, clear the beam path, and straighten any loose bracket. If the lights are steady and the door still won’t close, the fault has moved to the logic board, and the error LED pattern is the next piece of evidence. Call us for an exact quote on a repair – estimates are free.
Most opener repairs run from about $95 for a sensor re-alignment up to roughly $320 for a logic board or drive-gear replacement, depending on the part and the model. Recalibration, when that’s the true fix, involves no parts and costs far less. Every price is quoted and agreed before any work starts. Call (855) 517-0284 for an exact quote – estimates are free.
Yes, for repair and emergency calls. A live person answers 24/7 and we offer same-day estimates on openers, sensors, springs, and cables. Installation and full replacement are scheduled, not same-day, because they require measurement and ordering. Call for an exact quote and a time.
No. The flat, written price and written scope are delivered before any work begins, and that number holds. If we find something the scope didn’t cover, we present it as a separate written price for you to approve or decline. Nothing gets added quietly.
The local pro we connect you with is licensed and insured as the state requires, and every visit includes a documented photo record. We don’t name a person or a number we can’t produce on request, but the license is on the page and the paperwork is yours to keep.
The beeps and flashes are the unit reporting a fault, and the count usually maps to a specific issue like a sensor obstruction or a travel-limit problem. Note the number of blinks before you call; it tells the technician which node of the diagnostic to start from, and that saves time on the visit.
The Bottom Line
Opener troubleshooting isn’t a hunt for symptoms, it’s a fixed sequence: power, sensors, logic board, drive mechanism, mechanical interference. Pass each node before you move on, and the fault identifies itself. Most “repairs” are recalibrations. Most replaced parts were fine. The tests that catch this cost nothing and take minutes. If you’d rather not run them yourself, or the tree points to a part that genuinely failed and you want a documented, written-price repair, call (855) 517-0284. Servo Garage Doors Winchester photographs the failed component before quoting a replacement, delivers a flat written price first, and backs every job with the 365-Day Done Right Promise and a photo record you keep. Free second opinion on any written estimate you bring in, no code required.
Written by the team at Servo Garage Doors Winchester.